Add Password, Set Output Name, and Send E-book to Reader using PDF.co and Zapier
In this tutorial, we will automate the process of sending an ebook to readers. This will require readers to enter a password before they can open the ebook. We will also personalize it with the readers’ names using PDF.co, Zapier, and Gmail.
Step 1: Google Drive Files
Let’s add the ebook and the Readers List Google Sheet in our Google Drive folder.
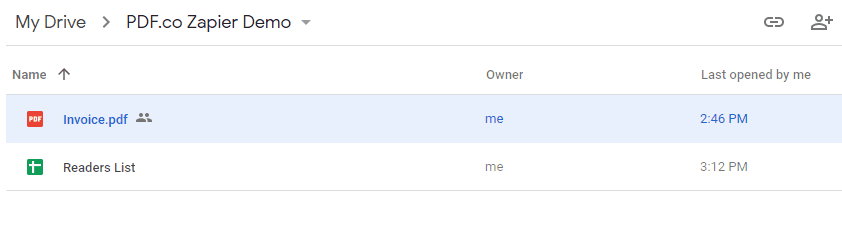
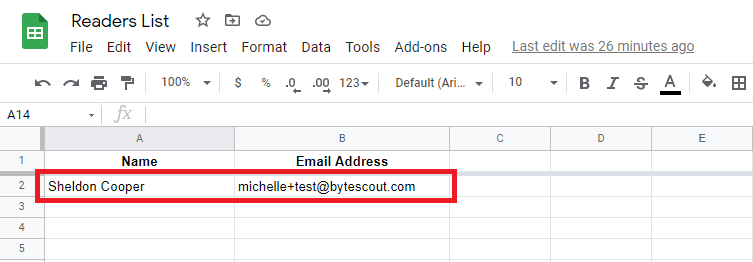
Our Google Sheet contains the name and the email address of the readers. You can add more columns to fit your workflow.
Now, let’s open Zapier and create a Zap.
Step 2: Add Google Sheet
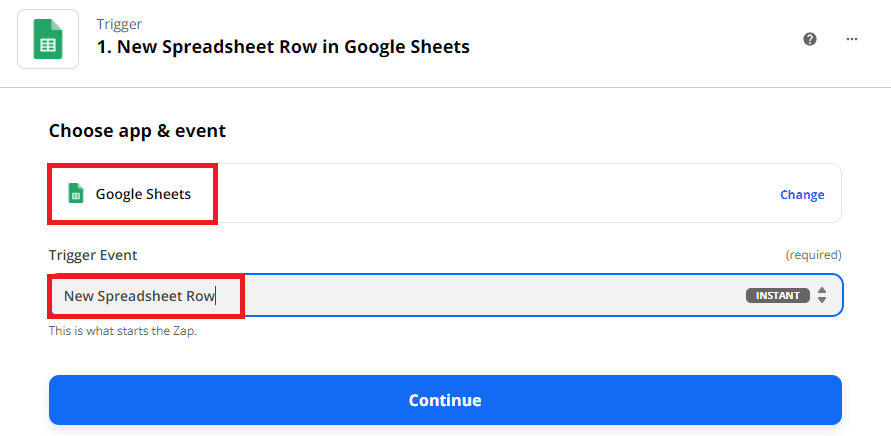
To begin, let’s choose Google Sheet as the App and the New Spreadsheet Row as the Trigger Event.
Step 3: Setup Trigger
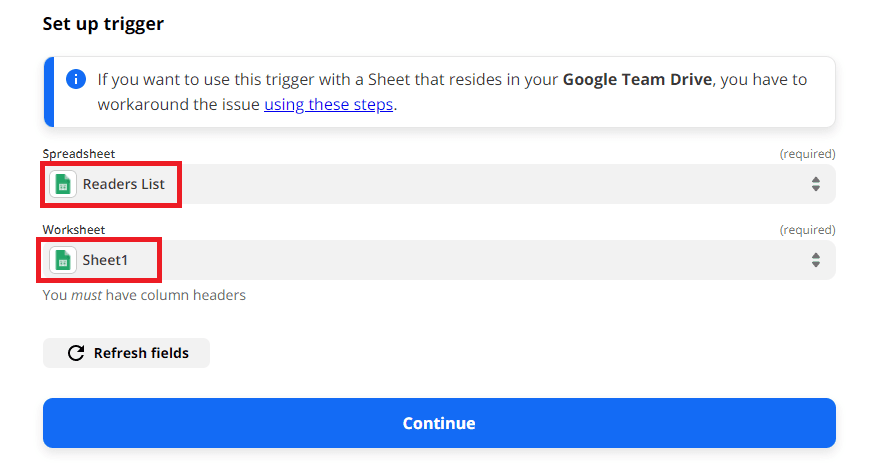
Choose the Readers List as the Spreadsheet and the Sheet1 as the Worksheet.
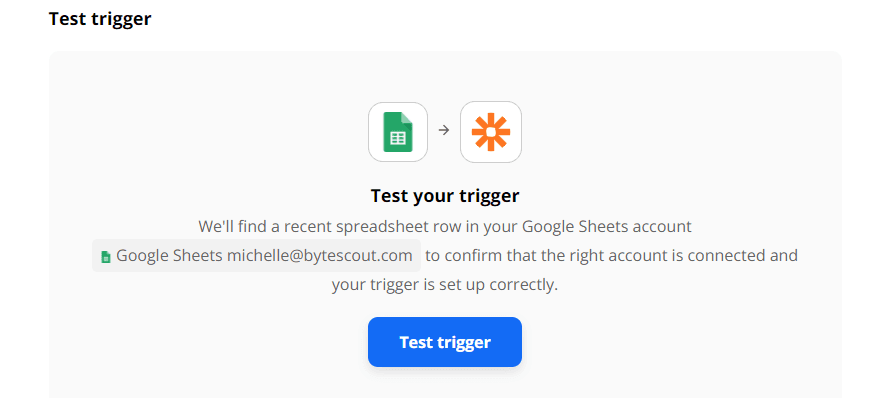
Step 4: Test Trigger
Let’s test the Trigger to make sure it’s set up correctly.
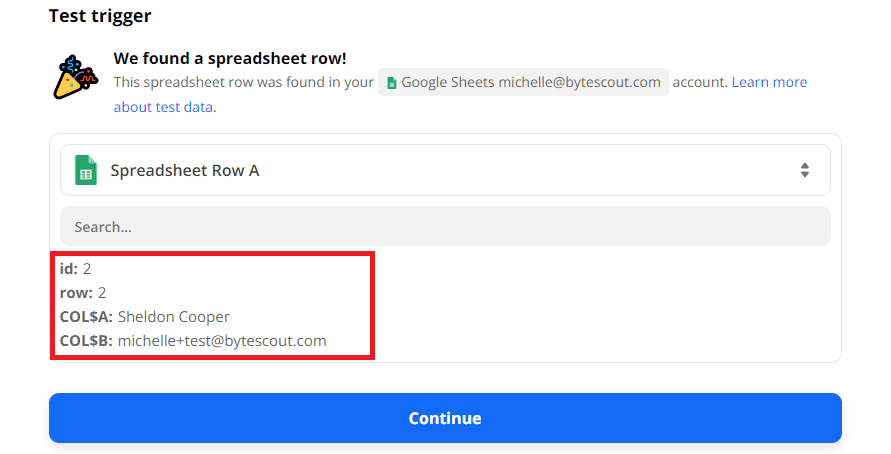
Step 5: New Row Content
The Zap returns a new Google Sheet row every time a new entry is added.
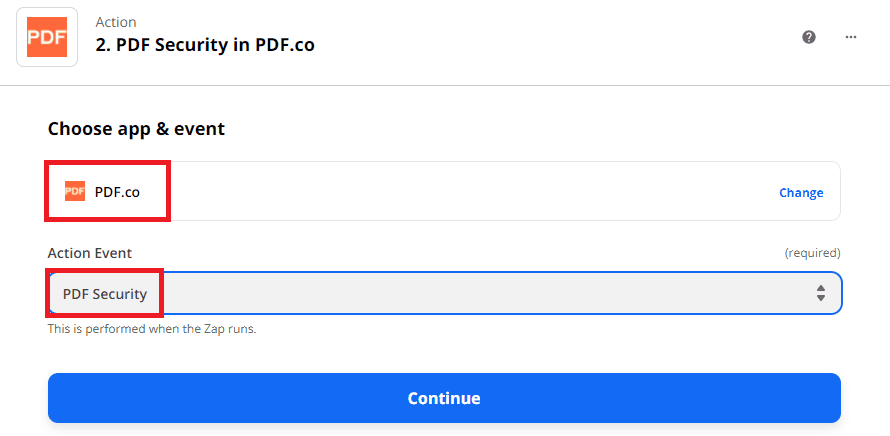
Step 6: Add PDF.co Security
Let’s add a PDF.co step and choose the PDF Security as the Action Event.
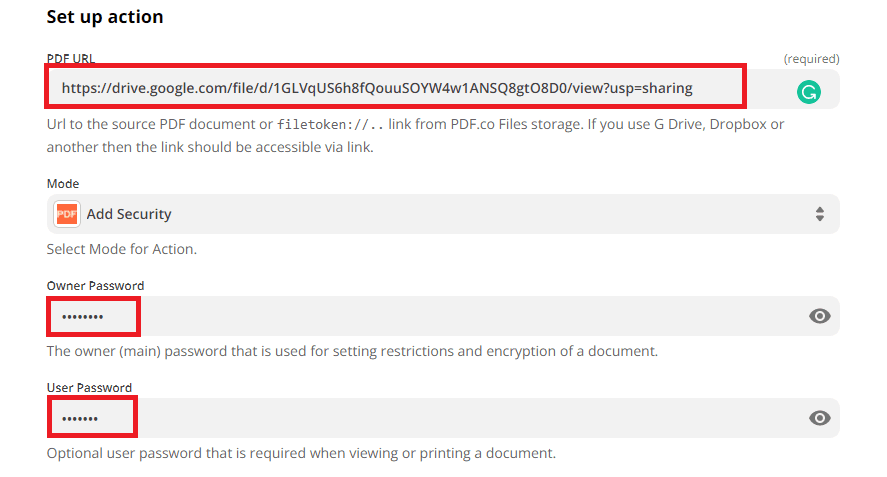
Step 7: Add Password
Let’s configure the PDF Security module.
- In the PDF URL field, paste the ebook’s link. Be sure to set the file sharing setting in Google Drive to Anyone with link.
- In the Owner Password field, enter your admin password.
- In the User Password field, enter your reader’s password.
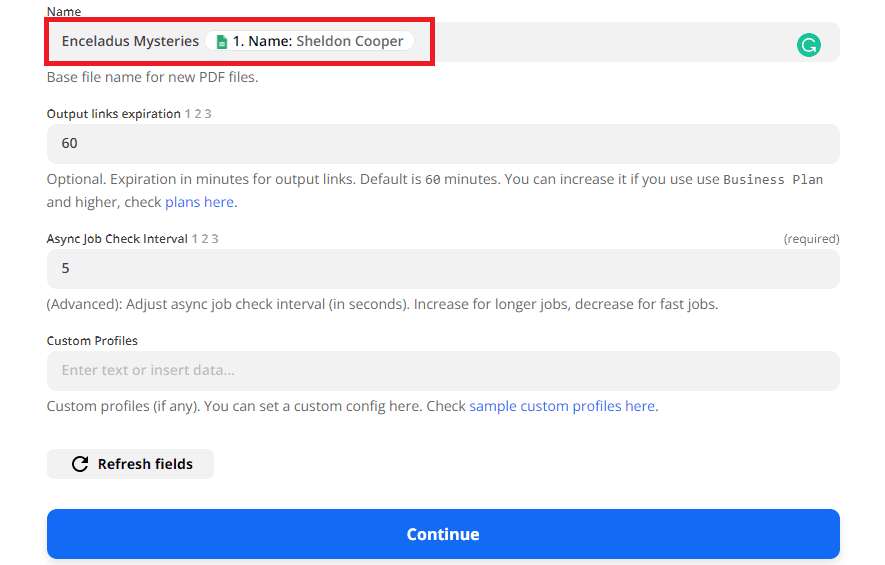
Step 8: Add Reader Name
Let’s add the ebook’s title and the reader’s name in the Name field.
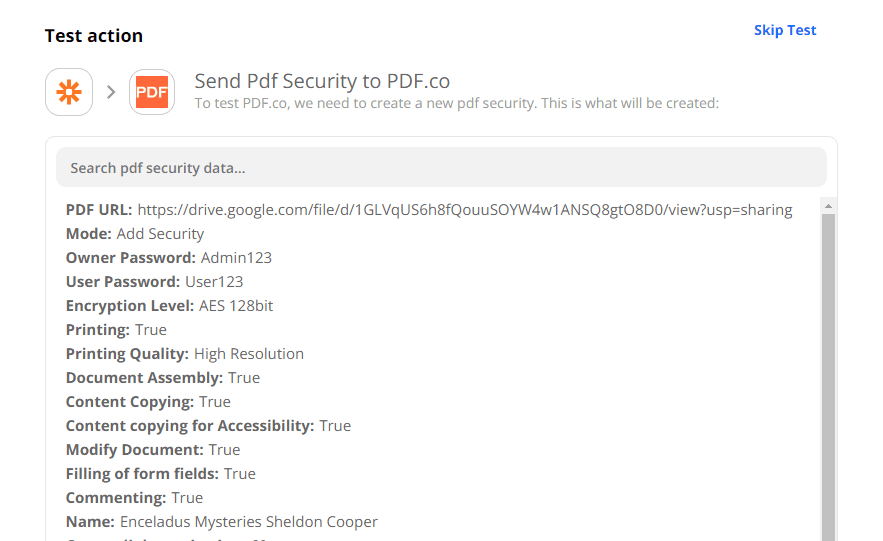
Step 9: Test PDF.co Action
Click on the Test & Review button to make sure that we set it up correctly.
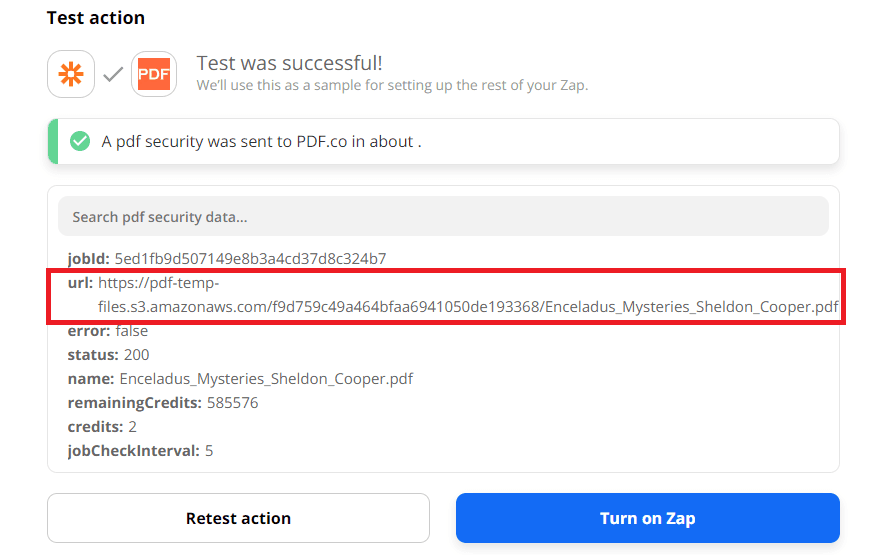
Step 10: PDF Security Output
You can open the output URL to view the result and make any necessary adjustments before you send it to your reader.
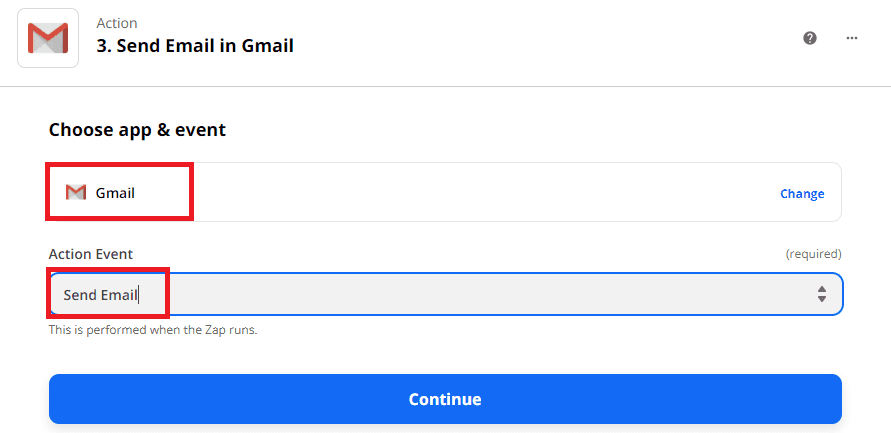
Step 11: Add Gmail
We will use Gmail to send the ebooks to our readers. Choose the Send Email as the Action Event.
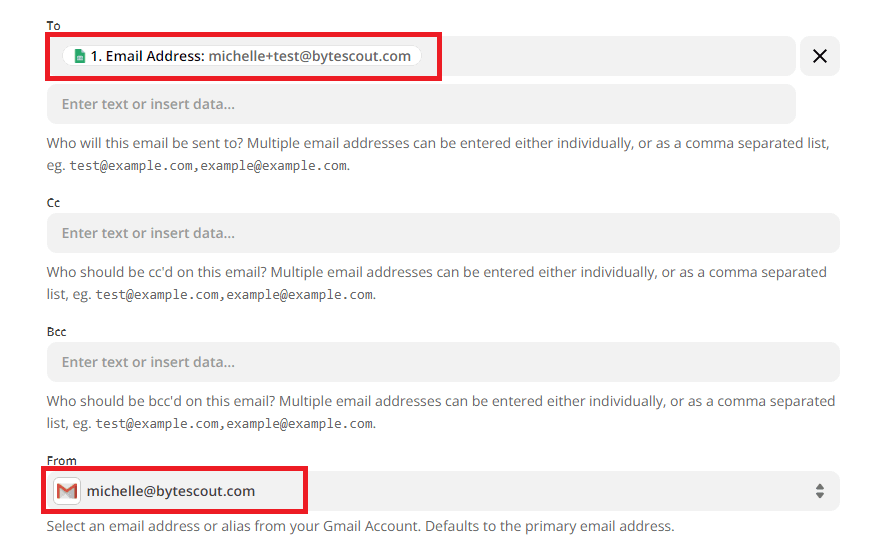
Step 12: Add Email Address
Select the reader’s email address in the To field and your email address in the From field.
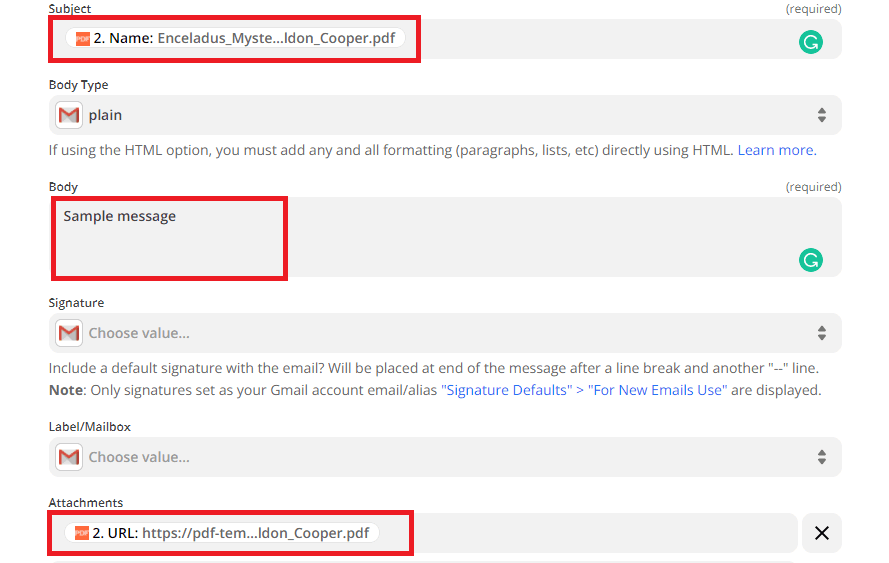
Step 13: Add Ebook As Attachment
Add the PDF.co output URL as an email attachment. You can use the PDF.co output Name as the Subject.
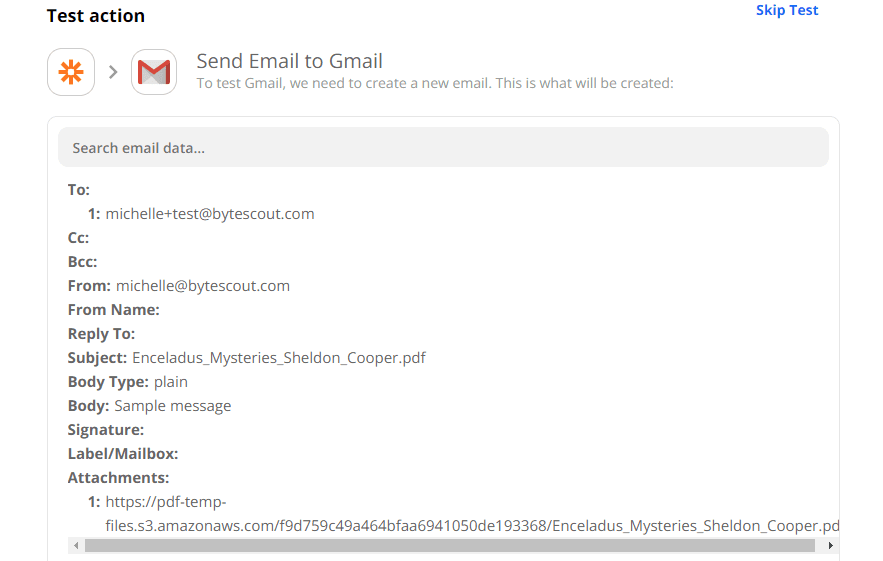
Step 14: Test Gmail
Now, let’s test our configuration to make sure that it works.
Step 15: Gmail Confirmation
We have successfully sent the ebook to our recipient’s email address.

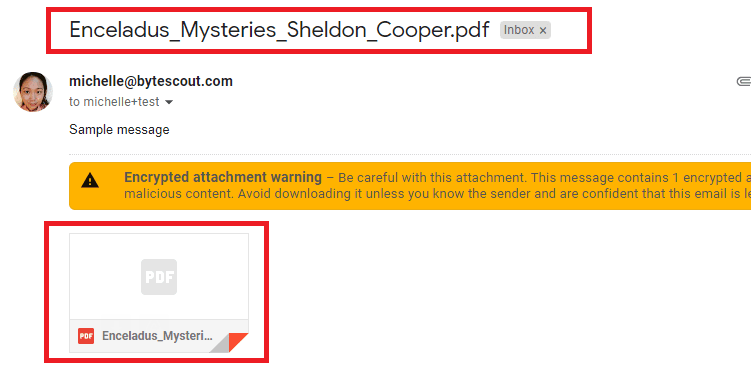
Step 16: Ebook Email
This is how the email looks like in the recipient’s inbox.
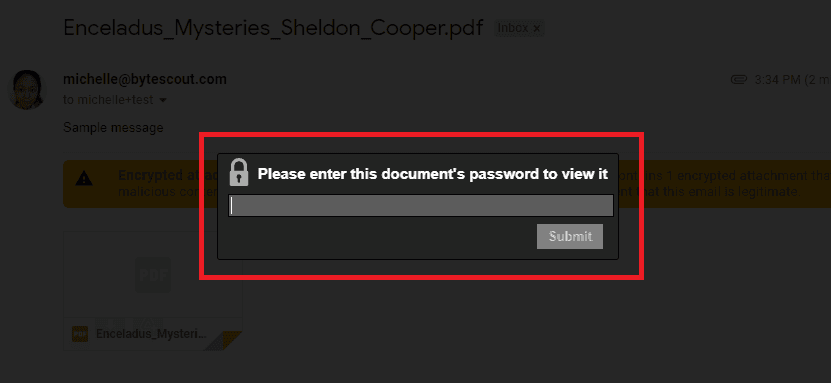
Step 17: Open Ebook
When the reader opens the ebook, it will ask for a password. You have the option to add the reader password in the email’s body.
In this tutorial, you learned how to use Google Drive’s New Spreadsheet Row as a Trigger to run a Zap. You also learned how to add security to your ebook by adding passwords and personalizing the output name using PDF.co PDF Security. Most of all, you learned how to automatically send a secure ebook to your readers.
Video Guide
Related Tutorials
