How to Import PDF.co Custom Power Automate Cloud Connector
This tutorial will demonstrate how to add a PDF.co Custom connector for Power Automate Cloud.
New Custom Connector
The first step would be to go to the Custom Connector sub-menu inside the Data section. Upon clicking, it’ll open a page for Custom Connectors.
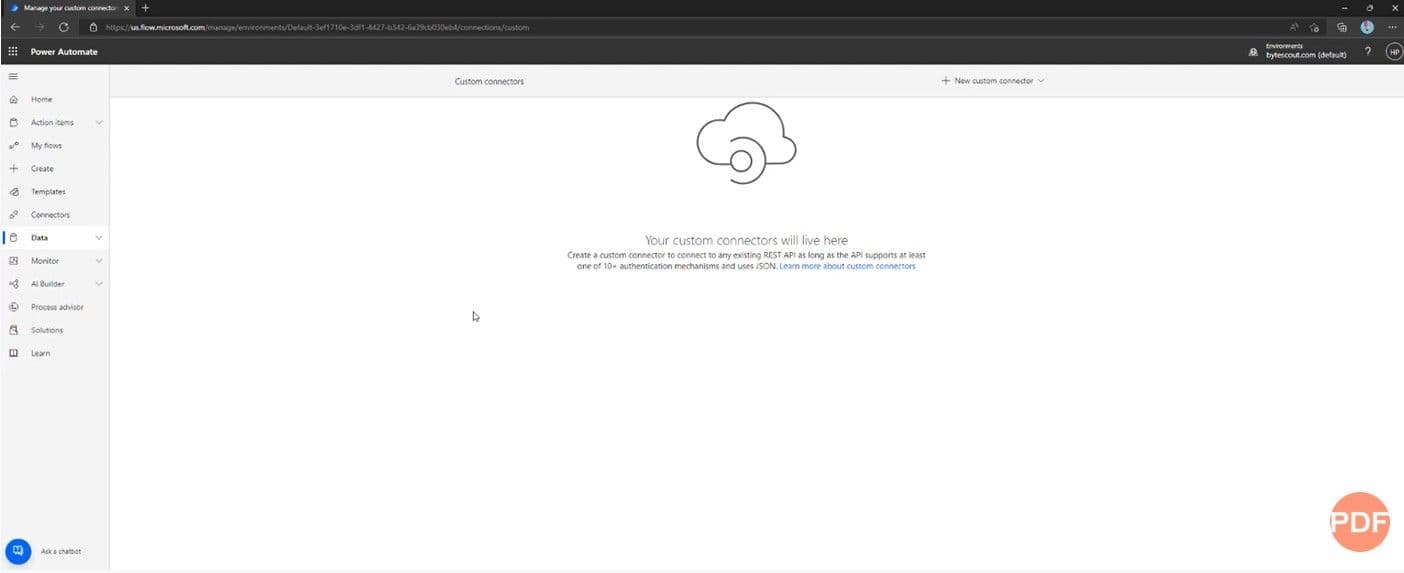
Import an Open API File
From the top-right menu named “New custom connector”, click on the “Import an OpenAPI file” menu. This action would open a popup for importing an OpenAPI file.
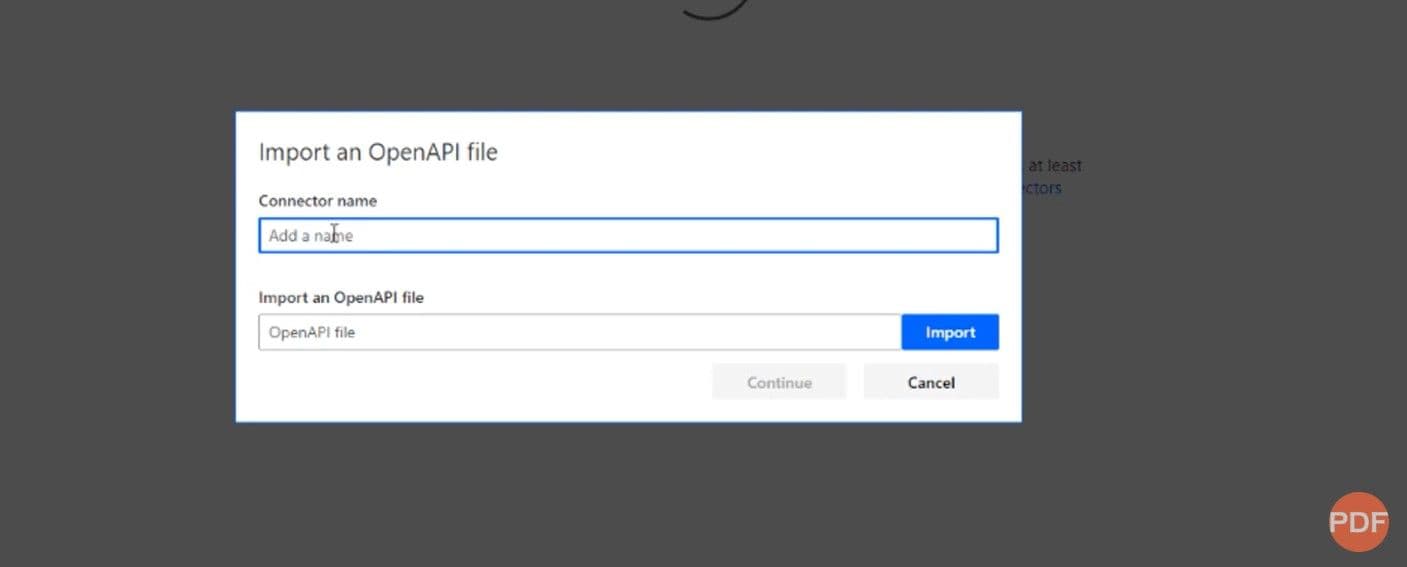
Let’s name this connector “PDFco”. For an OpenAPI file, we need to select a JSON file for that.
Download Power Automate Connector
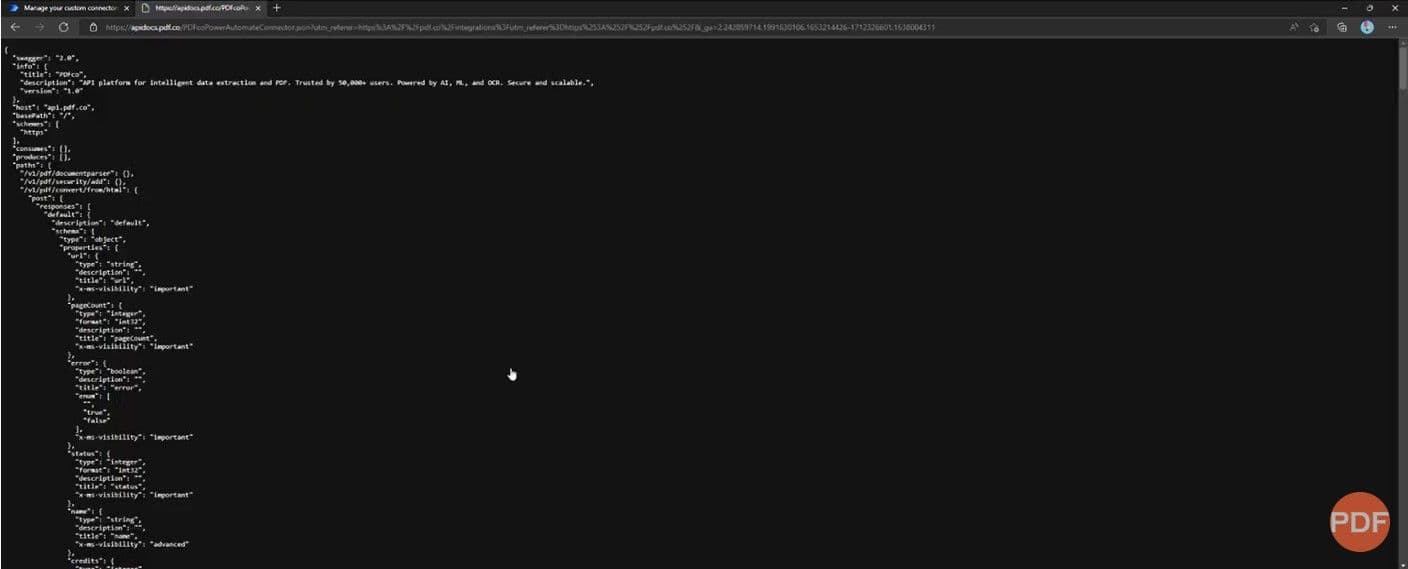
The PDF.co Power Automate custom connector can be found on the PDF.co website. On the integration page you’ll find a button to download a custom connector. Now, perform the download and save the file to your machine.
Create Connector
Now moving back to Power Automate, select the downloaded file and click on the “Continue” button. It will display all information regarding the “PDFco” extension. The next step will be to click on the “Create connector” button, and it’ll save the PDF.co custom connector.
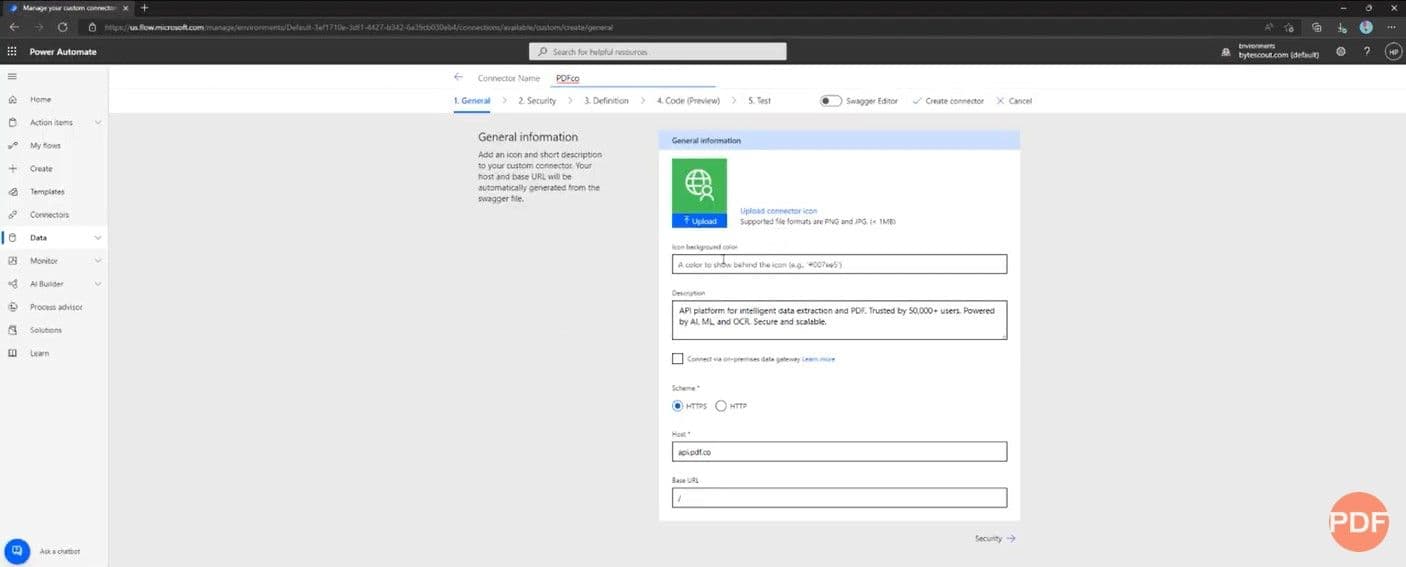
And that’s it! We can now see the PDF.co custom connector added!
Video Guide
Related Tutorials
