You may use different cloud storage of your choice.
How to Add a Watermark to PDF Files
Sep 2, 2024·3 Minutes Read
If you have a business, you really want to add a watermark to your PDF files to avoid stealing. The worst part would be to add a watermark to thousands of PDF files. The good news is that you can actually automate the process using PDF.co Web API and Zapier.
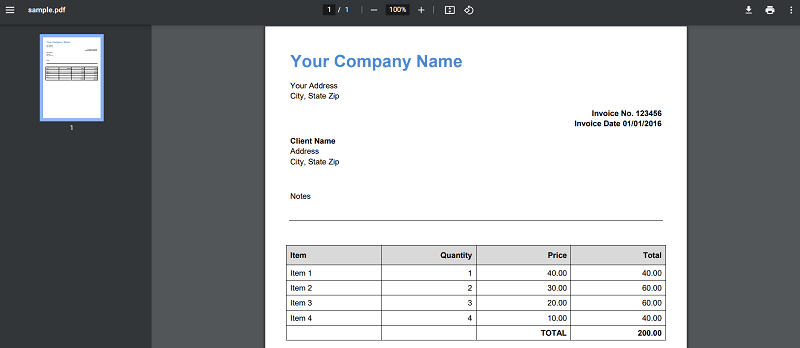
Here’s a step-by-step guide. We will use this sample PDF invoice for this tutorial and add a watermark to it.
Step 1: Create a Zap
- On your Zapier dashboard, click Create Zap
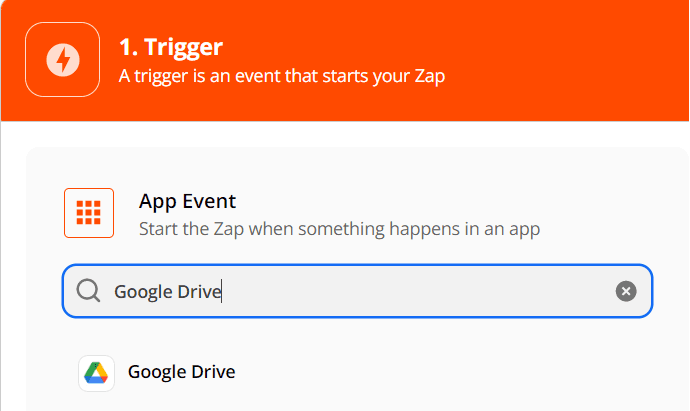
Step 2: Select a Trigger App
- For this tutorial, we will use Google Drive as our Trigger App
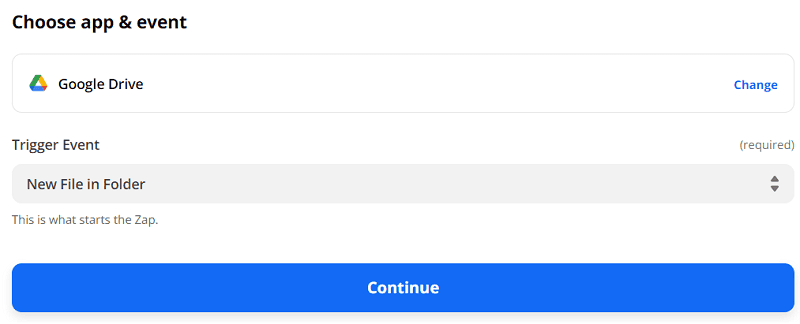
Step 3: Select a Trigger Event
- For the Trigger Event, select New File in Folder. This will trigger the Zap every time there’s a new file in the selected folder
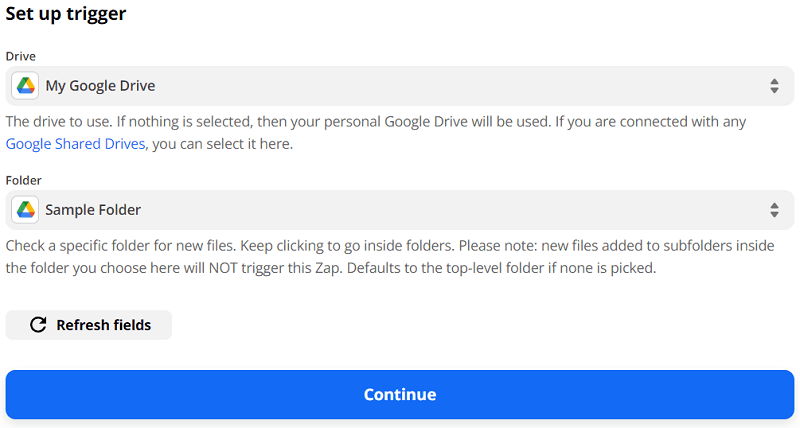
Step 4: Setup Trigger
- Select the Drive and Folder that you’re going to use
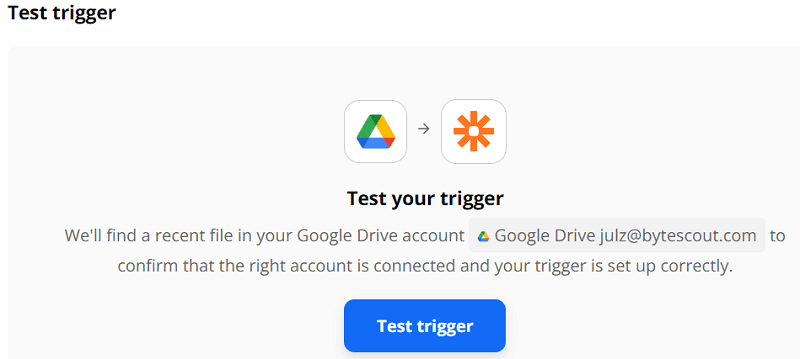
Step 5: Test Trigger
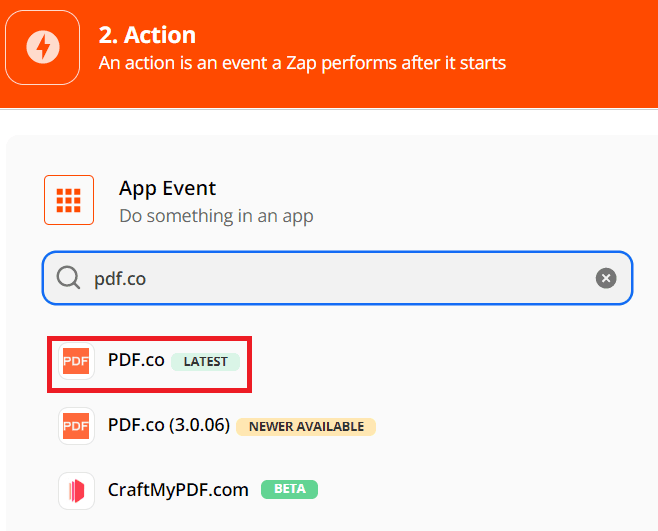
Step 6: Select an Action App
- Search and select PDF.co as the Action App
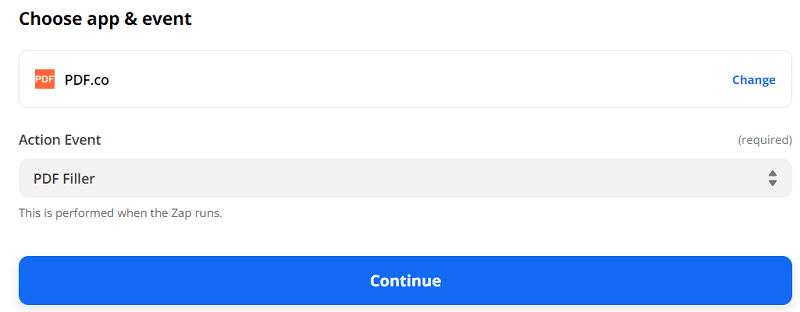
Step 7: Select an Action Event
- Select PDF Filler as the Action Event. This will be the API that we will use to insert a watermark to your PDF.
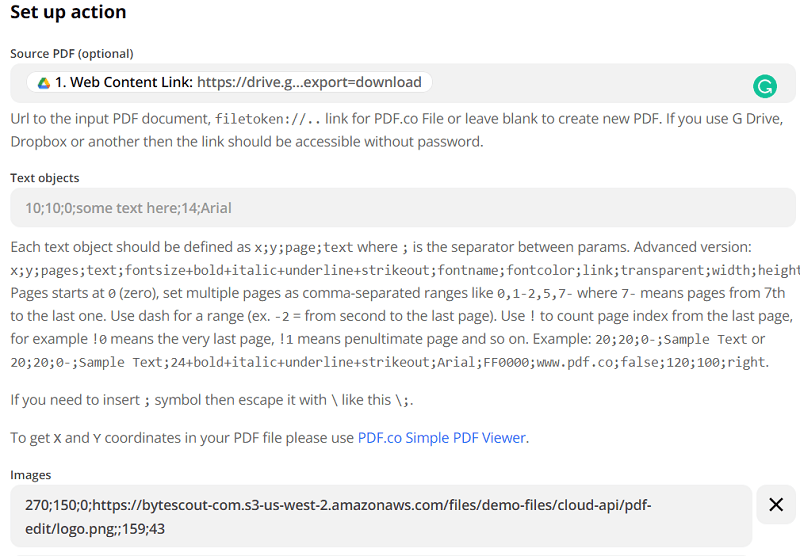
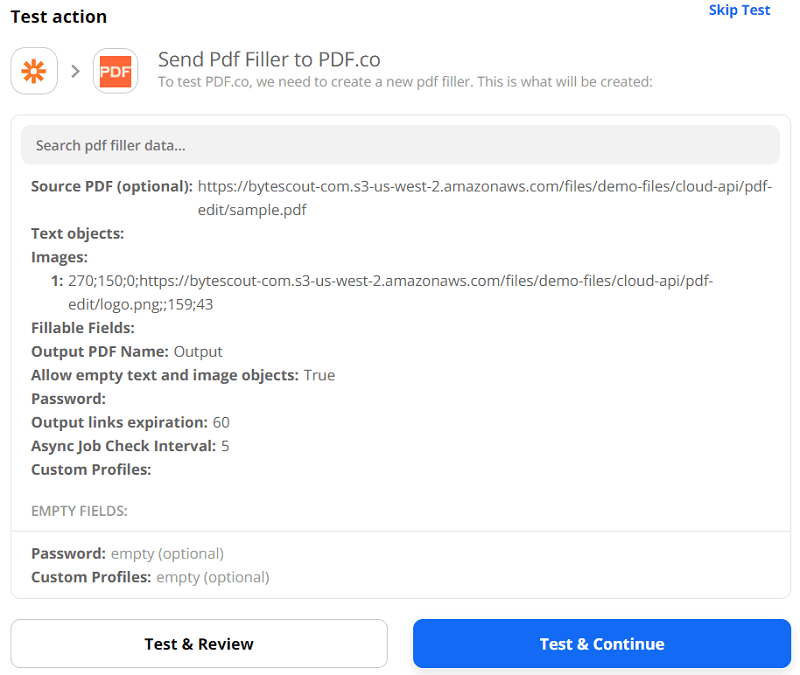
Step 8: Setup Action
- For the Source PDF, insert the link where your PDF is located
- For the Images, insert the X and Y coordinates, the page where you want to insert the watermark/logo, the link to your watermark/logo, and the width and height of the watermark. You can find the coordinates of your PDF with our PDF Edit Add Helper.
Step 9: Test Action
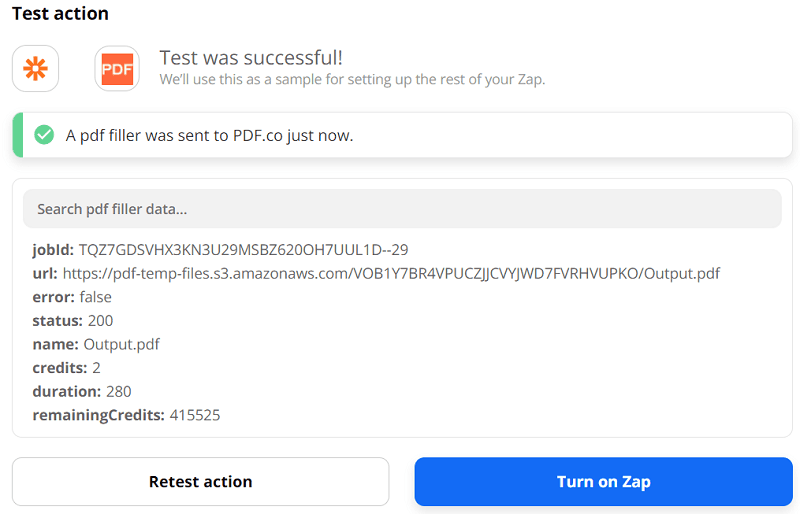
Step 10: Result
- Here’s what the result looks like

You learned how to add a watermark to your PDF files in this tutorial.
Related Tutorials

Ephesoft Transact vs PDF.co: Compare and Review
Jul 21, 2025·6 Minutes Read
Convert Google Docs into Password-Protected PDF using PDF.co and Zapier
Jul 21, 2025·4 Minutes Read