Effortlessly Add Watermark to PDFs and Save to S3 using Honeycode, PDF.co, and Zapier
Adding a watermark to a PDF document is a common practice to protect the document’s content and prevent unauthorized use or distribution. With the help of PDF.co, a tool designed for working with PDF files, you can easily add a watermark to your PDF documents.
Once you’ve added a watermark to your PDF, you may want to save it for future reference or share it with others. For this purpose, you can use Honeycode, a cloud-based service that lets you create custom apps and workflows, and Amazon S3, a popular storage service provided by Amazon Web Services.
By connecting PDF.co, Honeycode, and S3 using Zapier, you can automate the process of adding a watermark to your PDFs, saving them to Honeycode for easy access and management, and then storing them in S3 for secure long-term storage. This can save you time and effort, especially if you need to add watermarks to multiple PDFs on a regular basis.
In this tutorial, we’ll guide you through the process of adding watermarks to PDFs and storing them in an S3 bucket with ease, using PDF.co, Honeycode, and Zapier.
By the end of this tutorial, you’ll be able to automate the process of adding watermarks to PDFs and storing them securely in S3. This will save you time and effort, and make it easy to keep your documents organized and accessible.
So, let’s get started and see how we can effortlessly add watermarks to PDFs and save them to S3 with the help of these three powerful tools!
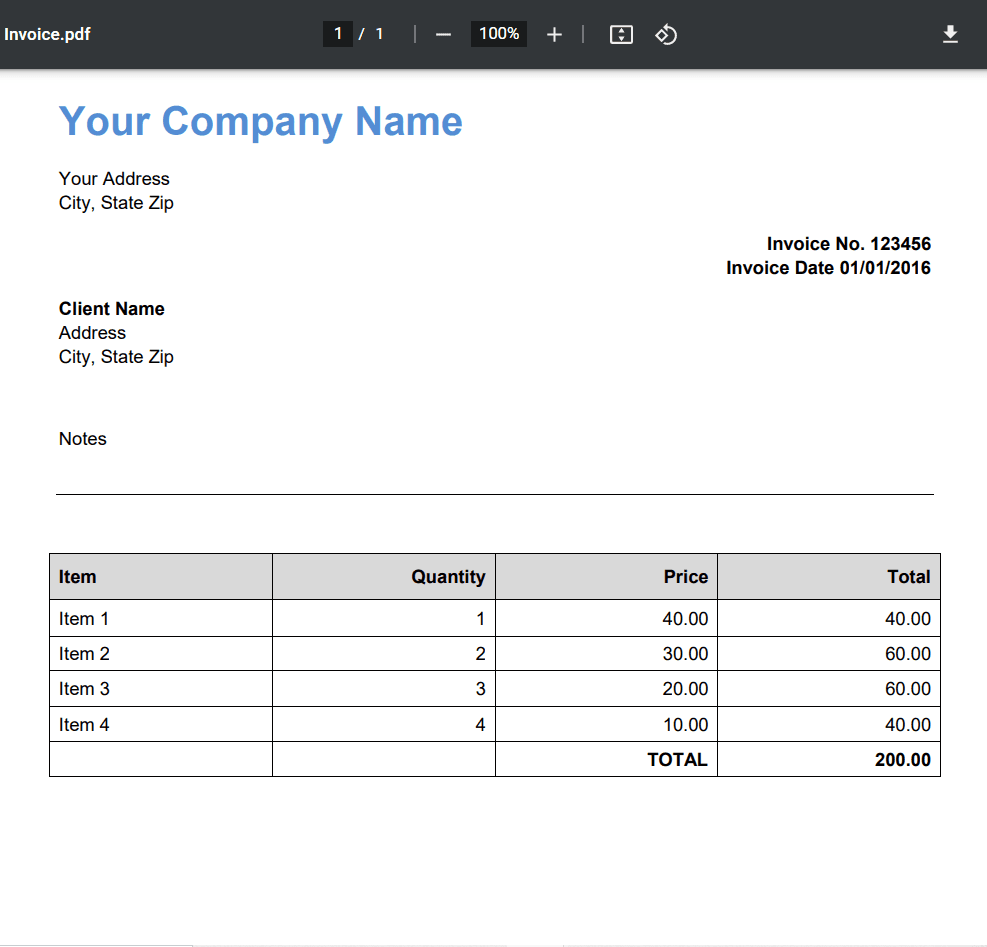
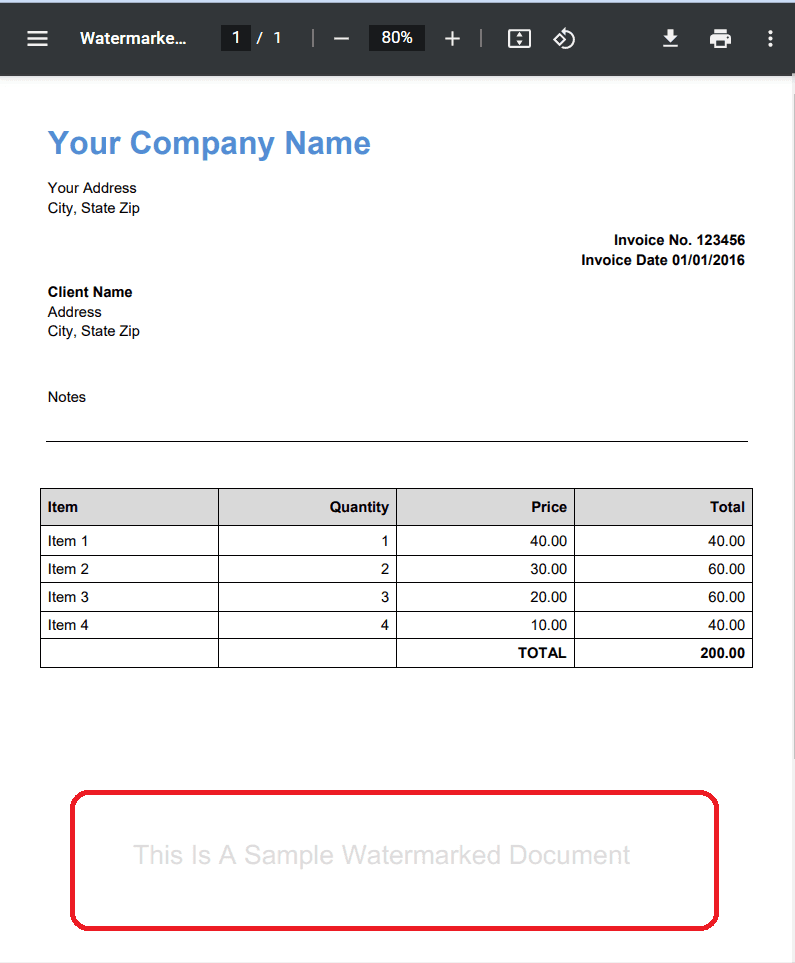
We will use a sample PDF document for this purpose, which we will watermark and save to S3 using Honeycode data.
Step 1: Open Zapier Editor
- To get started, log in to your Zapier account and click the “Create Zap” button in the top navigation bar.
Step 2: Google Drive App
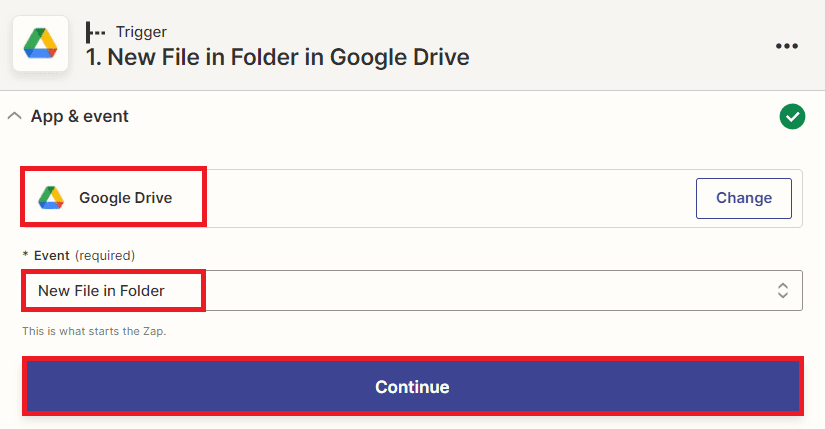
- Next by adding the Google Drive app to your Zap, you can further automate the process of adding watermarked PDF files to your S3 bucket. Specifically, you can use the “New File in Folder” trigger event to watch for new files that are uploaded to a specific folder in your Google Drive account.
Note: Aside from Google Drive, there are many other cloud storage services that you can use in Zapier to automate your document management workflow. For example, you can use OneDrive, Dropbox, iCloud, Box, and many other cloud storage services to store your PDF files and automatically add watermarks to them.
Step 3: Setup Trigger
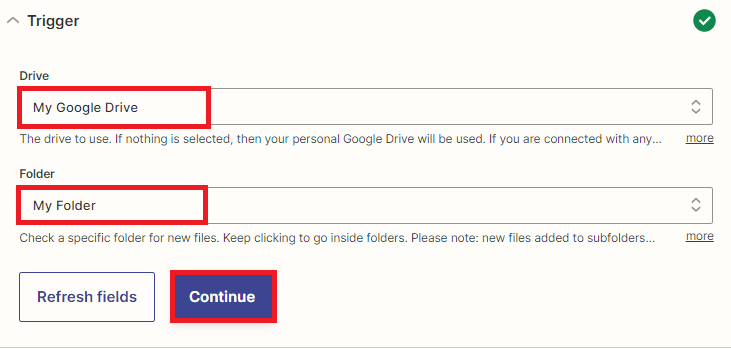
Let’s set up the trigger for your Zap.
- In the “Drive” field, select “My Google Drive” to indicate that you want to monitor your own Google Drive account for new files.
- In the “Folder” field, enter the specific folder where the file you want to watermark resides. This tells Zapier to only look for new files in that particular folder, which can help you keep your workflow organized and avoid unnecessary triggers.
After setting up the trigger, it’s important to test your Zap to ensure that it’s working correctly.
Step 4: Test Trigger Result
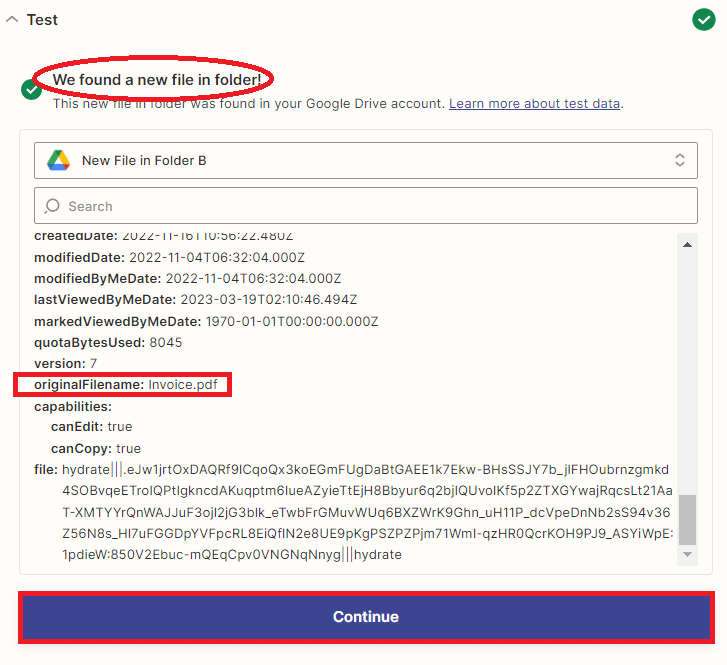
- Great! The test trigger was successful and Zapier was able to detect the new file in your Google Drive folder. Now it’s time to move on to the next step in your Zap, which is to add a watermark to the PDF file using PDF.co.

Step 6: Setup PDF.co Action
To set up the PDF.co action and add a watermark to your PDF file, follow these steps:
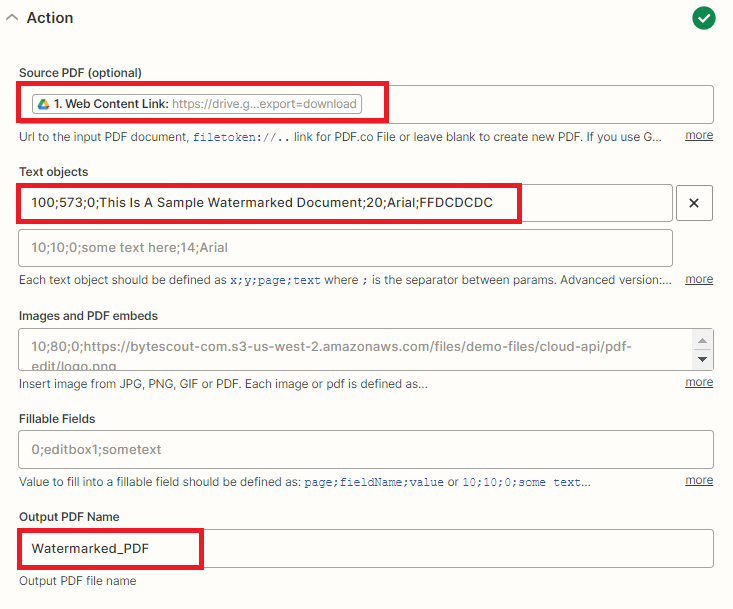
- First, in the Source PDF field, select the Web Content Link from Google Drive where your PDF file is located.
- Next, navigate to the Text objects field, and input the desired x and y coordinates where you want to add the watermark. You can use the PDF.co PDF Viewer tool to easily get the coordinates of the document.
- Lastly, specify the range of PDF pages to which you want to add a watermark, and ensure that you input the watermark text along with the preferred font size, font name, and font color. These details will ensure that your PDF is customized to your preferences and that the watermark is displayed accurately in the desired location. Kindly follow this format:
x, y, pages, text, font size, font name, and font color.
After setting up the configuration for adding the watermark to the PDF file using PDF.co, it’s recommended to test the action before proceeding to the next step.
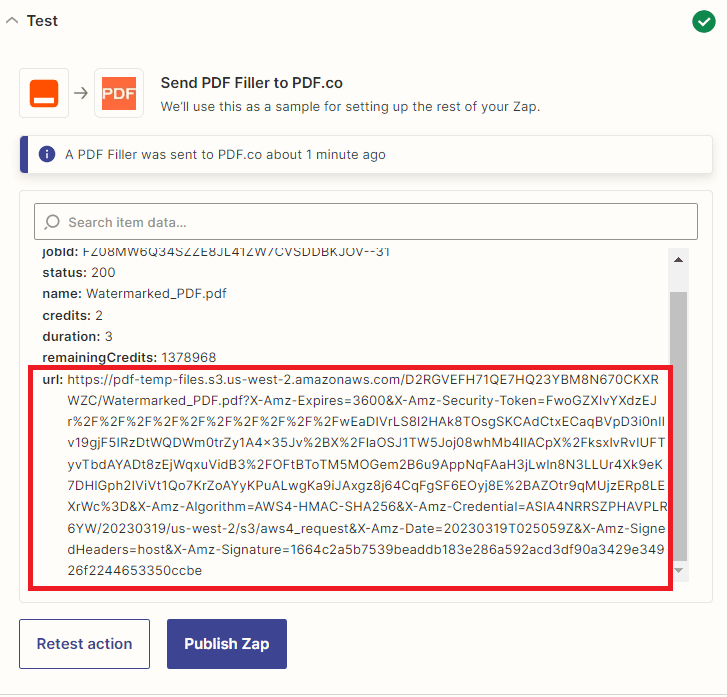
Step 7: PDF.co Test Result
- Awesome! Since the PDF file has been successfully watermarked using PDF.co, you can now proceed to add another app to your Zap.
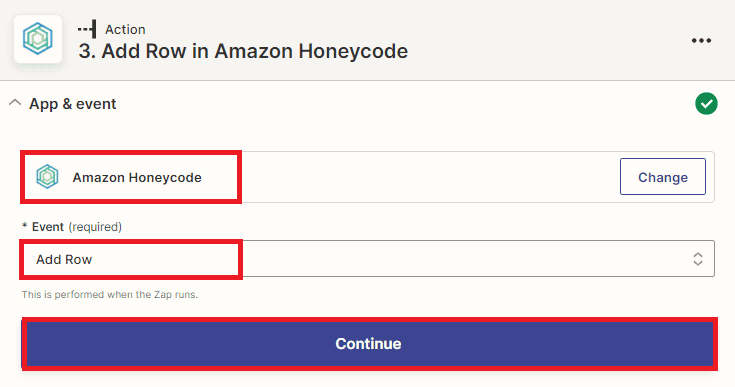
Step 9: Add Honeycode App
- In this step, we will add the Honeycode app to your Zap and use the “Add Row” action to add a new row to your Honeycode table containing the watermarked PDF file. This will enable you to store the watermarked PDF file in a Honeycode table for easy access and management.
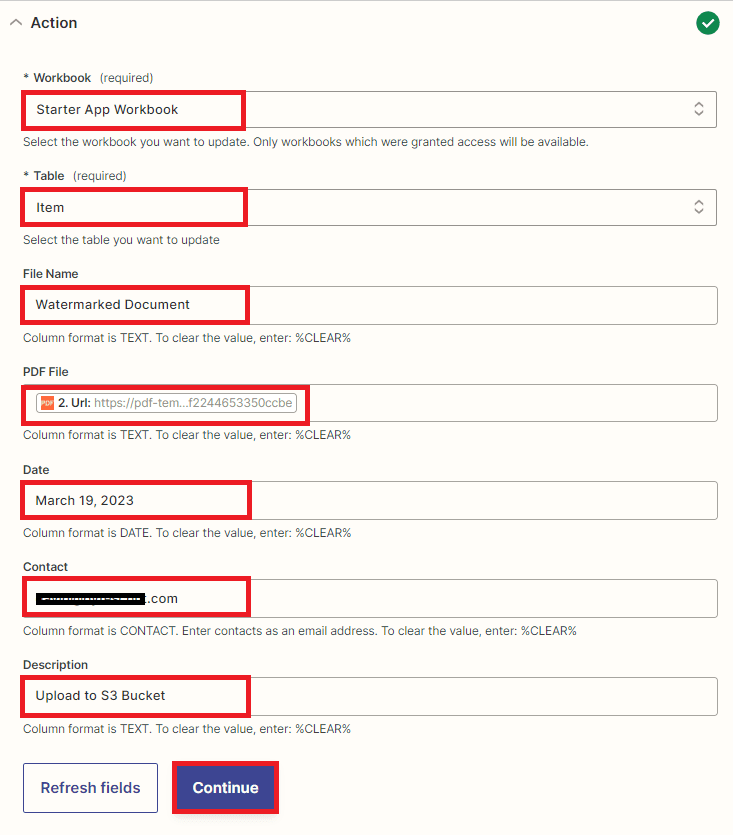
Step 10: Setup Honeycode App
- First to set up the Honeycode app, start by selecting the desired workbook in the Workbook field.
- Next, choose the table where you want to store the watermarked PDF file in the Table field.
- In your Honeycode workbook, you can create various fields such as File Name, PDF File, Date, Contact, and Description by selecting from the available options. However, in this scenario, the most crucial field is the one that will store the PDF File after adding a watermark.
Note: To enable the storage of the PDF files, create a new workbook in Amazon Honeycode and add a new app to the workbook. Within the app, create a table to store the PDF file URL.
Once you have set up the Honeycode app and configured the fields to store the watermarked PDF file, you can test the action by triggering the Zap. This will add a new row to the selected table in Honeycode with the watermarked PDF file and its corresponding metadata, such as the PDF name, date, and contact information.
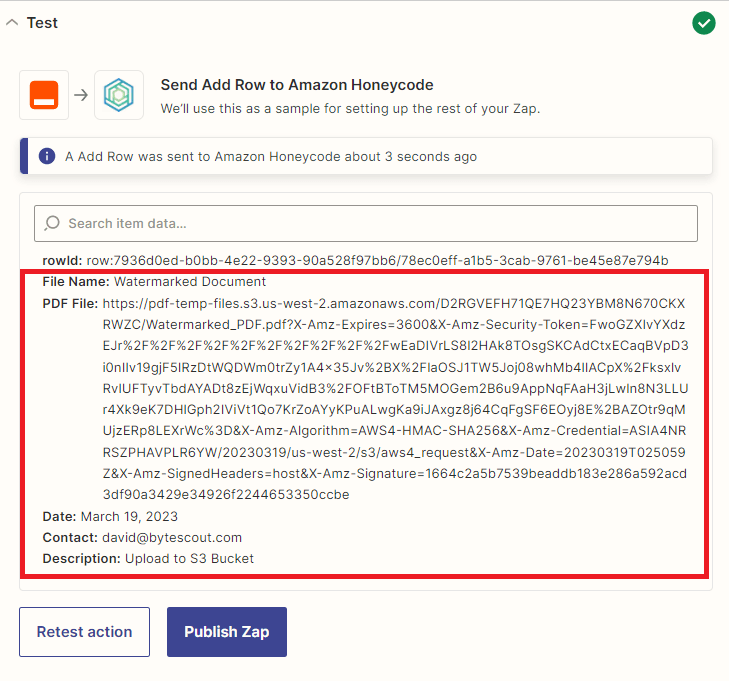
Step 11: Honeycode Test Result
- Excellent! After testing the action, Honeycode was able to successfully add a new row to the designated Workbook table and store the watermarked PDF file in the specified field. We can now add another app and upload the file to the S3 bucket.
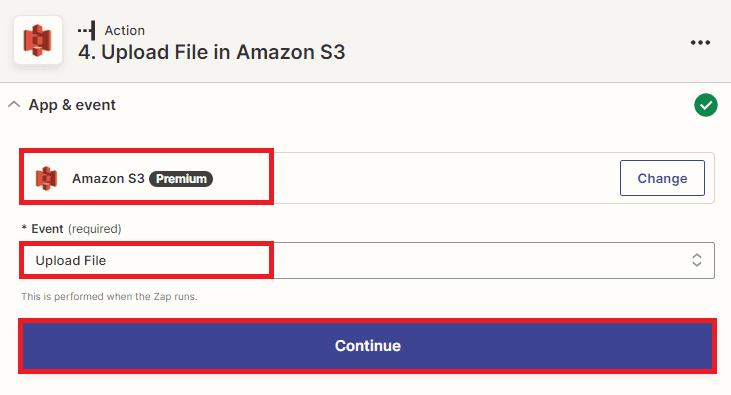
Step 12: Add Amazon S3
- In this step, we will add the Amazon S3 app in Zapier and select the Upload File option to upload and save the watermarked PDF file to the S3 bucket.
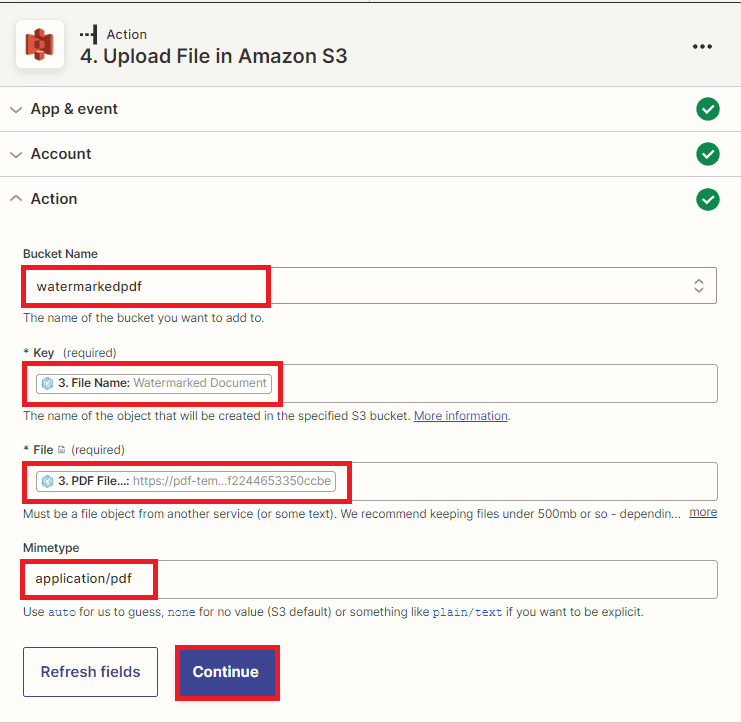
Step 13: Setup Amazon S3
- Let’s set up the Amazon S3 app by entering the credentials of your S3 bucket. First, specify the name of your S3 bucket in the Bucket Name field.
- Next, set the file name object that will be created in a specified bucket for the Key field.
- Then, select the PDF File that is stored in your Honeycode table in the File field.
- Finally, add the specified file type in the Mimetype field.
Once the configuration is set up, test the action to ensure that the watermarked PDF file is successfully saved in the S3 bucket.
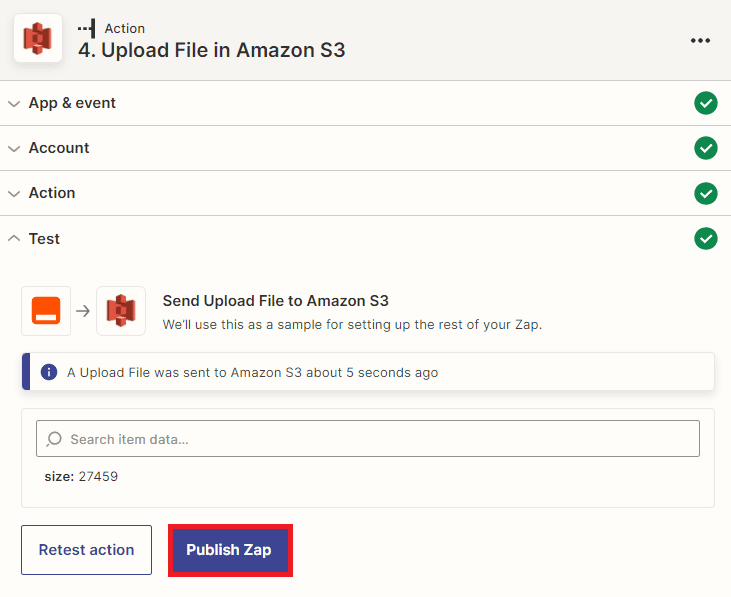
Step 14: S3 Test Result
- Congratulations! The test was completed successfully, and the PDF file was successfully uploaded to the designated S3 bucket. By turning on the Zap, you can automate the file upload process and reduce the need for manual intervention. This helps to save time and reduce the risk of errors while ensuring seamless integration between the Honeycode workbook table and S3 bucket.
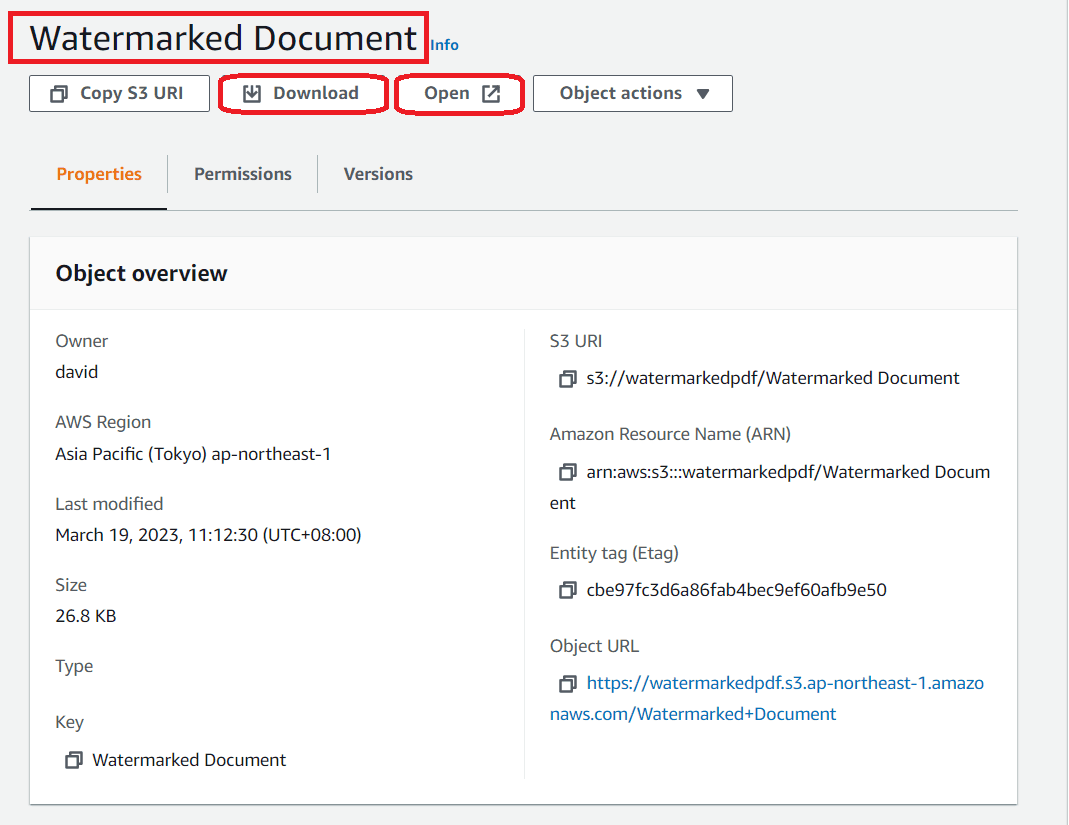
Step 15: Uploaded File to S3 Bucket
- We successfully uploaded the file from a Honeycode workbook table to the S3 bucket, allowing for easy storage, access, and management. To view the file just simply click the Open button or directly Download the file. This integration offers advantages such as scalability, durability, and accessibility.
This tutorial covers the integration of different tools, including Honeycode, S3 bucket, Zapier, and PDF.co, to provide an efficient solution for managing PDF documents from an external location. It highlights the benefits of S3 storage, such as scalability, durability, and accessibility, and emphasizes the importance of adding an extra layer of security through PDFco. The tutorial also highlights the role of Zapier in automating the file upload process, reducing manual intervention, and saving time while ensuring seamless integration between the different tools. Overall, this tutorial provides insights into the best practices for managing documents in a secure and efficient way.
Video Guide
Related Tutorials
