Note: If you already have an existing scanned signature and would like to convert it to Datauri Base64 URL, you can use our PDF.co Image to Datauri Tool.
How to Add Signature to PDF using PDF.co and Zapier
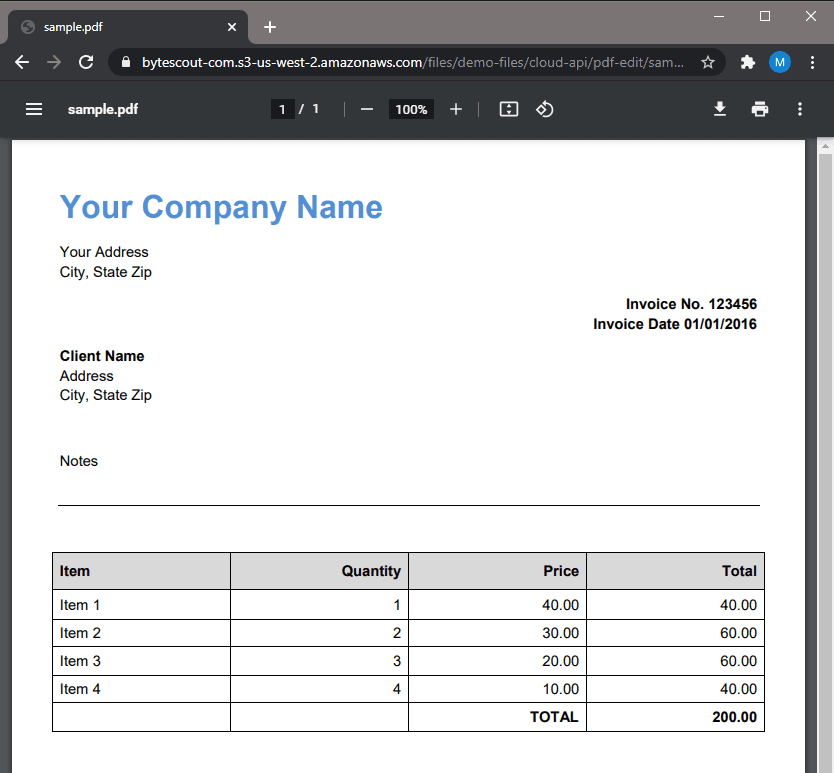
In this tutorial, we will show you how you can affix your name and signature in a PDF using PDF.co Make Signature Tool and Zapier.
IN THIS TUTORIAL
Step 1: Draw Signature by Using PDF.co Make Signature Tool
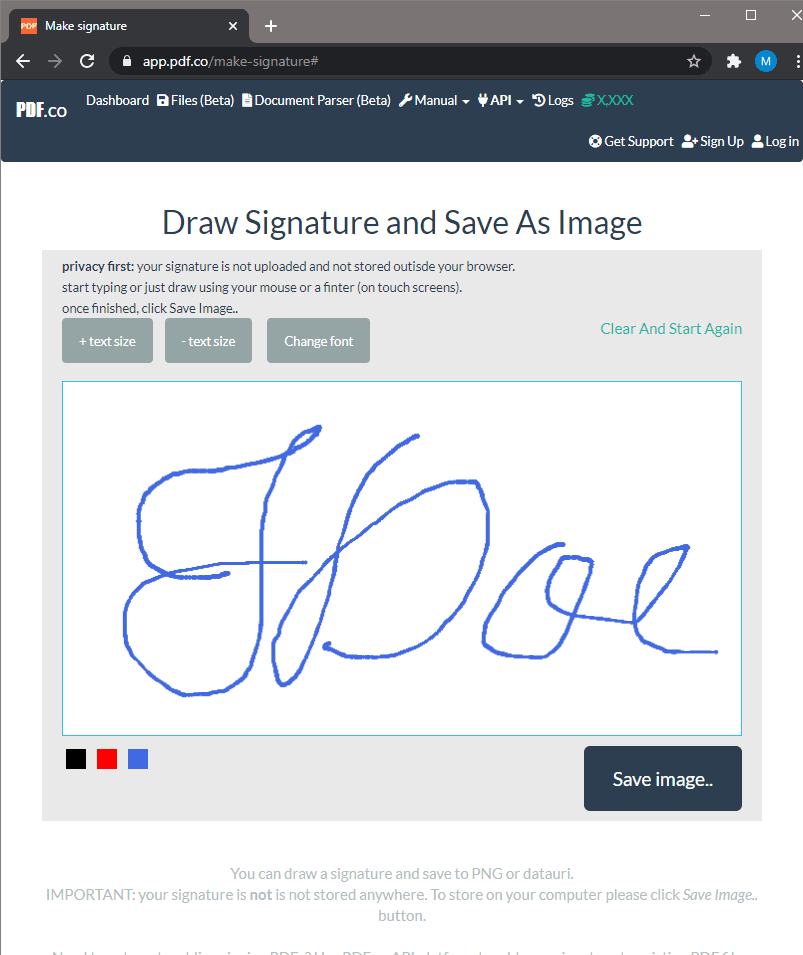
First, let’s draw our signature in the PDF.co Make Signature Tool. You can choose among three different font colors and the option to resize your signature. Once done, click on the Save Image button.
Step 2: Download Signature Image as PNG or Save the Datauri URL
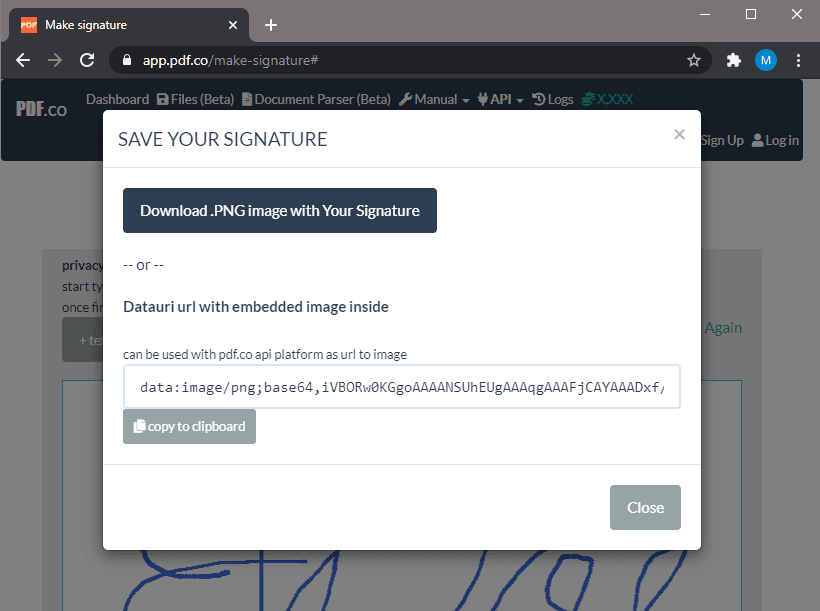
There are two options to store your signature. You can either download the signature image to your local machine in PNG format or save the Datauri URL.
Step 3: Utilize PDF.co PDF Filler
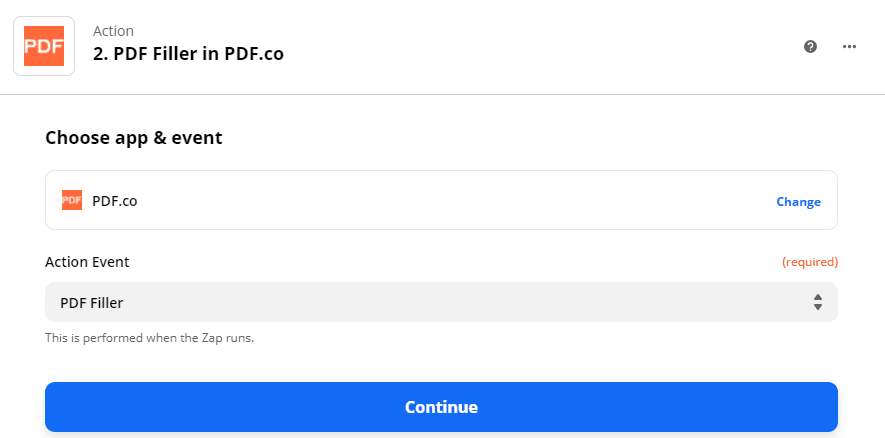
Next, let’s set up the PDF.co. Kindly choose PDF.co as the App and the PDF Filler as the Action Event.
Step 4: Configure PDF Filler
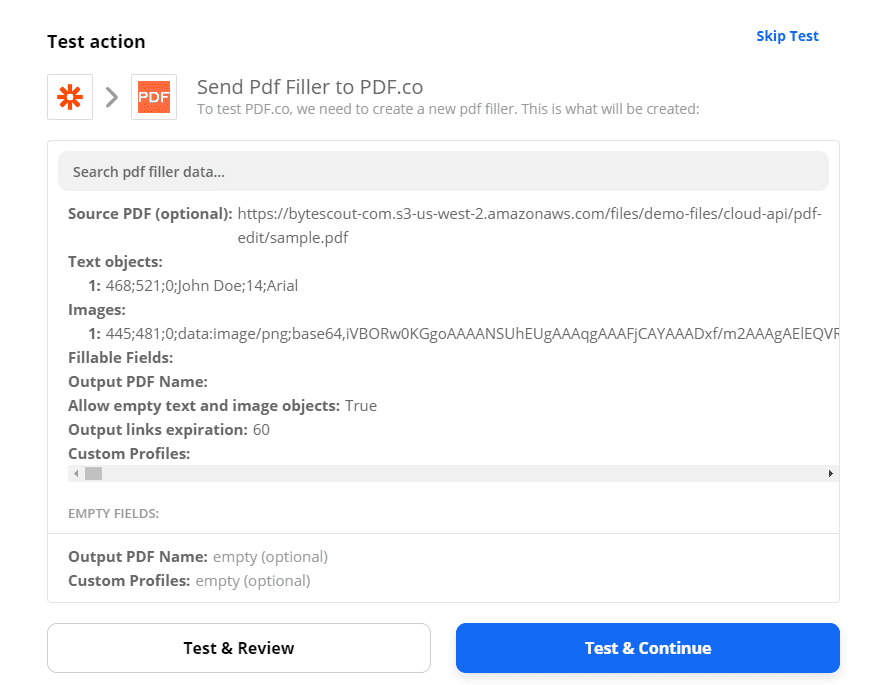
Then, let’s configure the PDF Filler to affix the name and signature in the PDF.
- In the Source PDF field, kindly enter the PDF URL.
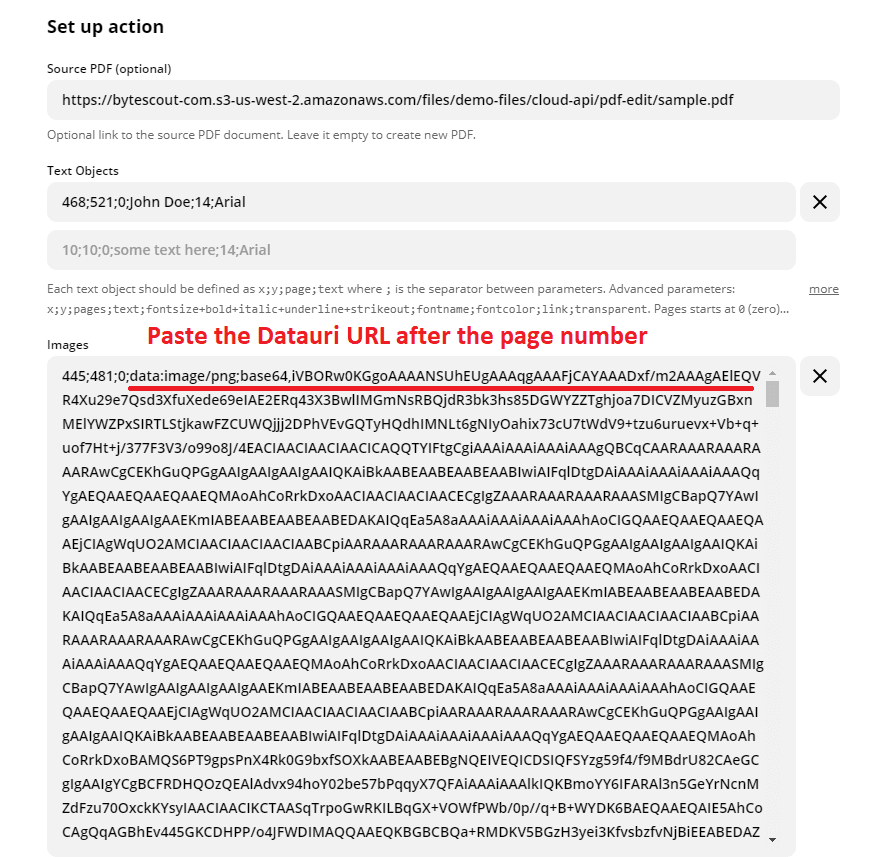
- In the Text Object field, type in the x and y coordinate of the name as well as the font name, size, and page number in this format
x;y;pageNumber;text;fontSize;fontNameKindly refer to step 6 on how to easily get the x and y coordinates. - In the Images field, enter the x and y coordinate, page number, Datauri URL, and signature width and height if necessary in this format
x;y;pageNumber;url;linkToOpen;width;height
Step 5: Get the Coordinates for Adding the Image
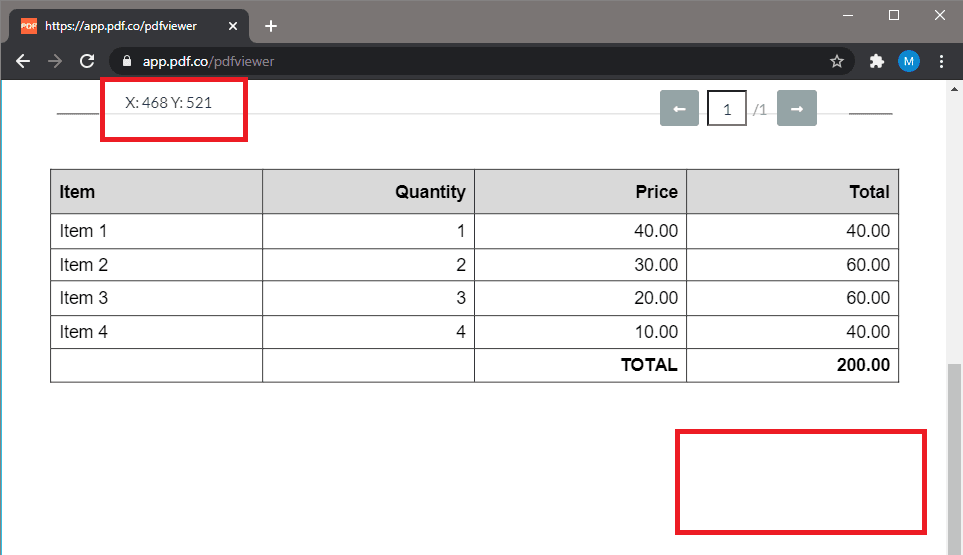
You can easily get the x and y coordinates using the PDF.co PDF/Edit/Add Helper. You can upload your file from your local machine, from Dropbox, or from a URL. Kindly hover your mouse over the area where you want to add the text or image and you will see the x and y coordinates on the top left.
Step 6: Upload PNG Signature in the File Storage
PDF.co has a built-in File Storage where you can permanently store your documents. You can upload your PNG signature in the File Storage and grab the private URL to easily reuse the signature. You can check out this tutorial on how to use File Storage.
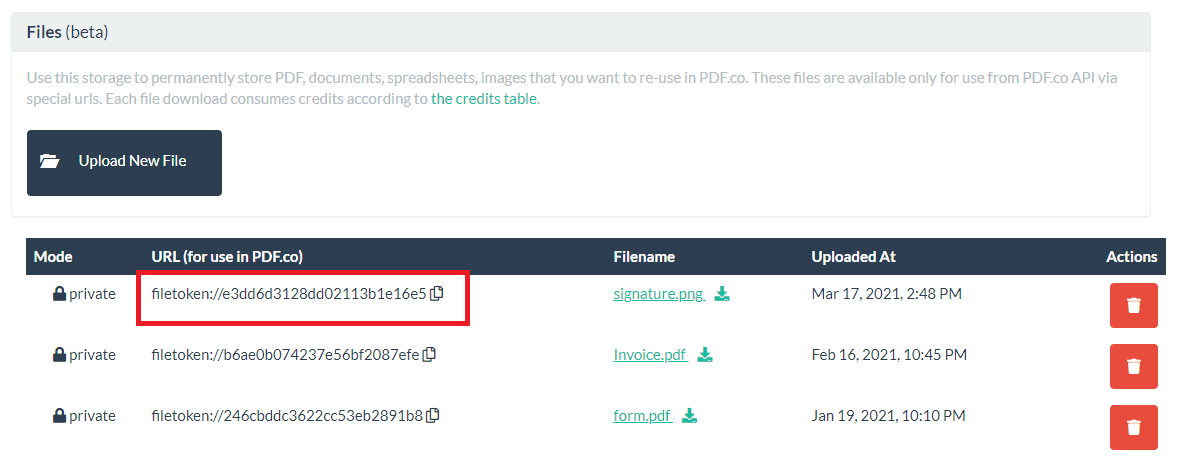
Instead of the long Datauri URL, you can use the private URL of the uploaded signature in the PDF.co File Storage.
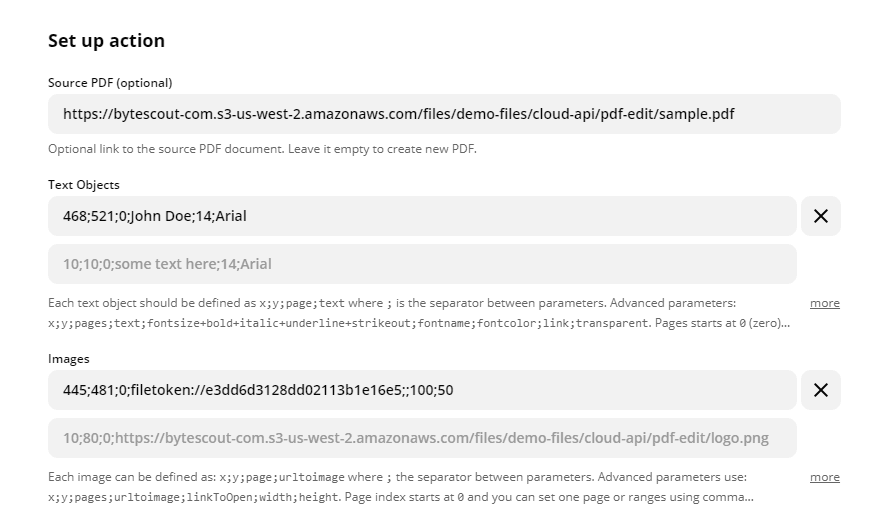
Step 7: Send Data to PDF.co for Test & Review
We are now ready to send our PDF Filler data to PDF.co for Test & Review.
Step 8: View Output
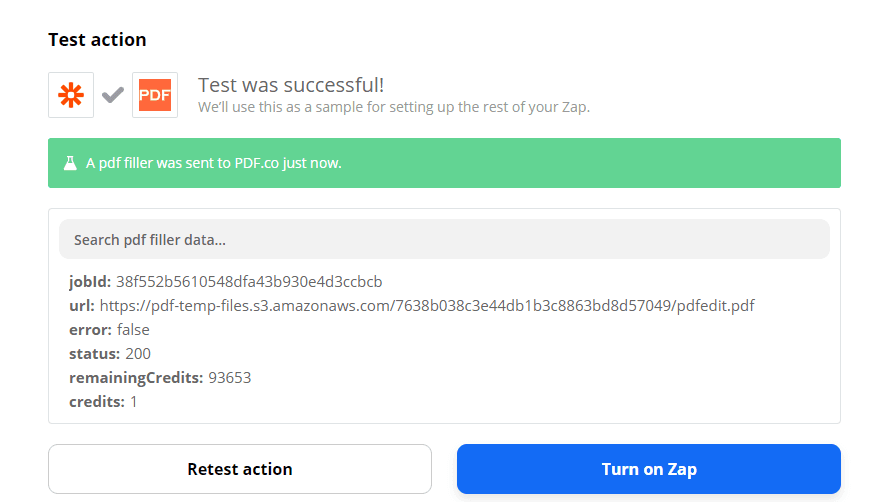
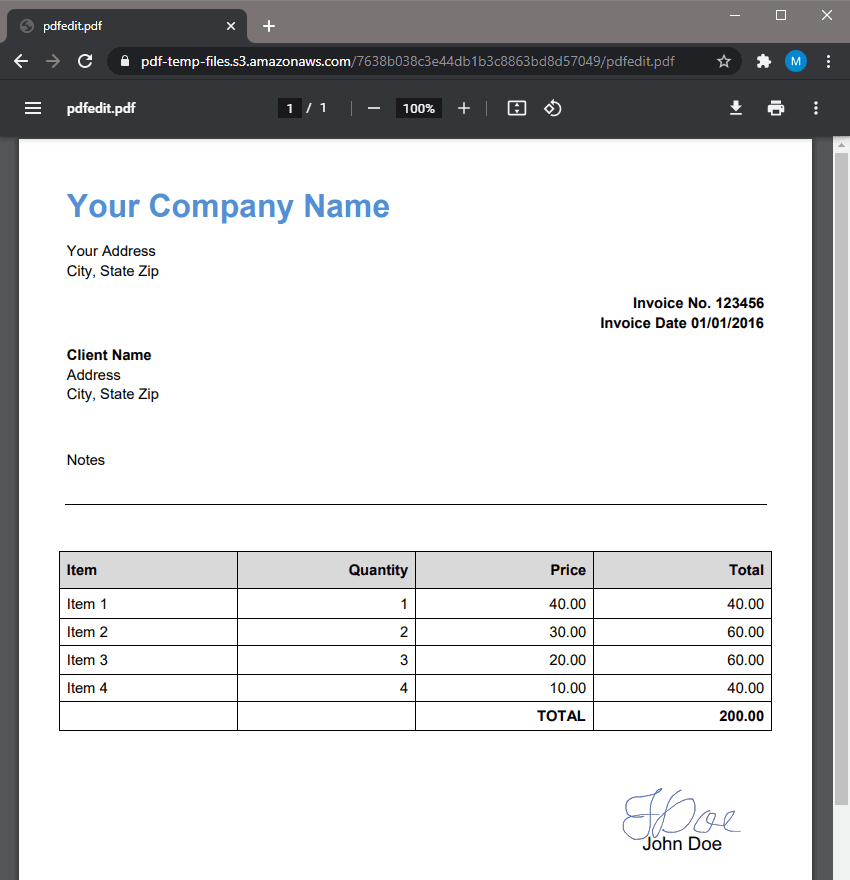
PDF.co processed our request and returned a temporary URL to access the PDF file. Kindly copy and paste the URL to view the output.
Hurray! We have successfully affixed our name and signature in the PDF document.
Step 9: Add Signature to PDF using Zapier – Video
In this tutorial, we learned how to draw a signature using PDF.co Make Signature Tool. We also learned how to add a name as well as the signature in a PDF document.
Video Guide
Related Tutorials


