Add Info to a PDF then Send as an Email Attachment using Zapier
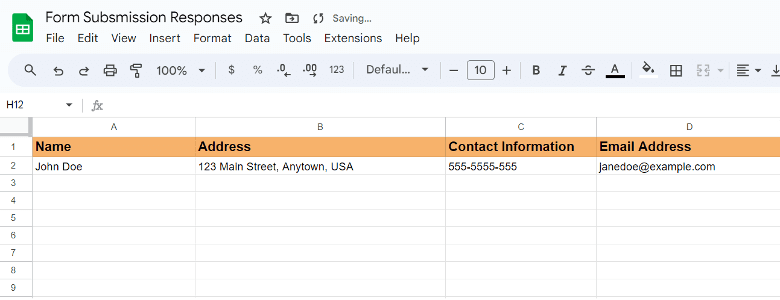
In this tutorial, we will show you how to automatically add a client's information to a PDF and send it as an email attachment back to the client. The client information is collected through an online form and stored in a Google Sheet. The email will be sent from your address, regardless of whether your email domain is hosted on Microsoft 365, Google Mail, or another provider. Below is an image of the Google Sheet with the client information we'll be using.
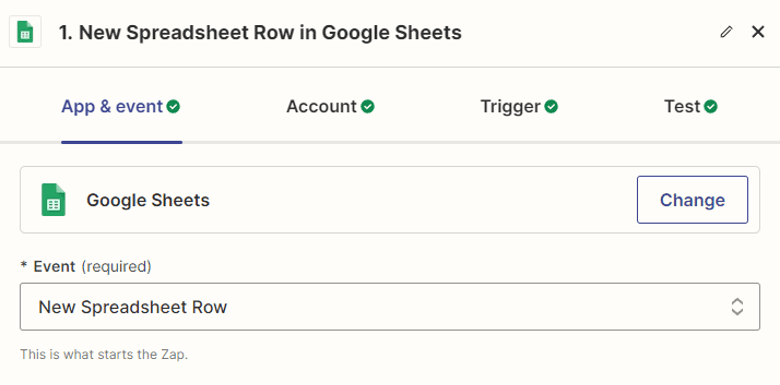
Step 1: Google Sheets Module
Let’s start by adding the Google Sheets module to access the form response data.
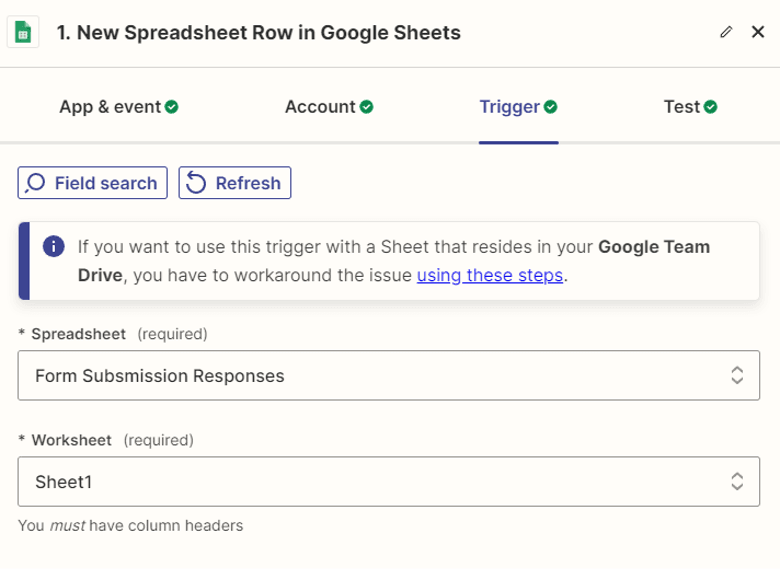
Step 2: Setup Google Sheets
- Provide the name of the spreadsheet you would like to access.
- Choose the specific worksheet where the data has been stored.
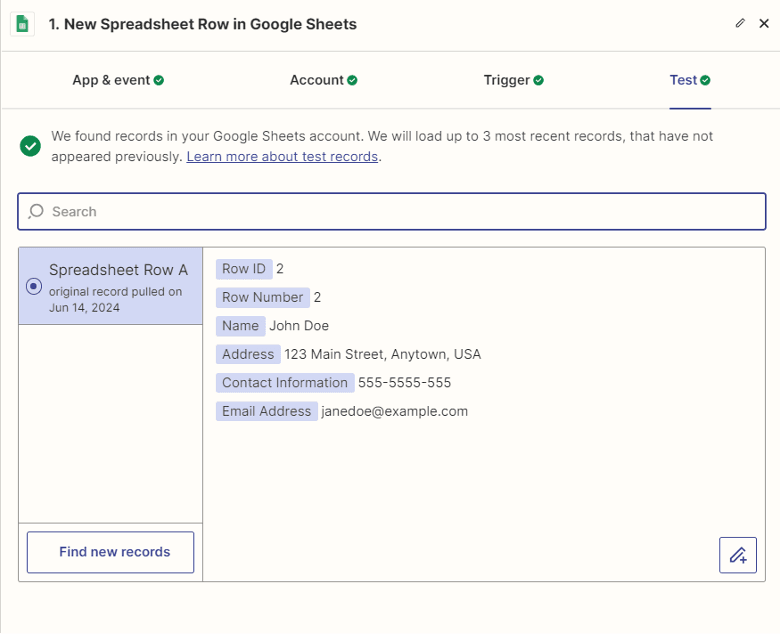
Step 3: Test Trigger
Next, test the trigger to fetch the row in the spreadsheet where the response data is located.
Step 4: PDF.co PDF Filler
Now, we will integrate the PDF.co app and PDF Filler feature to insert the data into the PDF template.
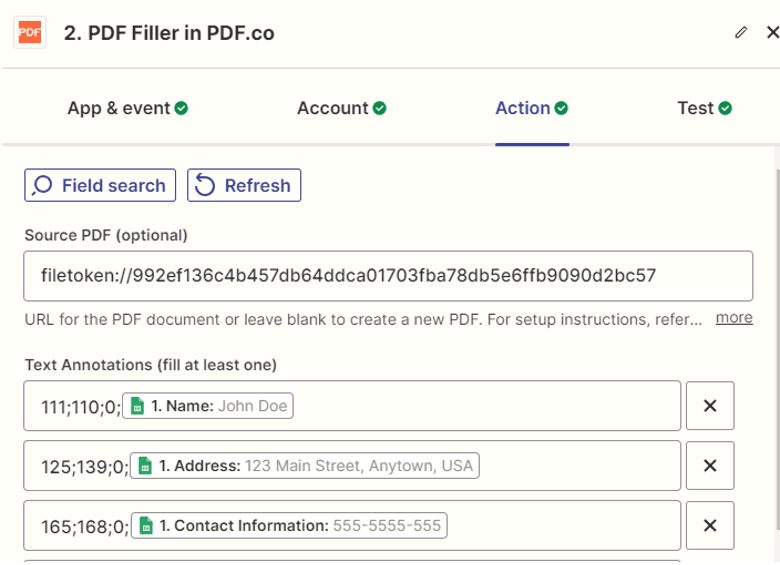
Step 5: Setup PDF Filler Configuration
- In the "Source PDF" field, enter the URL of the PDF template. Our template is stored in PDF.co File Storage, ensuring the file is kept private and is exclusively used for PDF.co processing via a filetoken:// link.
- For the "Text Annotation" fields, enter the x and y coordinates, as well as the page range where you wish to insert the text. Then, map the Google Sheets data. Please follow this format for guidance:
x;y;page;text. To easily obtain the coordinates of the PDF document, you can utilize the PDF Inspector tool. Here is a sample demonstration illustrating how to utilize the PDF Inspector to obtain the x and y coordinates. You can access the demo by clicking on the following link: Demo
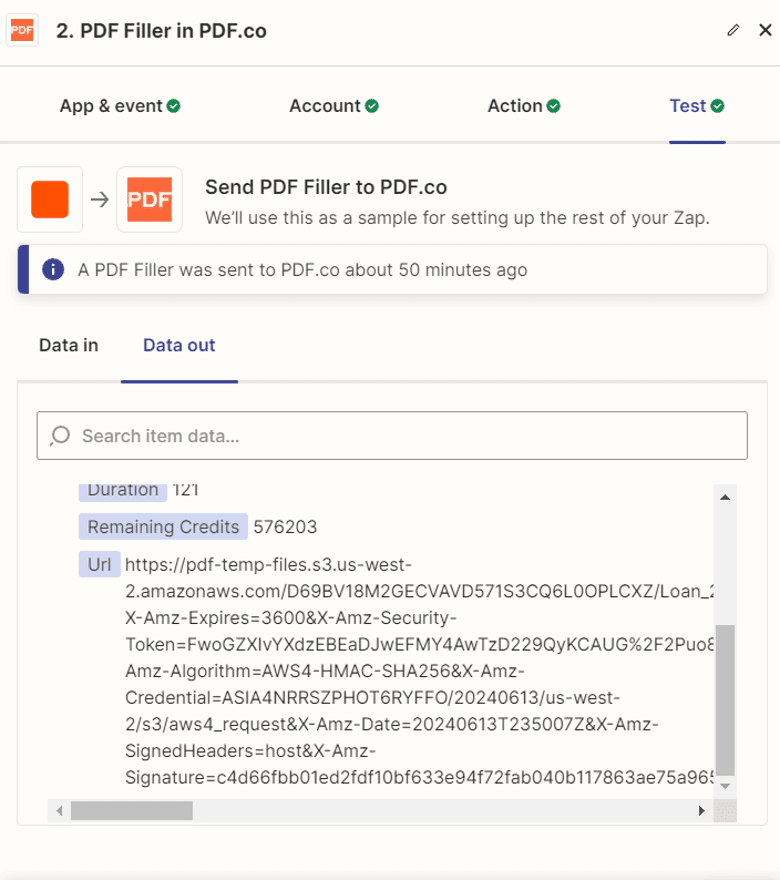
Step 6: Test PDF Filler
Now, proceed to test the PDF Filler feature to incorporate the Google Sheets data into the PDF template. After testing, copy the URL provided and paste it into your browser to view the result.
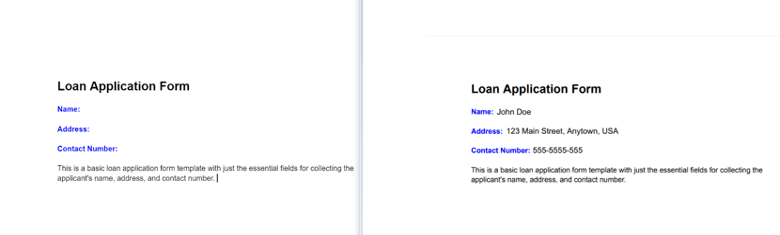
Step 7: Filled PDF Template
Below is a sample PDF template as well as the PDF template that has been successfully populated with data from Google Sheets.
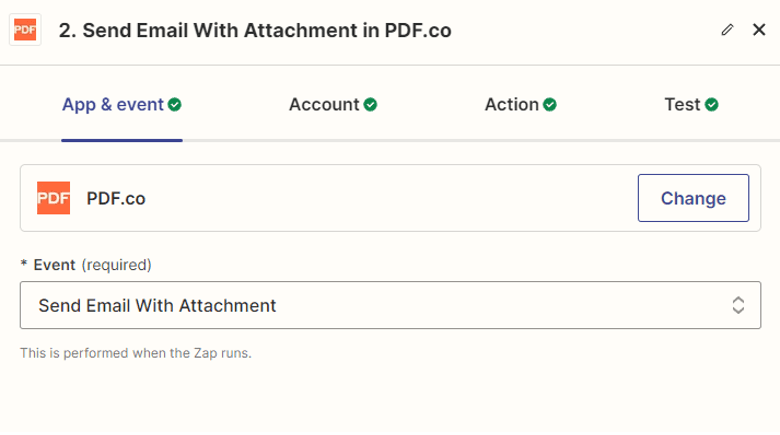
Step 8: PDF.co Send Email with Attachment
Now, integrate the PDF.co app and choose the "Send Email with Attachment" feature to send the PDF template as an attachment to an email, regardless of whether the email domain is hosted on Microsoft 365, Google Mail, or another email service provider.
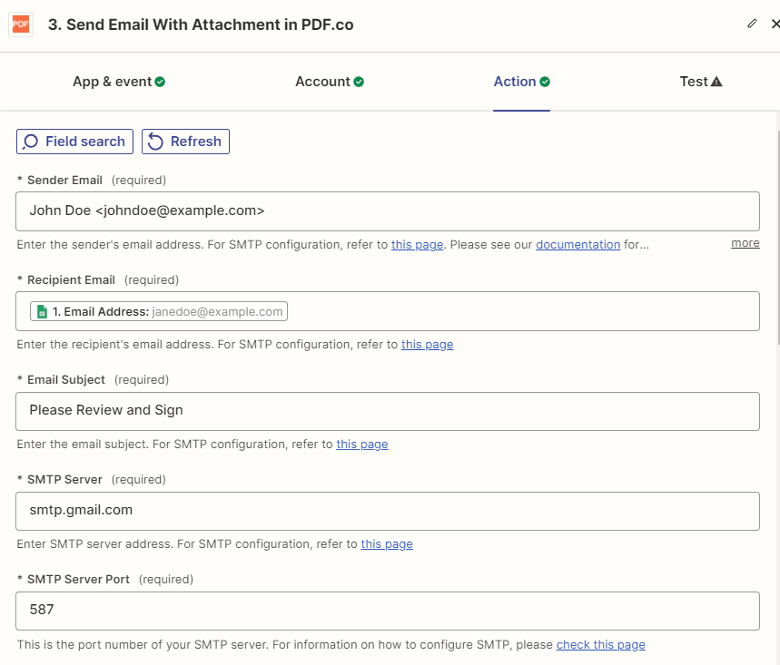
Step 9: Setup PDF.co Configuration
- Include your email address as the sender.
- Select the recipient's email address from the Google Sheet.
- Specify the email subject for the recipient's reference.
- Enter the SMTP server address of your email domain host. For SMTP setup details, please refer to this page.
- Provide the SMTP server port of your email domain host.
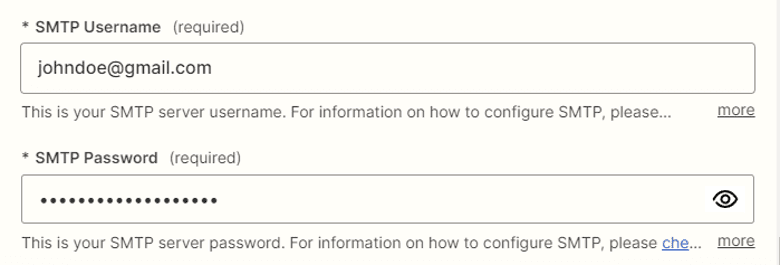
- Enter your SMTP server username.
- Input the SMTP server password.
- Enter the email body for the content of the email.
- Next, select the PDF output URL in the "Attachment URLs" field.

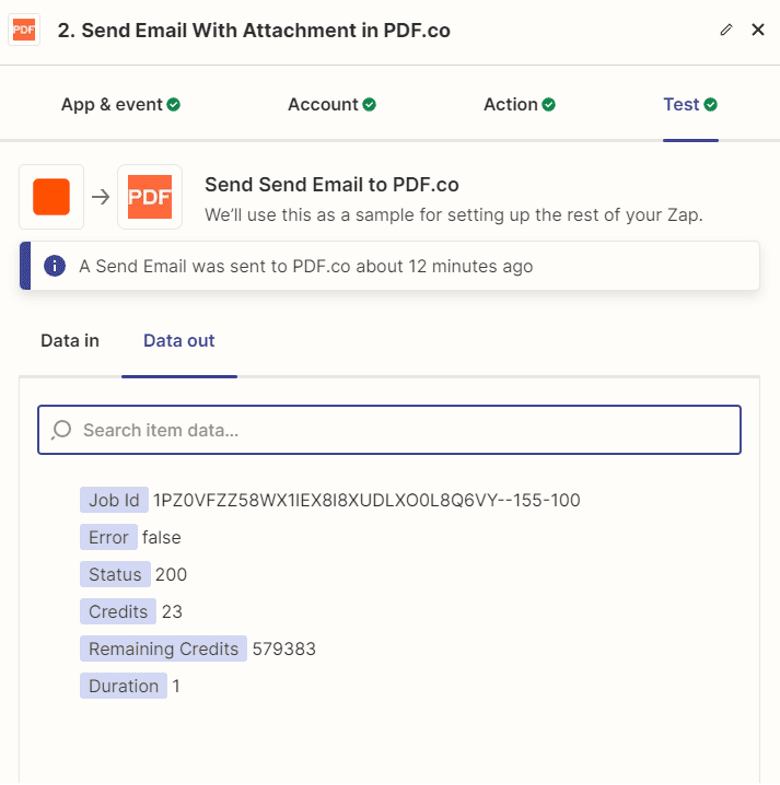
Step 10: Send Email to PDF
Proceed to test the action by sending the email to PDF.co for processing the request.
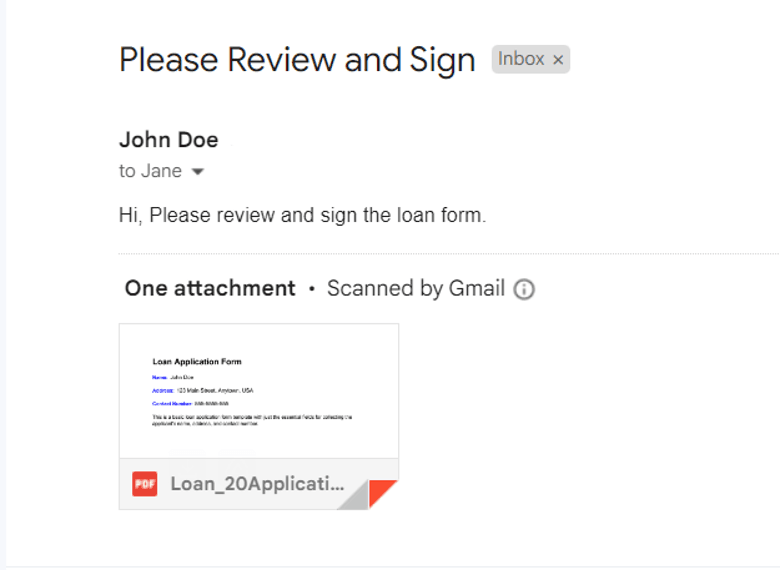
Step 11: Email with Attachment
Below is the file that has been successfully sent as an attachment in an email.
In this tutorial, we demonstrated how to automate the process of adding a client's information to a PDF and sending it as an email attachment. By integrating an online form with Google Sheets and utilizing automation tools, you can efficiently manage client data and streamline your communication process. This setup works seamlessly with any email provider, ensuring a smooth workflow regardless of your email domain. Thank you for following along, and happy automating!
Related Tutorials
