Send PDF as Email Attachment using PDF.co and Albato
Simplify your document-sharing process and send PDF Attachments made easy with PDF.co and Albato. Nowadays, the ability to share and send PDF documents via email is important for businesses and individuals alike. PDF.co’s API platform and Albato’s smooth integration capabilities work together to simplify the task of sharing PDF documents via email.
With the powerful combination of PDF.co and Albato, you can easily send PDF documents as email attachments. PDF.co provides a comprehensive API platform for extracting, editing, converting, and creating PDFs, while Albato offers smooth integration with various applications, including email services. By utilizing the capabilities of PDF.co and Albato, you can automate the process of sending PDFs via email, saving time and effort. Whether you need to send invoices, reports, or any other PDF document, this integration allows you to simplify your workflow and enhance productivity. Experience the convenience of sending PDFs as email attachments easily with PDF.co and Albato.
In this comprehensive tutorial, you will learn how to easily send PDF files as email attachments using the powerful combination of PDF.co and Albato. Whether you’re a professional seeking an efficient way to share important documents or a business owner looking to simplify your communication process, this guide will walk you through each step with clarity and precision.
We will utilize this example PDF document as an attachment for an email.
Step 1: Build an Automated Process
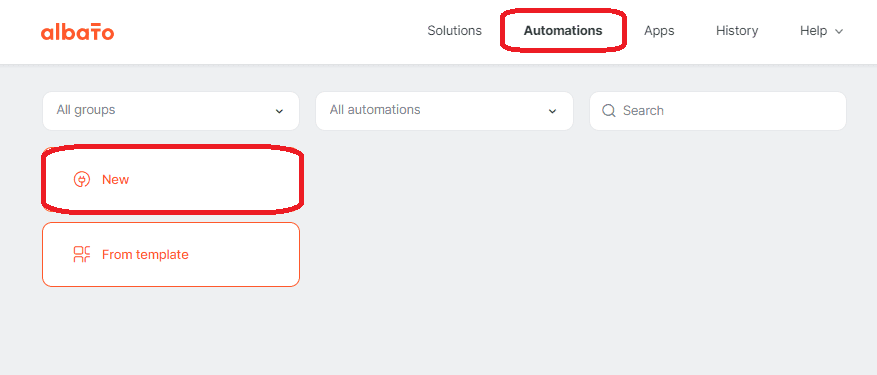
To get started, log in to your Albato account and go to the Automations section. Once there, click on the New button to begin creating a new automation builder.
Step 2: Configure a Trigger
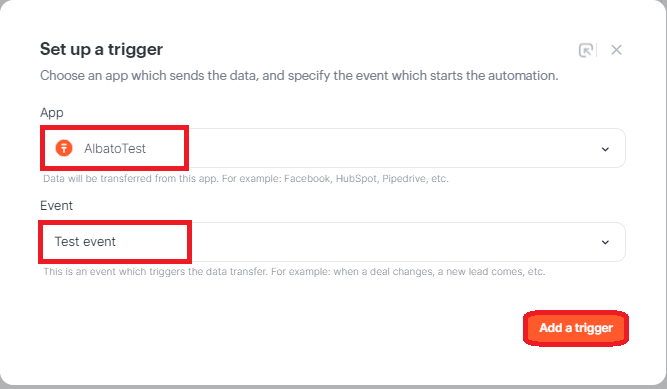
For the trigger setup in this guide, we’ll employ AlbatoTest and Test Event. Keep in mind that your trigger choice should reflect your unique preferences and necessities. You’re welcome to select an alternative trigger that better suits your objectives.
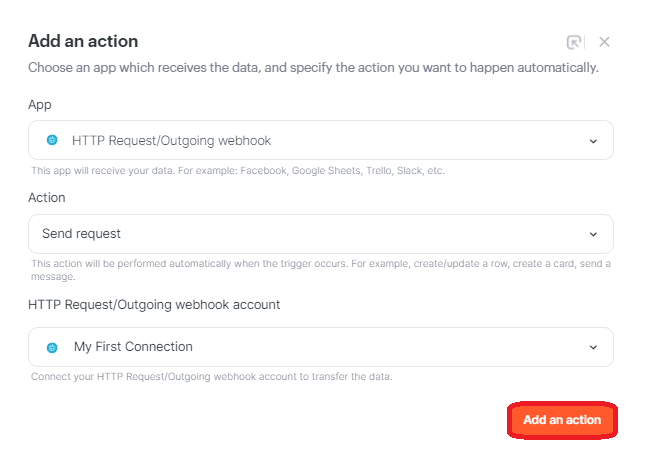
Step 3: Incorporate an Action
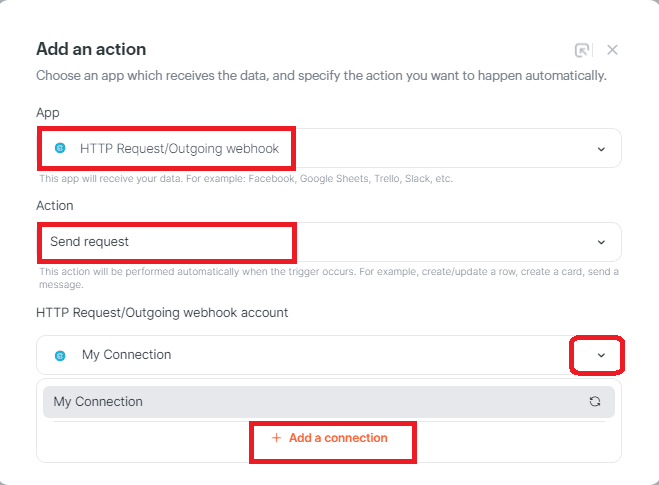
- Now, it’s time to include an action. Begin by finding and selecting the HTTP Request/Outgoing webhook application. This app enables us to transmit information between applications through the HTTP protocol, serving as a necessary link between various systems or services.
- Afterward, select the Send Request option to start the procedure of sending an HTTP request from one system to another. This action is key to initiating communication and facilitating smooth data exchange among the participating systems.
- Following that, click on the button labeled Add a connection.
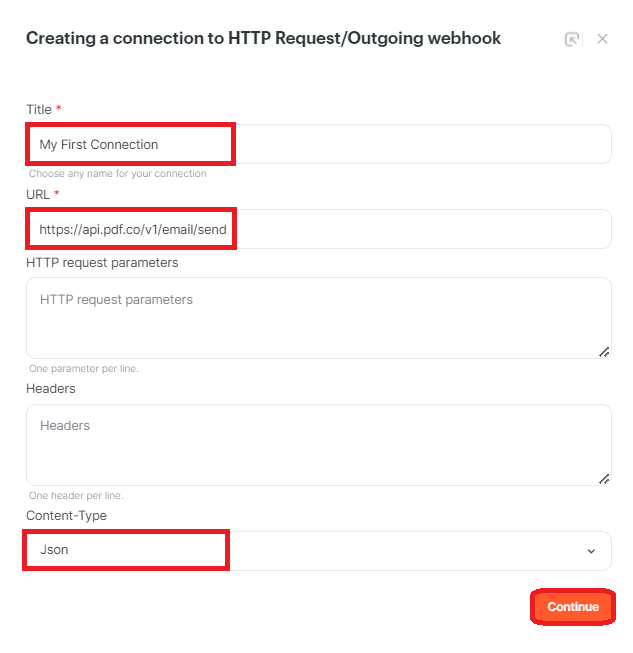
Step 4: Establish a Connection to an HTTP Request/Outgoing Webhook
To initiate a connection with the HTTP Request/Outgoing webhook, execute the following instructions:
- Assign a descriptive name to your connection in the Title field, reflecting its purpose or functionality.
- Input the following URL:
https://api.pdf.co/v1/email/sendinto the designated URL field. - From the available options, select Json as the Content-Type in the respective field.
- Then, tap on the Add an action button.
Step 5: Configure the HTTP Request/Outgoing Webhook
Let’s set up the HTTP Request/Outgoing webhook by following these steps:
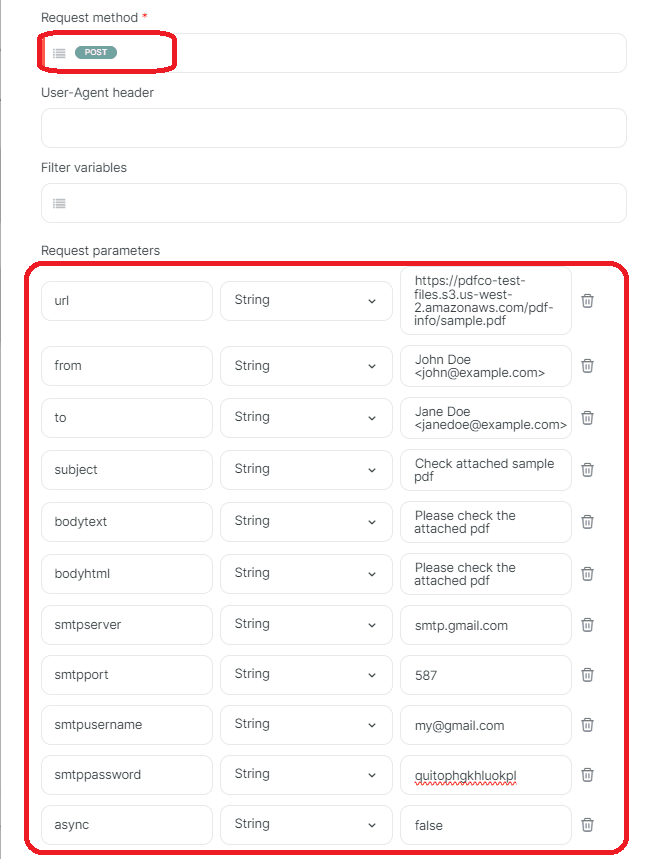
- In the Request method field, select POST. This method is employed to transmit data to a server or generate a new resource on the server.
- In the Request parameters section, configure the following parameters:
- Fill in the URL parameter with the direct URL of the source PDF file.
- Enter your email address in the From parameter.
- Specify the recipient’s email address in the To parameter.
- Add the subject of your email in the subject parameter.
- Include your email message for the recipient in the bodytext parameter.
- Provide
smtp.gmail.comas the SMTP server address in the smtpserver parameter. For assistance with SMTP setup, refer to this page. - Input the server port
587in the smtpport parameter. - Add your Gmail email address to the smtpusername parameter.
- Incorporate your generated app-specific password in the smtppassword parameter. For detailed guidance on creating app-specific passwords, see this article
- Set the async parameter to false.3.
3. In the Request headers section:
- Provide the x-api-key header along with your PDF.co API Key value. You can obtain this API key from your PDF.co dashboard or by registering via the provided link.
- Additionally, include the Content-Type header with the value application/json.
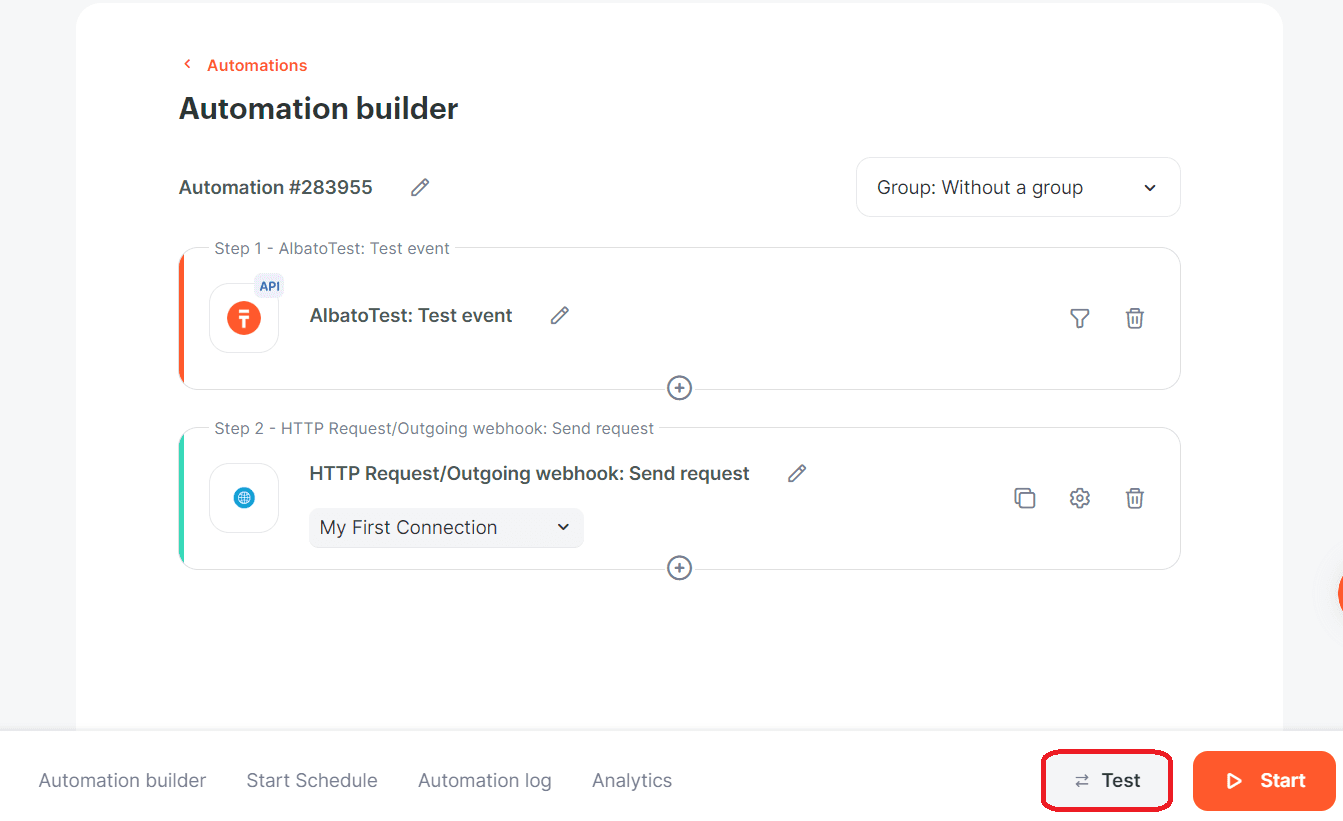
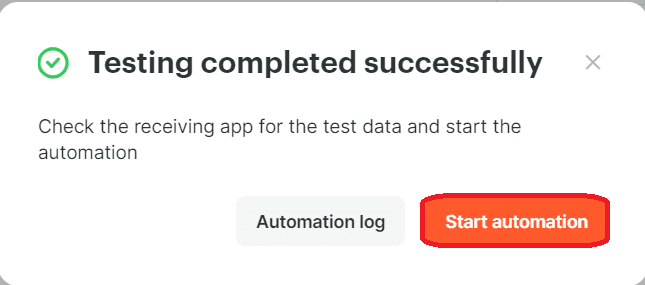
Step 6: Evaluate the Automation Builder
Now, let’s proceed with testing the automation builder. Once the testing phase is successfully accomplished, the PDF attachment will be sent to the recipient’s email address without any issues.
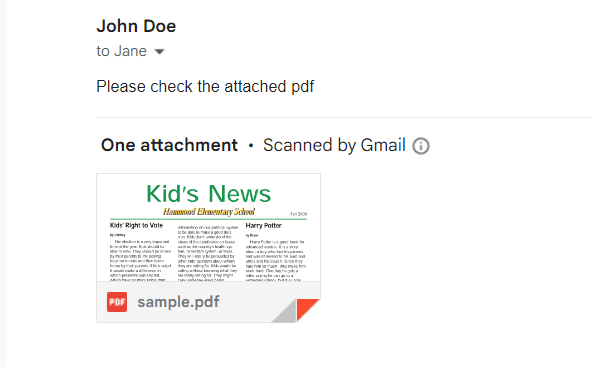
Step 7: Email with Attachment
Here is an example email showcasing the successfully delivered PDF attachment to the intended recipient.
Throughout this guide, you’ve acquired a deep understanding of integrating Albato and PDF.co. You’ve also developed the capability to send emails with PDF file attachments using the PDF.co Send Email API. This powerful API enables you to easily send emails with PDF attachments.
Related Tutorials
