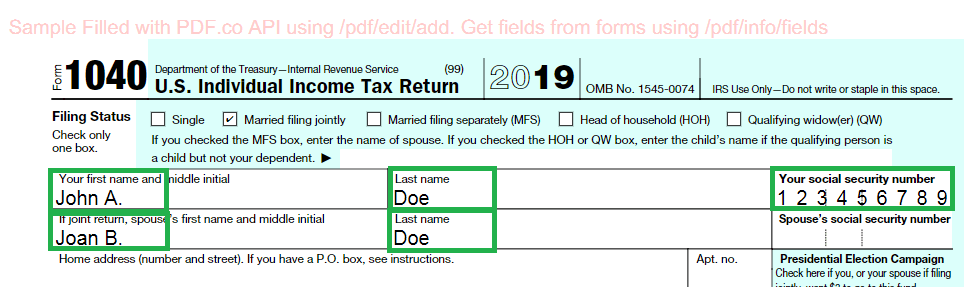
topmostSubform[0].Page1[0].FilingStatus[0].c1_01[1] is the field name for Married Filling Jointly. Setting Text to true will tick off the box. And topmostSubform[0].Page1[0].f1_02[0] is the field name for Your first name and middle initial text box, adding a name in Text will fill the text box out.
How to Fill out PDF Form 1040 with PDF.co using Postman
7 Minutes Read
IMPORTANT: You need to setup Postman first. Use our guide to setup PDF.co for Postman.
This instructional article will guide you through the entire process of filling out PDF Form 1040 with PDF.co by using Postman.
IN THIS TUTORIAL
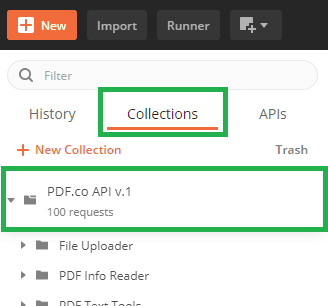
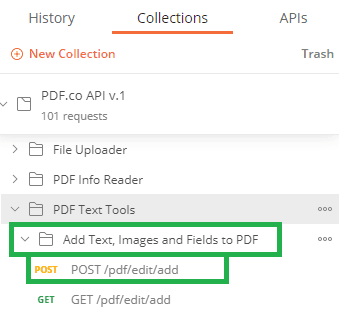
Step 1: Go to Collections Tab and Click on PDF.co API v.1 Folder
First of all, go to Collections Tab and choose the API v.1 folder.
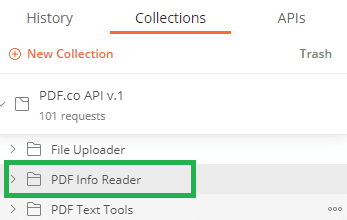
Step 2: Click on PDF Info Reader Folder
Secondly, choose the PDF Info Reader folder to proceed.
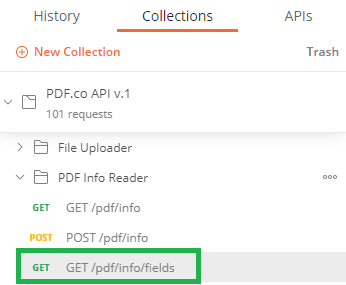
Step 3: Click on Get/pdf/info
The next step would be clicking on get/pdf/info.
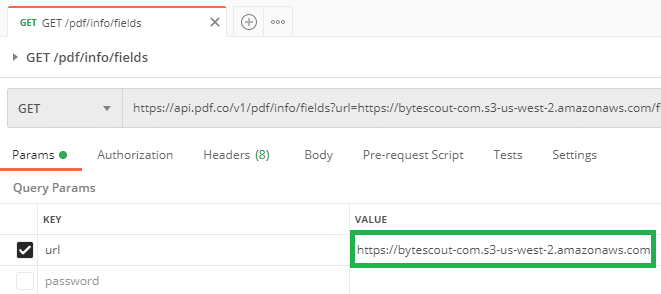
Step 4: Enter the Form’s Link on URL Key’s Value
It’s time to enter the link of the form on URL Key’s value.
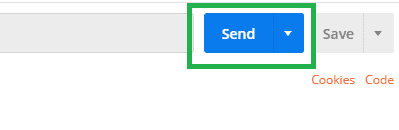
Step 5: Click on the Send Button
To send the information, just click this button.
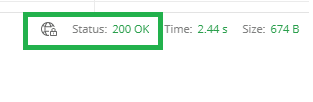
Step 6: Scroll Down and Make Sure that the Status is 200 OK
At this step, just make sure everything worked well by checking that the status is OK.
Step 7: See All the List Fields in the Body
Now, you can see all the list fields in the body.
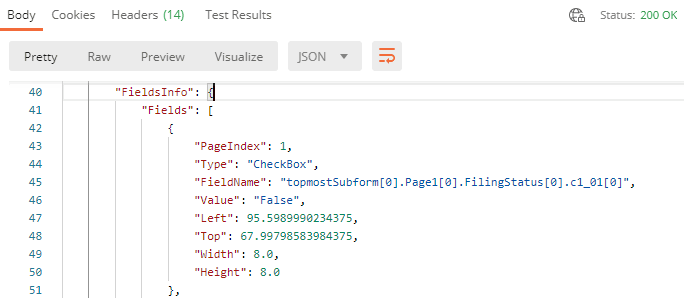
Now that we have a list of all of the IRS Form 1040’s fields, we are ready to fill out the form.
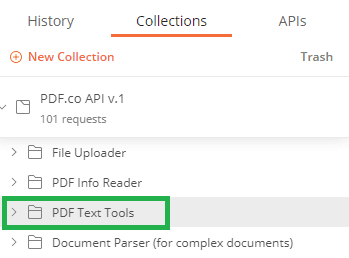
Step 8: Click on the PDF Text Tools Folder
Go back to PDF.co API v.1 folder and click on the PDF Text Tools folder
Step 9: Click Post /pdf/edit/add Endpoint
Click on Add Text, Images, and Fields to PDF folder and click Post /pdf/edit/add endpoint
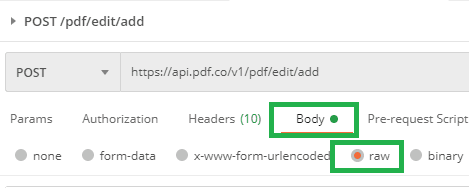
Step 10: Click on Body and Select Raw
Now, select Body and click on Raw.
Step 11: Copy and Paste This Code in the Field Box
To proceed, just copy-paste the following code into the field box.
{
"async": false,
"encrypt": false,
"name": "f1040-filled",
"url": "https://bytescout-com.s3-us-west-2.amazonaws.com/files/demo-files/cloud-api/pdf-form/f1040.pdf",
"fields": [
{
"fieldName": "topmostSubform[0].Page1[0].FilingStatus[0].c1_01[1]",
"pages": "1",
"text": "True"
},
{
"fieldName": "topmostSubform[0].Page1[0].f1_02[0]",
"pages": "1",
"text": "John A."
},
{
"fieldName": "topmostSubform[0].Page1[0].f1_03[0]",
"pages": "1",
"text": "Doe"
},
{
"fieldName": "topmostSubform[0].Page1[0].YourSocial_ReadOrderControl[0].f1_04[0]",
"pages": "1",
"text": "123456789"
},
{
"fieldName": "topmostSubform[0].Page1[0].YourSocial_ReadOrderControl[0].f1_05[0]",
"pages": "1",
"text": "Joan B."
},
{
"fieldName": "topmostSubform[0].Page1[0].YourSocial_ReadOrderControl[0].f1_05[0]",
"pages": "1",
"text": "Joan B."
},
{
"fieldName": "topmostSubform[0].Page1[0].YourSocial_ReadOrderControl[0].f1_06[0]",
"pages": "1",
"text": "Doe"
},
{
"fieldName": "topmostSubform[0].Page1[0].YourSocial_ReadOrderControl[0].f1_07[0]",
"pages": "1",
"text": "987654321"
}

],
“annotations”:[
{
“text”:”Sample Filled with PDF.co API using /pdf/edit/add. Get fields from forms using /pdf/info/fields”,
“x”: 10,
“y”: 10,
“size”: 12,
“pages”: “0-“,
“color”: “FFCCCC”,
“link”: “https://pdf.co”
}
],
“images”: [
]
}Step 12: Click on the Send Button
To run the whole process, just click on this button.
Step 13: Scroll Down and Make Sure that the Status is 200 OK
Check how the job worked by scrolling down to see the Status 200.
Step 14: Copy the Resulting URL and Paste in the Browser’s Address Bar
To check out the result, just paste the final URL into your browser.

The filled-out form should look like this.
The URL is only valid for an hour. Once the 1 hour has elapsed, you may need to regenerate a new URL.
Video Guide
Related Tutorials
See Related Tutorials
