For this tutorial, I’m using Google Drive storage. You may also use other cloud storage as your trigger, just look for a similar trigger event.
How to Extract Data from a Password-Protected PDF using PDF.co and Zapier
Sep 2, 2024·3 Minutes Read
We prepared this step-by-step tutorial with screenshots to teach you how to extract data from a password-protected PDF using PDF.co and Zapier.
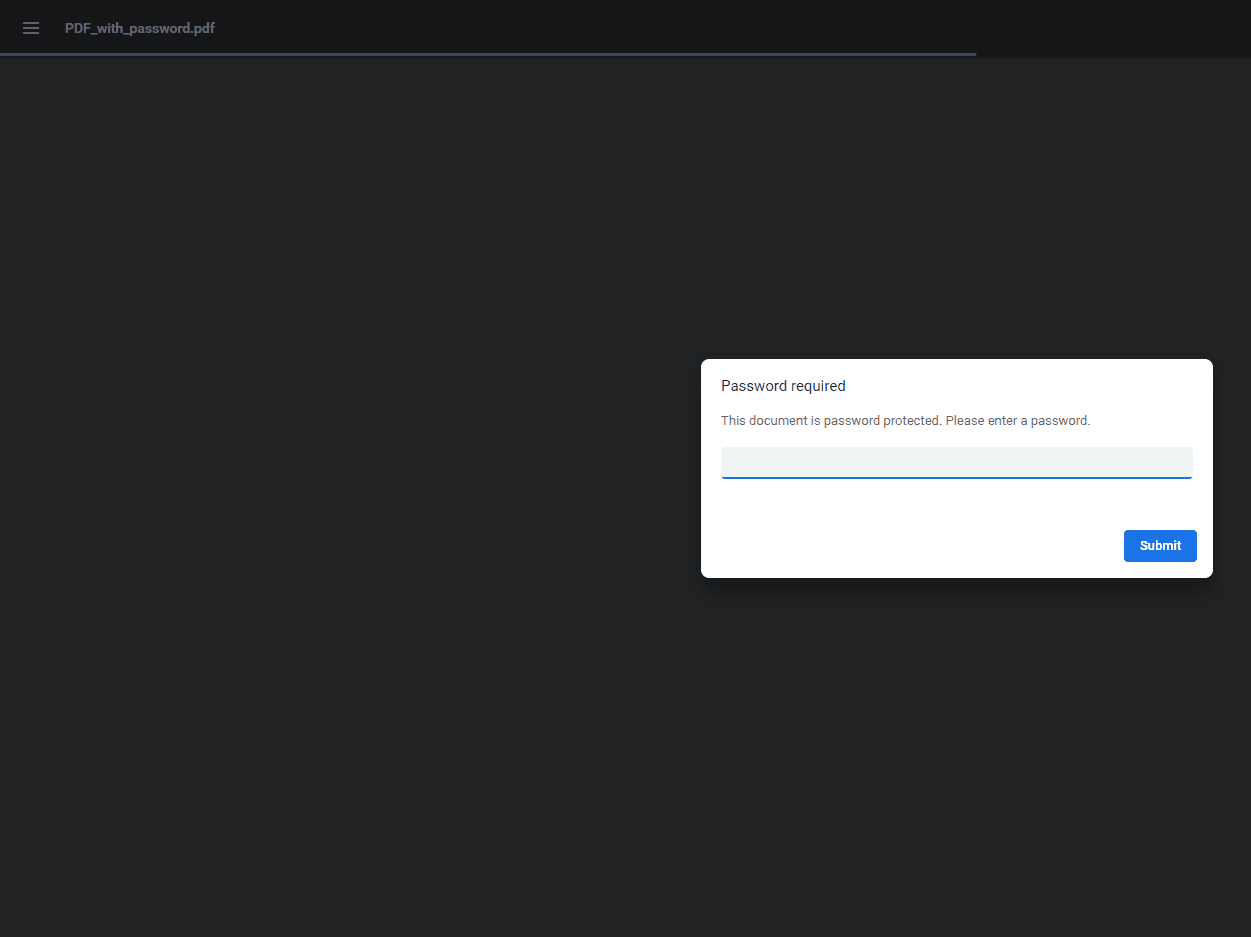
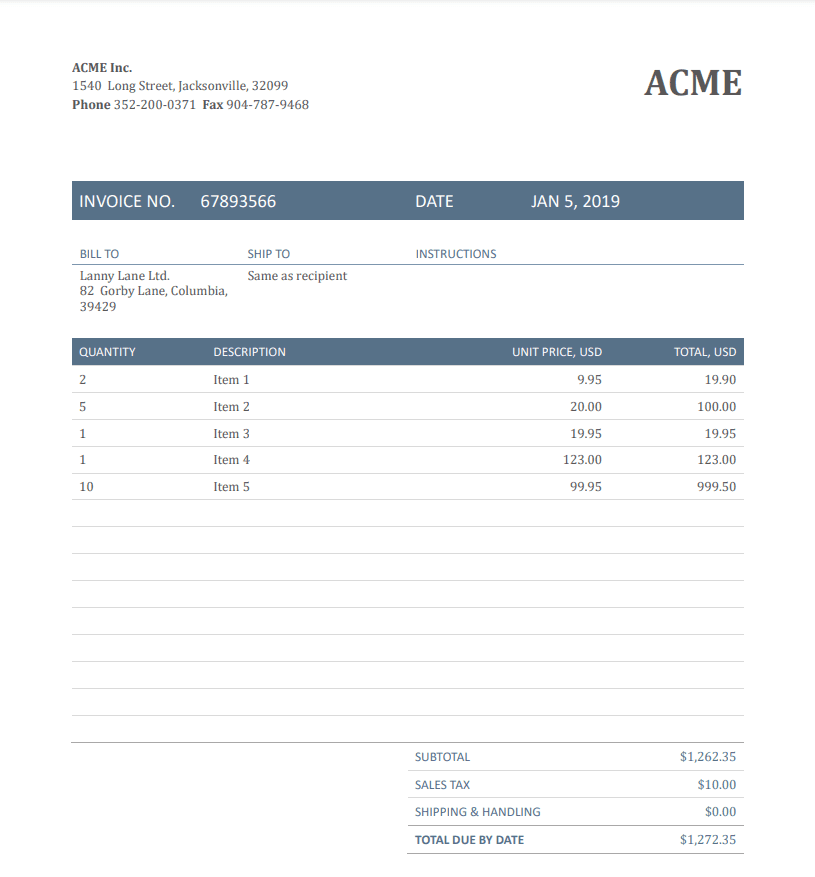
We will use this sample password-protected PDF and extract the data inside it.
Step 1: Click Make a Zap!
Start by clicking on Make a Zap! at the upper-left corner of your Zapier dashboard.
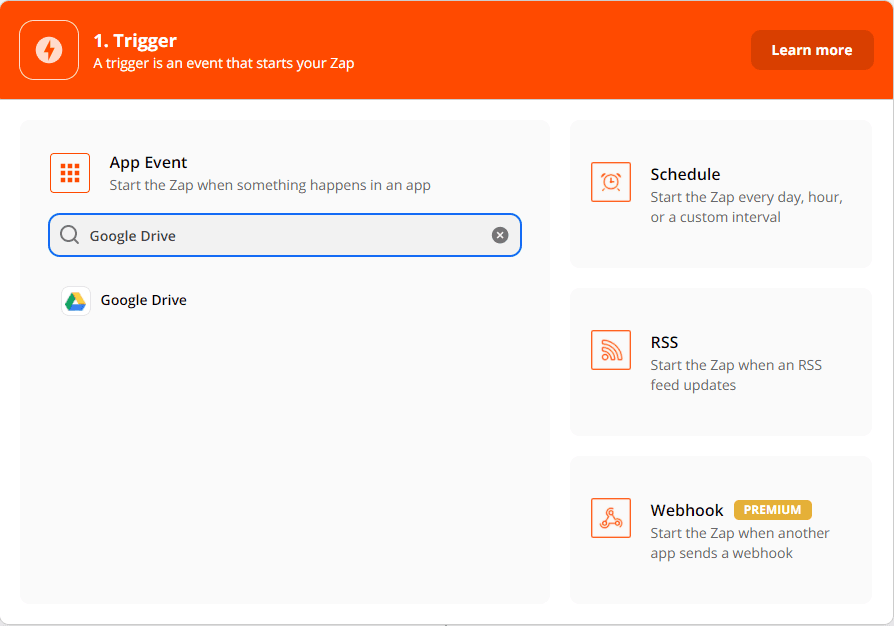
Step 2: Set up the Trigger
We will now set up our Trigger. Search and select Google drive as the App event.
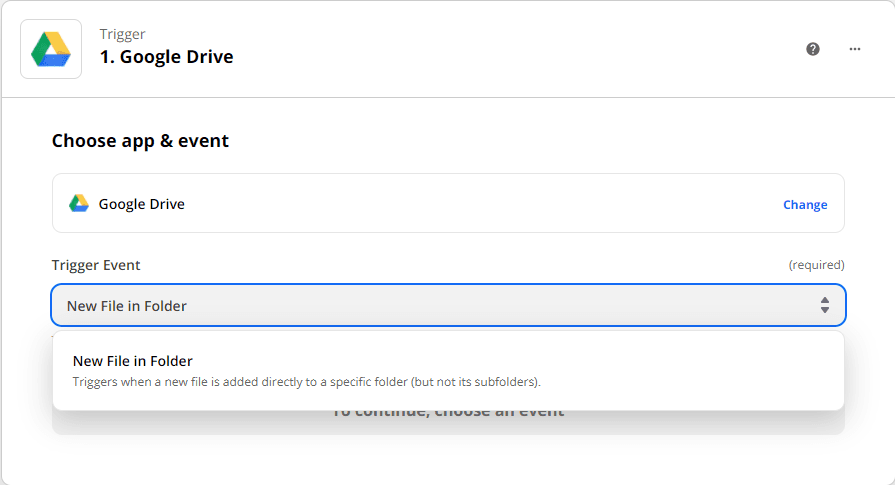
Step 3: New File in Folder
As for our Trigger Event go ahead and choose New File in Folder. This will trigger the Zap whenever there’s a new file in your Google Drive folder.
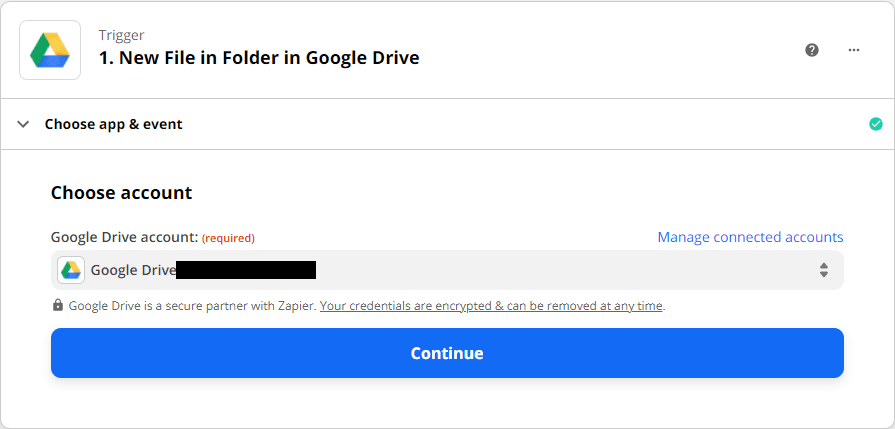
Step 4: Connect Your Google Drive
Select or connect your Google Drive account which you will be using with Zapier.
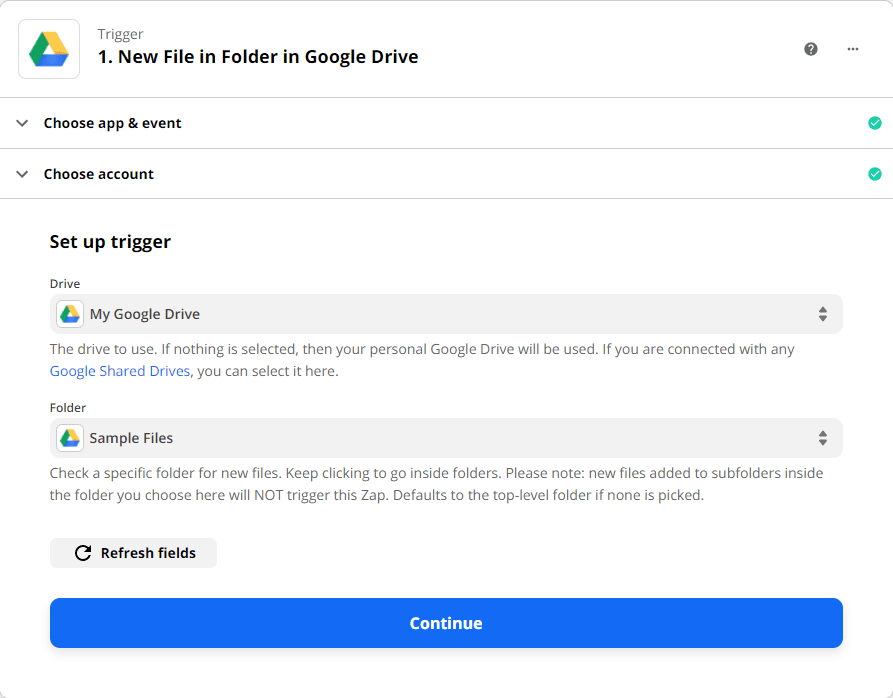
Step 5: My Google Drive Folder Selection
Select My Google Drive as the drive to be used and select the specific folder where the PDF file is located.
Step 6: Test the Trigger
We will then Test the trigger to see if there are any errors or none.
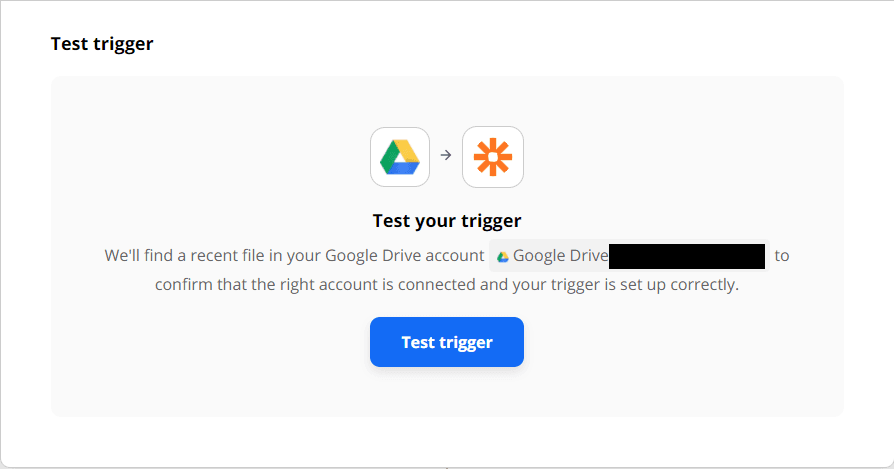
We’re now done setting up the trigger for this Zap. Let’s now move on to the action.
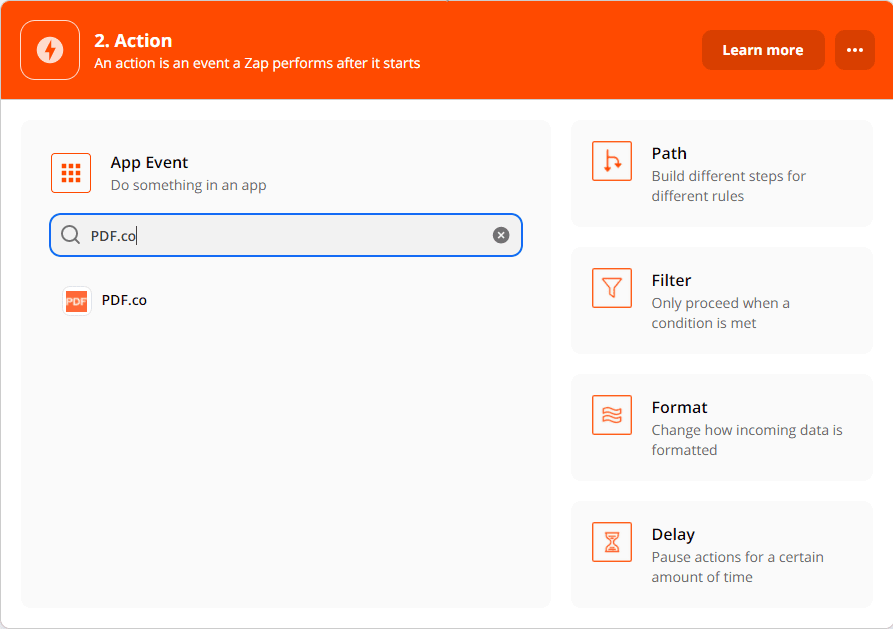
Step 7: Select PDF.co as App Event
For our Action, we’ll select PDF.co as the App event.
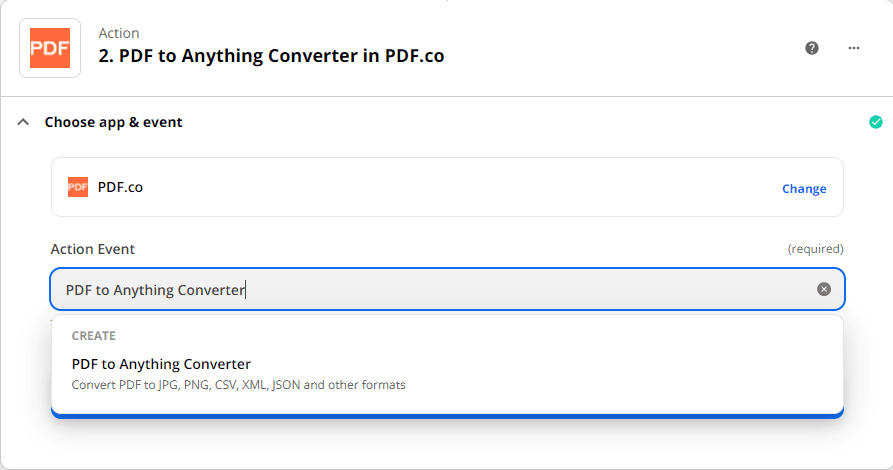
Step 8: Select the Action Event
For the Action Event, select PDF to Anything Converter. This will convert your PDF file to other formats such as CSV, XML, JSON, and etc.
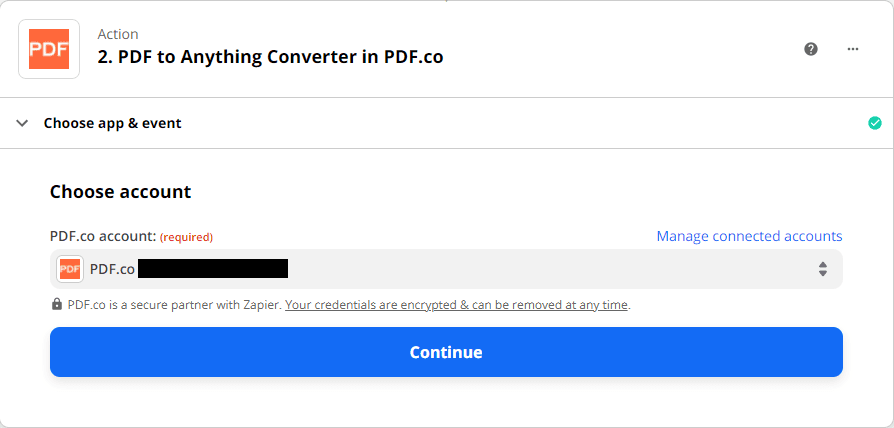
Step 9: Connect PDF.co Account to Zapier
Select or connect your PDF.co account that you’ll be using with Zapier.
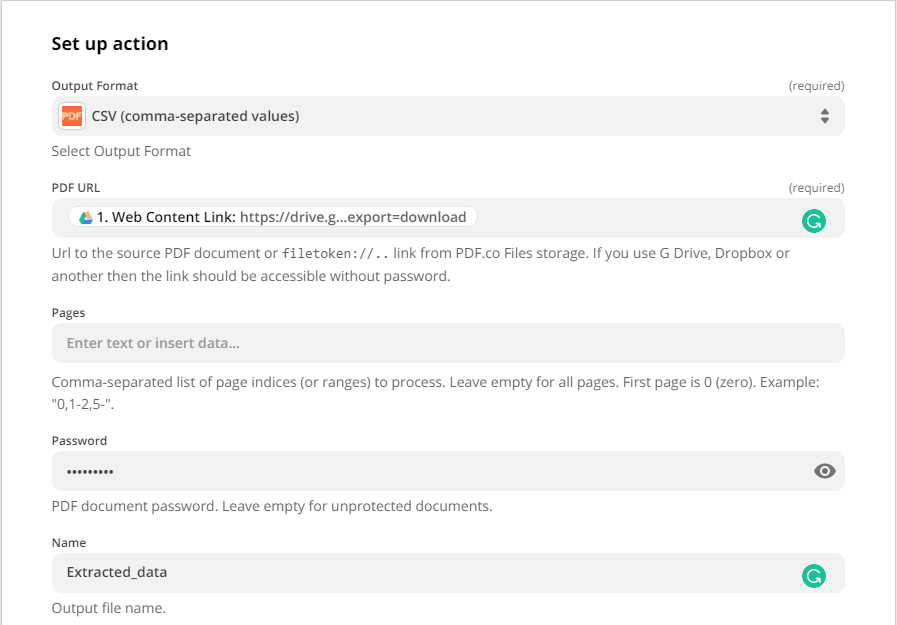
Step 10: Customize Settings
Under Set up action, select CSV as the Output Format. For the PDF URL, just get the Web Content Link from your Google drive. For Pages, if you want to extract data from all of the pages you can leave it blank. Type the Password of your PDF file. You can also set the name of your output PDF, you may also leave it blank if you want to retain the same file name.
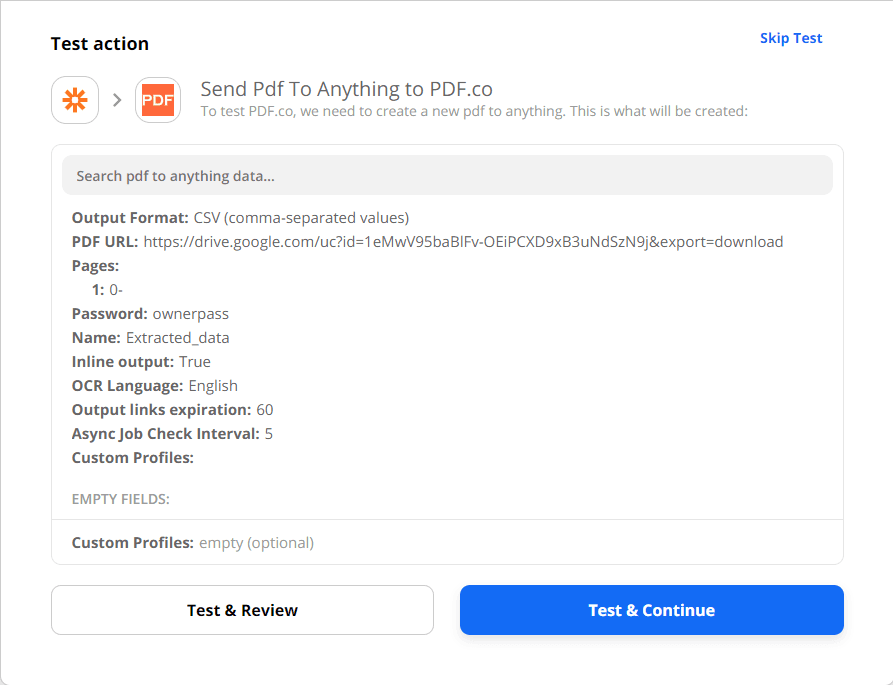
Step 11: Test Your Zap
We will now Test the action to check for errors if there are any.
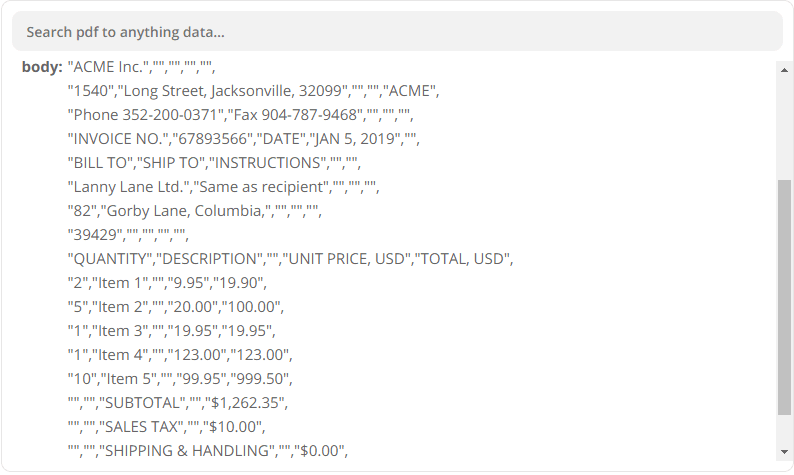
Step 12: Check the Output CSV File
Once it returns as successful, you will then see the Output CSV file or if you set inline as true, the data will be reflected right away.
In this tutorial, you’ve learned how to extract data from a password-protected PDF using PDF.co and Zapier integration.
Related Tutorials

How to Extract Data from a Password-Protected PDF using PDF.co and Zapier
Sep 2, 2024·3 Minutes Read
Auto-Fill & Flatten PDF Forms from Google Form → Google Sheets → PDF.co (n8n)
Nov 14, 2025·6 Minutes Read
How to Ensure Seamless File Access for your Make Integration Workflows
Sep 11, 2024·4 Minutes Read