You may use different cloud storage for your trigger app.
How to Add PDF Files as Images in Google Slide using PDF.co and Zapier
Sep 2, 2024·3 Minutes Read
This tutorial will show you how to add PDF files as Images in Google Slide using PDF.co and Zapier.
Step 1: Create a Zap
- On your Zapier dashboard, click Create Zap
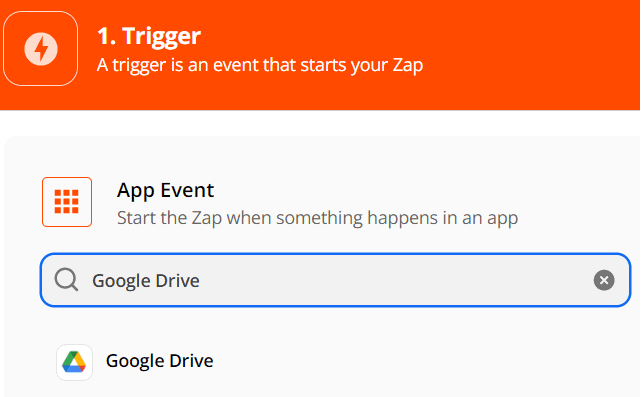
Step 2: Select a Trigger App
- For this tutorial, we will use Google Drive as our Trigger App
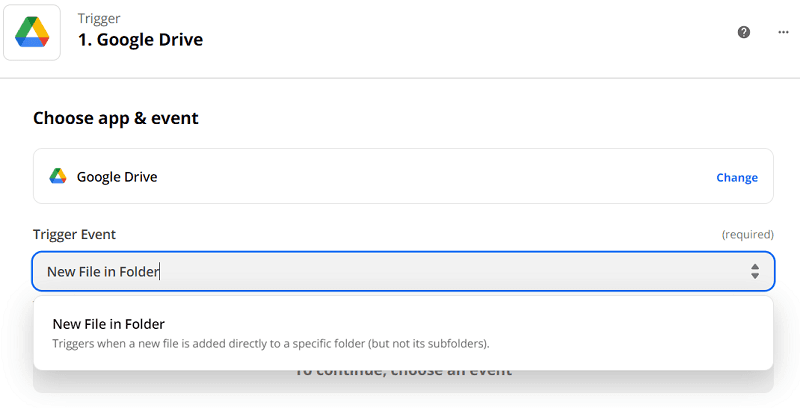
Step 3: Select a Trigger Event
- For the trigger event, we will set it to New File in Folder. This way, every time a new file is added to your Google Drive folder, it will trigger this zap.
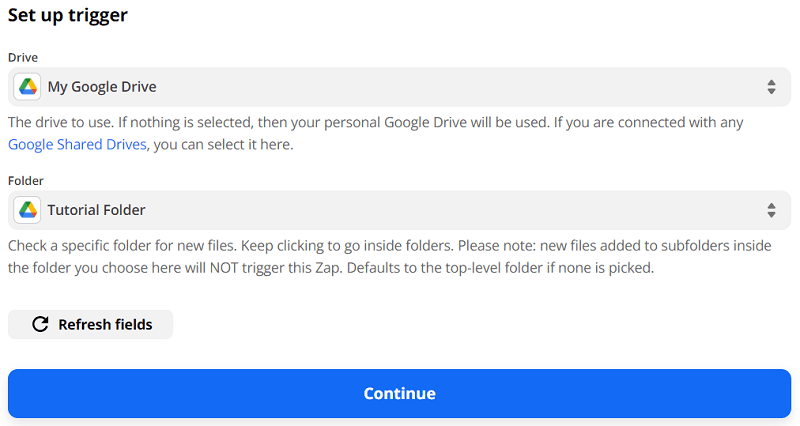
Step 4: Set up Trigger
- Select the Drive and Folder that you’re going to use.
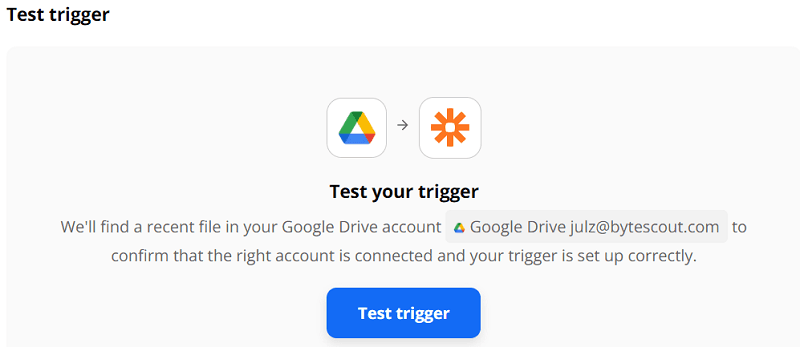
Step 5: Test Trigger
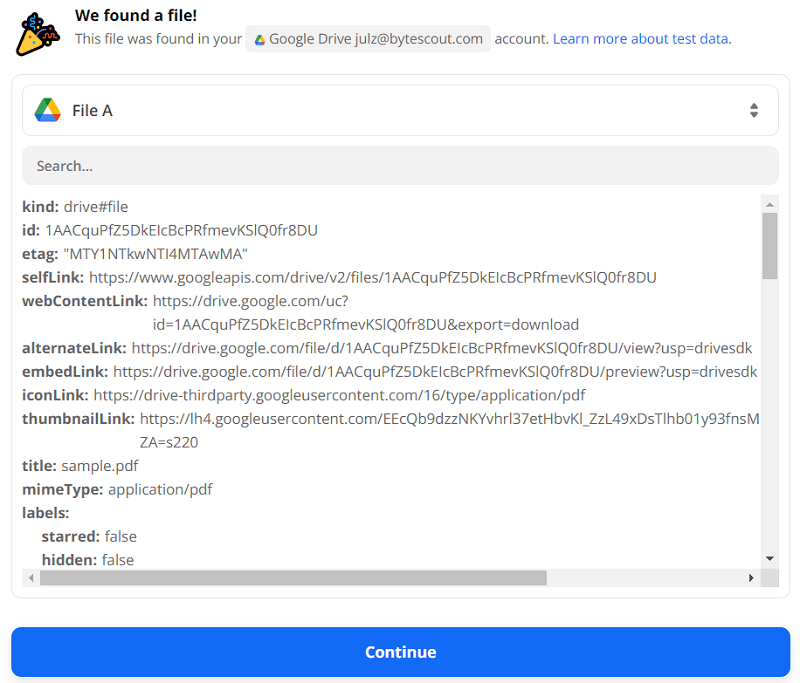
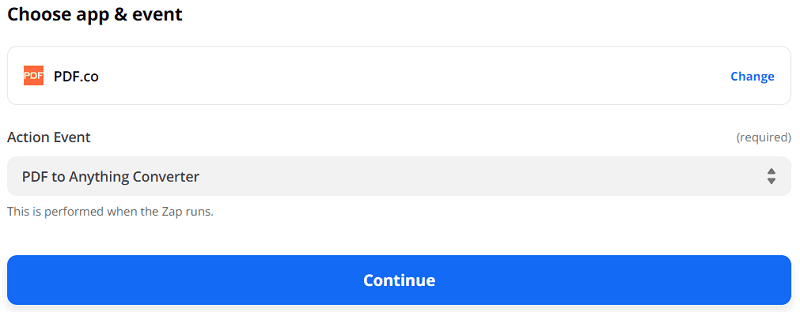
Step 6: Select an Action App
- Search and select PDF.co as your Action App.

Step 7: Select an Action Event
- We will use PDF to Anything Converter as the action event. This API can be used to convert a PDF into different kinds of documents/images.
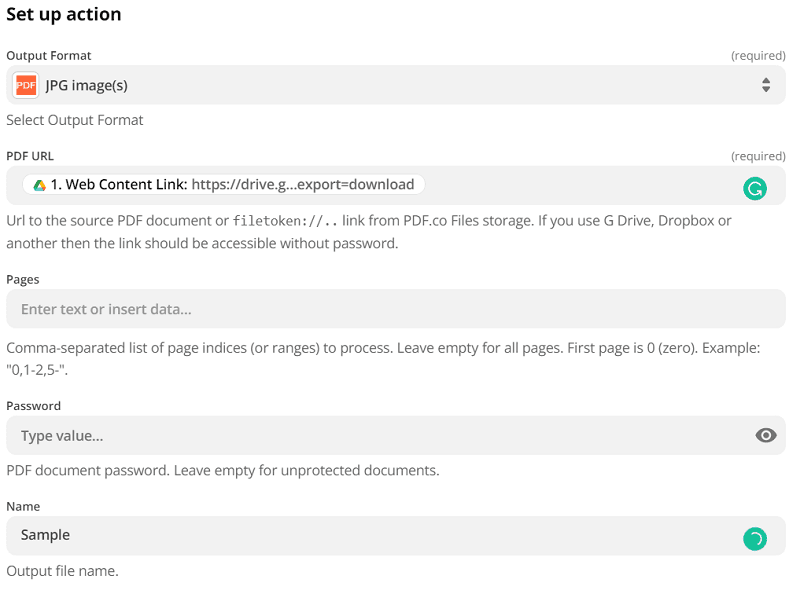
Step 8: Setup Action
- In the Output Format, select JPG Image(s).
- In the PDF URL, insert the Web Content Link from the Google Drive trigger.
- You may set the Name of your output images
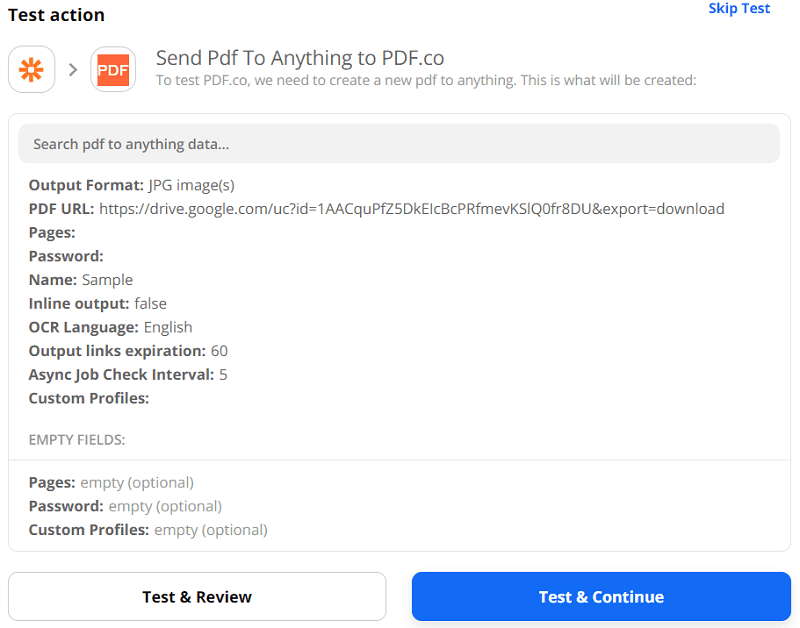
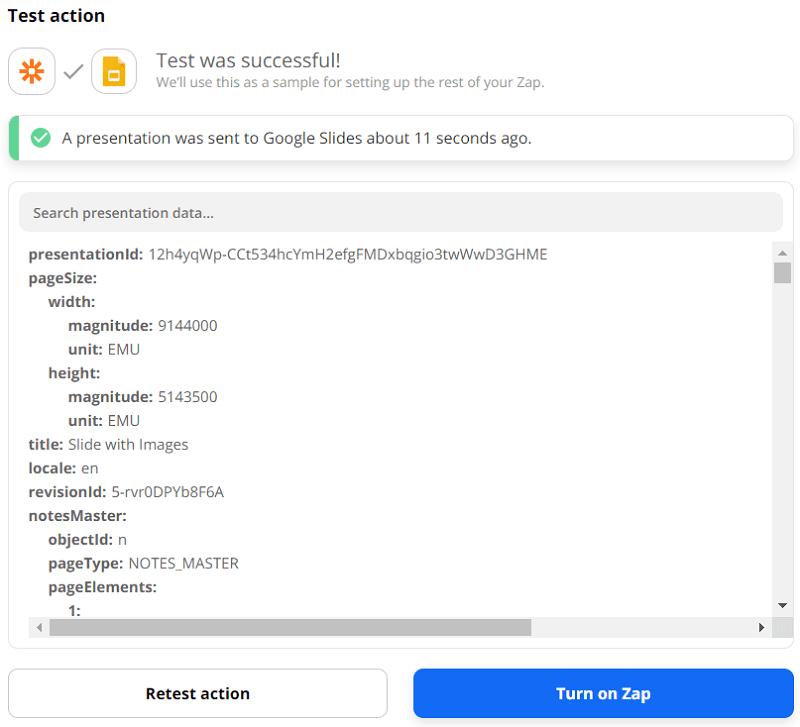
Step 9: Test Action
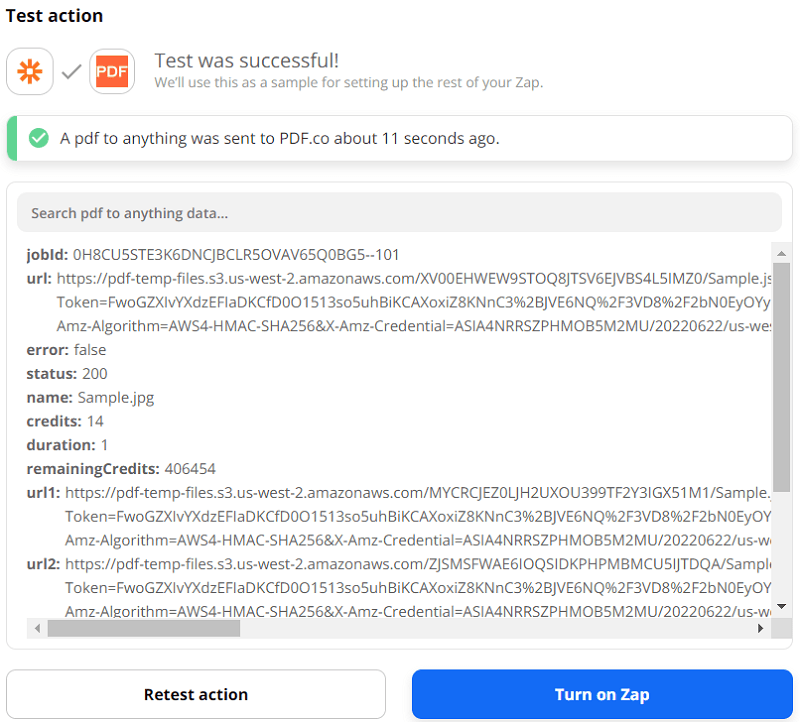
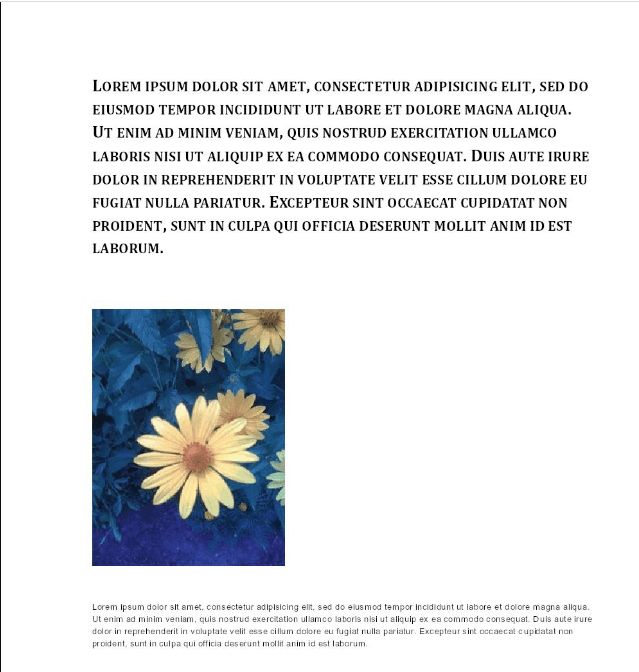
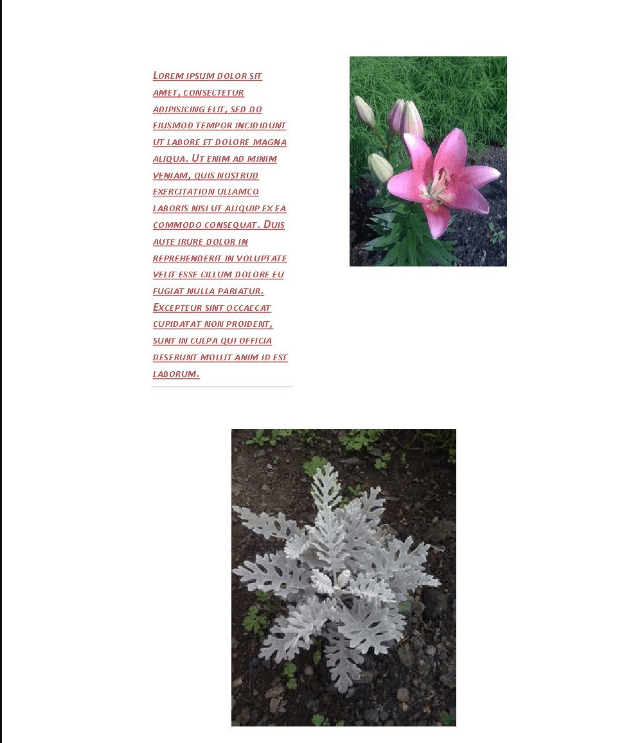
Step 10: Result
- Here are the output images.
Now to add these images on Google Slides, we need to add another action.
Step 11: Add another Action App
- Search and select Google Slides as the Action App
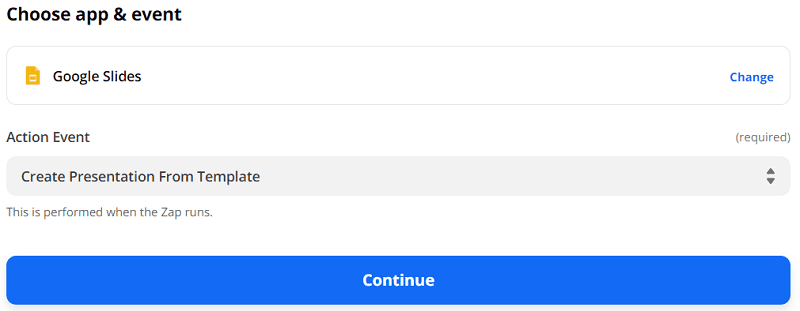
Step 12: Select an Action Event
- Select Create Presentation From Template as the Action Event
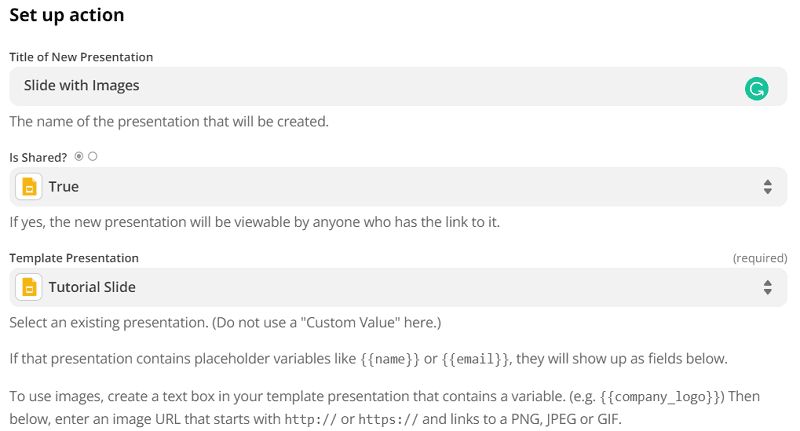
Step 13: Set up Action
- In the Title of New Presentation field, put your desired title for the new presentation that will be created
- In the Is Shared field, select True if you want the presentation to be in public and False if you want it to be in private
- In the Template Presentation field, select the slide with the placeholders. For example: {{Image1}}
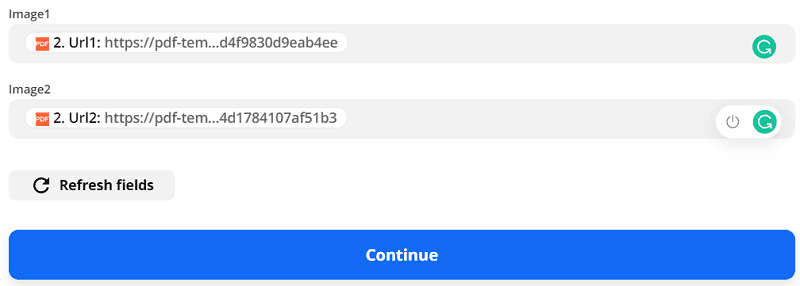
- Add the URL of the output images in the Placeholder field
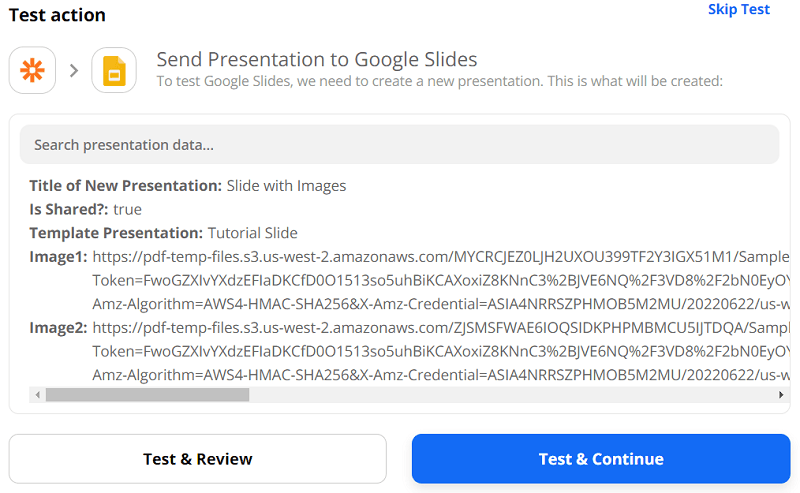
Step 14: Test Action
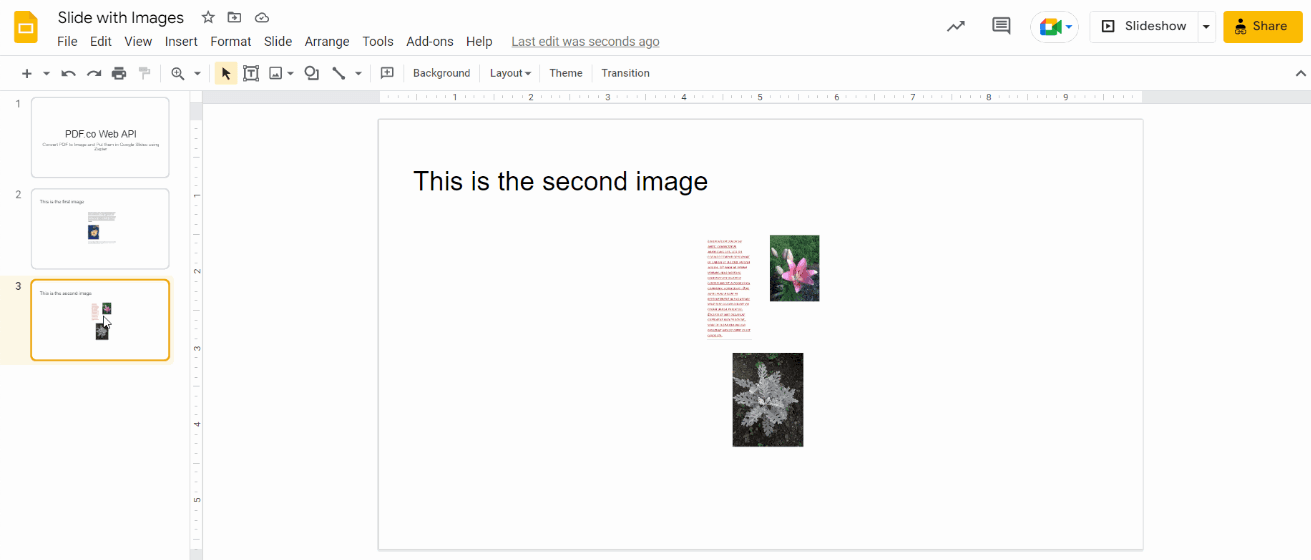
Step 15: Result Slide
- Here’s the slide with the images
With this tutorial, you’ve learned how to add PDF files as Images in Google Slide using PDF.co and Zapier.
Related Tutorials

Add Text, Images, and Signatures in a PDF using Bubble API Connector
Sep 2, 2024·7 Minutes Read
How to Add Text and Image to a PDF Using PDF.co Web API in Python
Dec 30, 2024·4 Minutes Read