How to Edit a Scanned PDF File using PDF.co and Make
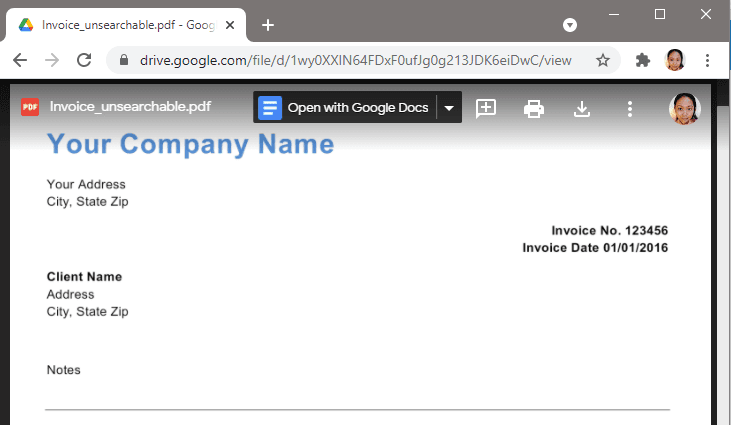
In this tutorial, we will show you how to edit a scanned PDF file using PDF.co and Make. We will add a note, a company logo, a clickable company website link, and our signature in this document. Here’s the original and unedited PDF Invoice.
Step 1: Create Scenario
First, let’s create a new Scenario and add PDF.co as our app.

Step 2: Select Add Text and Images To a PDF Module
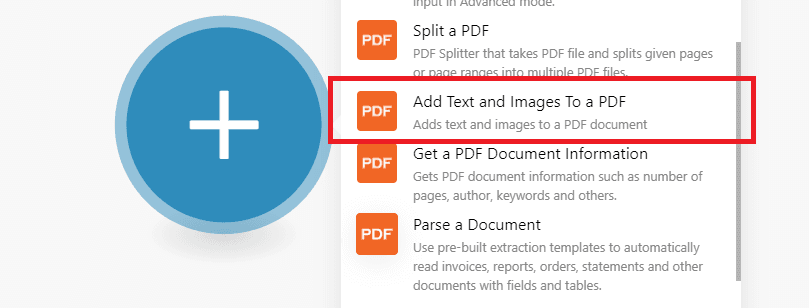
Next, choose the Add Text and Images To a PDF module.
Step 3: Add Input File
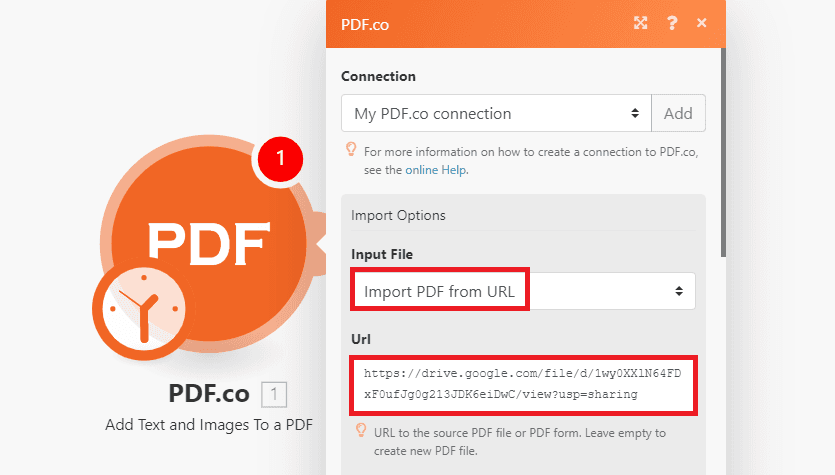
In the Input File field, select the Import PDF from URL because we will add the source file URL directly instead of fetching it from cloud storage such as Google Drive. Then, add the file link in the URL field.
Step 4: Add Text Objects
Now, let’s add the text objects to the document.
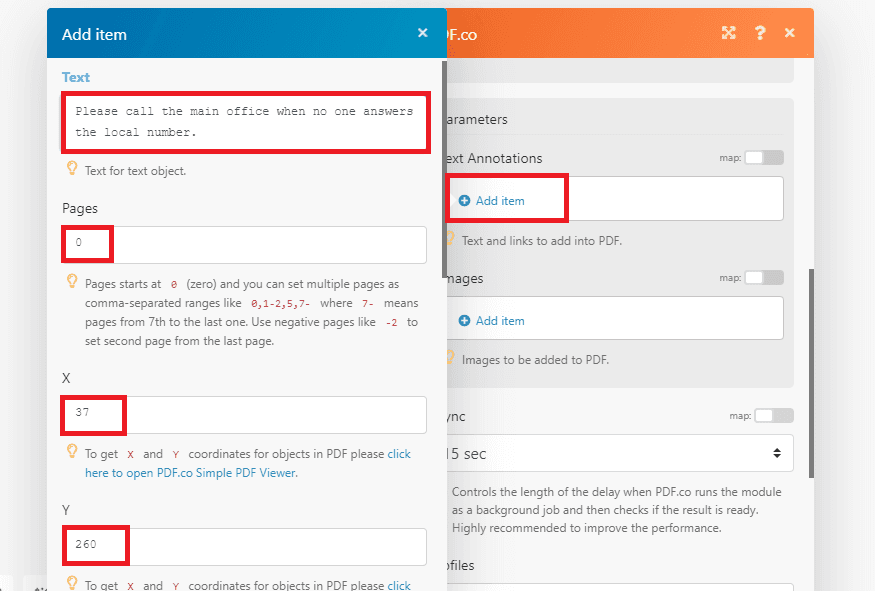
- In the Text Annotations Parameter, click on the Add item button.
- In the Text field, enter the text or in our case the Notes.
- In the Pages field, enter 0 for page 1.
- In the X field, enter the X coordinate of the text.
- In the Y field, enter the Y coordinate of the text.
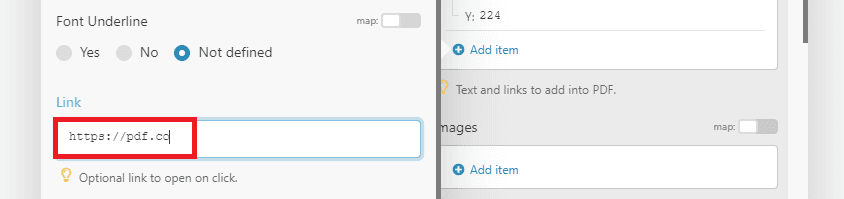
- To add a clickable link in the PDF such as a website link. Just add the website URL in the Link field.
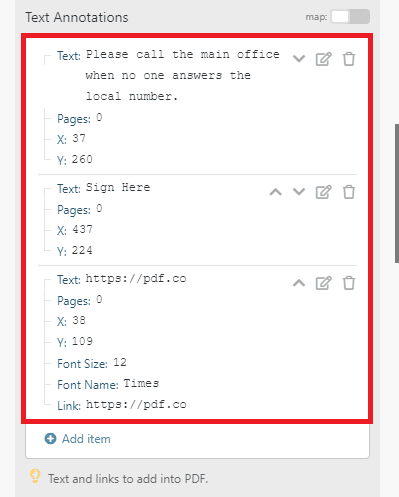
Once all of the text objects have been added, this is what our Text Annotation Parameters will look like.
NOTE: You can use our PDF/Edit/Add Viewer tool to easily get the coordinates for text and images in a PDF document. You can access it in the API Tools section of your PDF.co dashboard.
Step 5: Add Image Objects
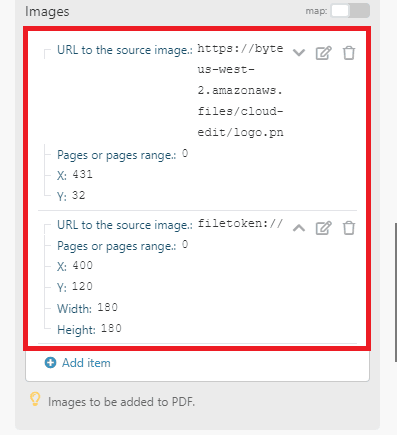
Now, let’s add the Image Objects for the company logo and signature.
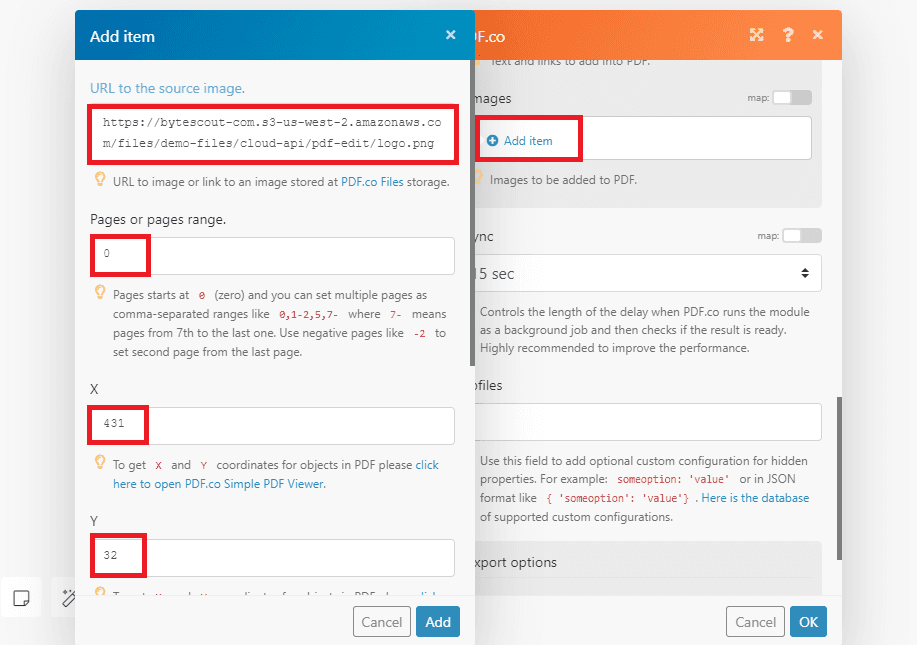
- In the Images Parameter, click on the Add item button.
- In the URL to the source image field, enter the image link or the company logo link.
- In the Pages or pages range field, enter 0 for page 1.
- In the X field, enter the X coordinate of the image.
- In the Y field, enter the Y coordinate of the image.
- When you want to set specific image sizes, you can add them in the Width and the Height fields.
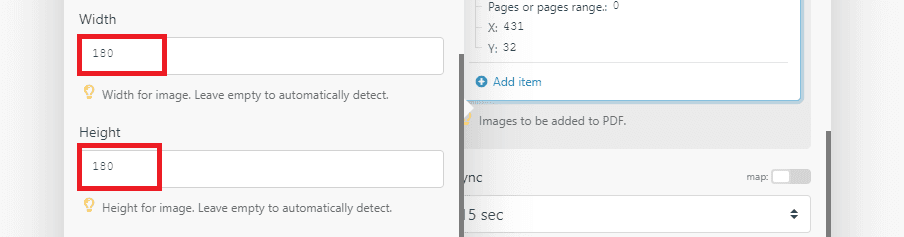
Once all of the Image Objects have been added in the Images Parameter, it will look like this.
Step 6: Run Scenario
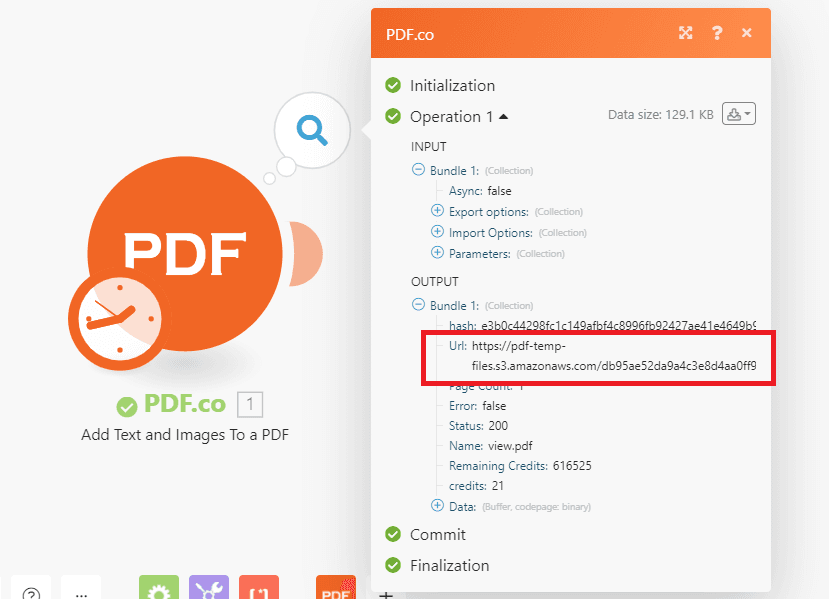
Once all of the text objects and image objects, we can now Run the Scenario to test if we configured them correctly. PDF.co will return a temporary URL when the test is successful. Copy and paste the URL in your browser to view or download the output.
Step 7: PDF.co Module Output
Great! Here’s the edited scanned PDF with the new company logo, clickable company website, note, and signature. The document can be downloaded to your computer and/or printed right there.
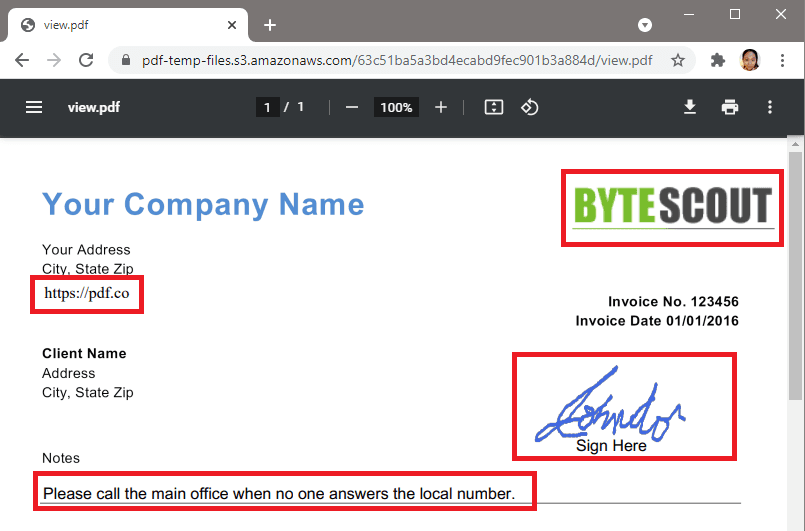
In this tutorial, you learned how to add ordinary text and clickable text to a scanned PDF document. You also learned how to add images such as a company logo and affix your signature to a scanned PDF file.
If you need to remove text in a scanned PDF file, you can use our Search and Delete API, which we cover in this tutorial. Some of our customers delete text in their PDF documents and add formatted text using the steps in this tutorial.
For more editing options, visit our PDF Editor API page, or follow this tutorial to learn how to edit PDF in PHP.
Related Tutorials
