Convert Editable Text PDF to Scanned PDF using PDF.co and Zapier
Experience a user-friendly and efficient solution that easily converts editable text PDF into a scanned PDF. Thanks to the powerful combination of PDF.co and Zapier, this process becomes an easy task, saving you valuable time, and effort.
With PDF.co’s advanced technology, converting an editable text PDF to a scanned PDF is a straightforward and hassle-free task. The conversion process is quick and ensures that your documents maintain integrity throughout.
But it gets even better, By integrating with Zapier, this solution becomes even more convenient and time-saving. Manual interventions and repetitive actions are a thing of the past. Zapier’s automation capabilities enable you to set up triggers and actions that automate the conversion process smoothly. This allows you to focus on more important tasks while the conversion happens easily in the background, without any unnecessary effort or frustration.
In this guide, you will discover a user-friendly and efficient solution that easily converts editable text PDF to scanned PDF document. With the powerful combination of PDF.co and Zapier, this process becomes easy, saving you valuable time and effort.
In the process we’re about to undertake, we’ll be working with a sample Editable Text PDF document that consists of multiple pages. Our objective is to convert each and every page of this document into a scanned PDF format.
Welcome to this simple step-by-step guide on converting an editable text PDF into a scanned PDF format. Follow along as we walk you through the process. So without further ado, let’s get started!
Step 1: Create a Zap
- To start the conversion process, the first step is to open your Zapier account and create a Zap.
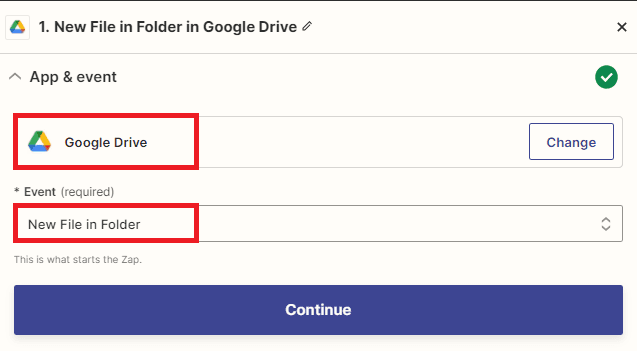
Step 2: Add Google Drive App
- Next, search and select the Google Drive app. You can also use other cloud storage services where you want to get the source PDF file.
- After selecting the cloud storage app, choose the New File in Folder option from the available triggers. This option will ensure that the Zap is triggered whenever a new file is added to a specific folder.
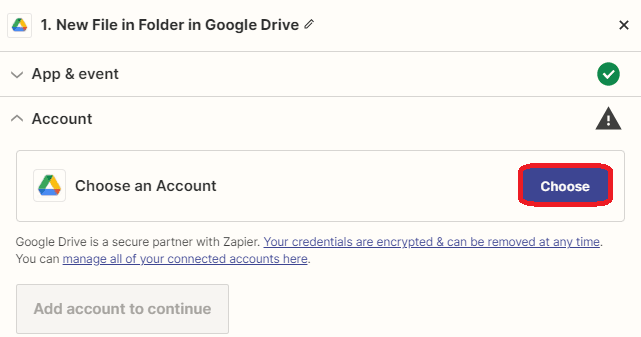
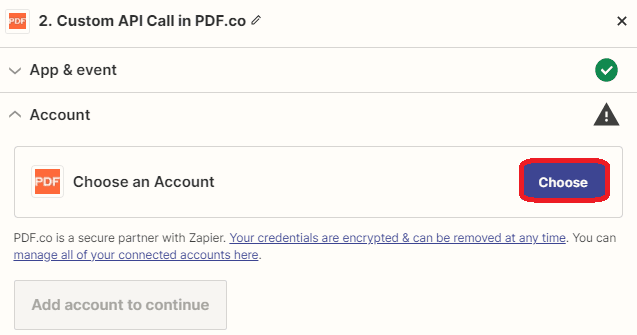
Step 3: Connect Google Drive Account
- Now, let’s establish a connection between Zapier and your Google Drive account. This step is necessary to grant Zapier access and authorization to work with your Google Drive files.
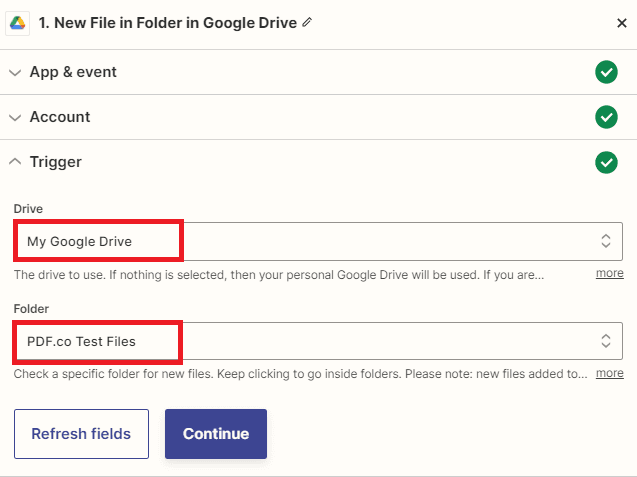
Step 4: Setup Trigger
To set up the trigger for your Zap, follow these steps:
- After connecting your Google Drive account, select My Google Drive as the drive to be used. This ensures that Zapier will monitor your personal Google Drive for any new files in the specified folder.
- Next, specify the specific folder where your file resides. This is the folder that you want Zapier to monitor for new files.
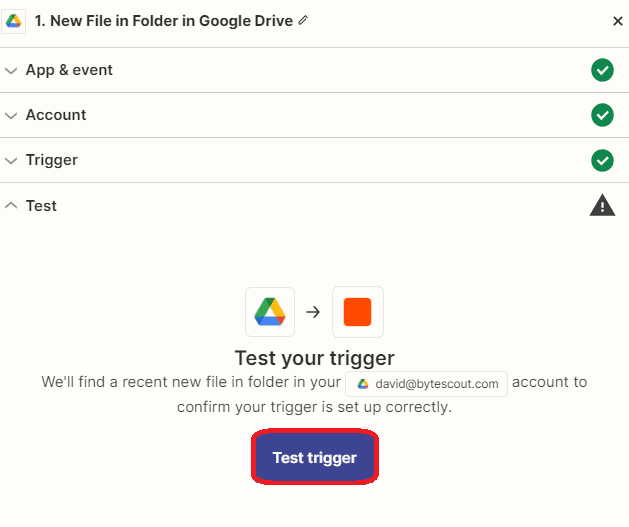
Step 5: Test Trigger
- Once you have done setting up, it’s important to test it to ensure that everything is configured correctly.
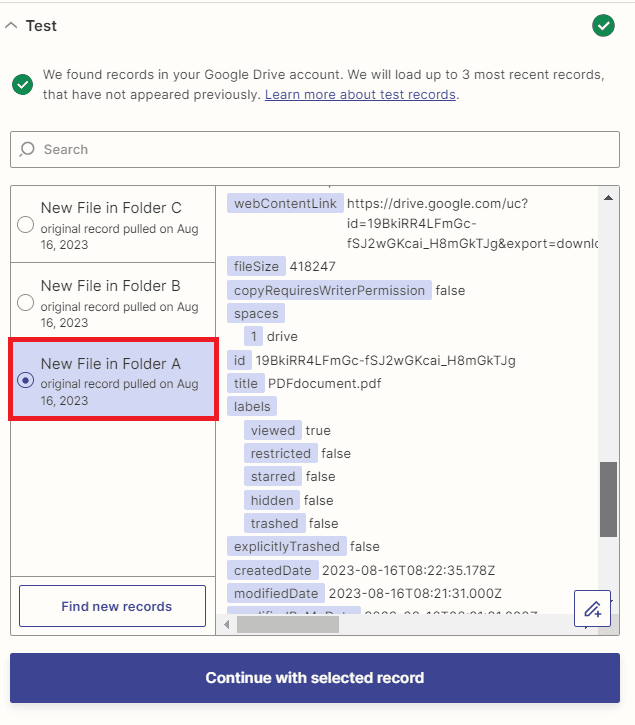
Step 6: Test Trigger Result
- Fantastic! Now that the test trigger was successful and a record containing the source file from Google Drive was found, we can proceed to the next step by adding another app to convert the editable text PDF into a scanned PDF format.
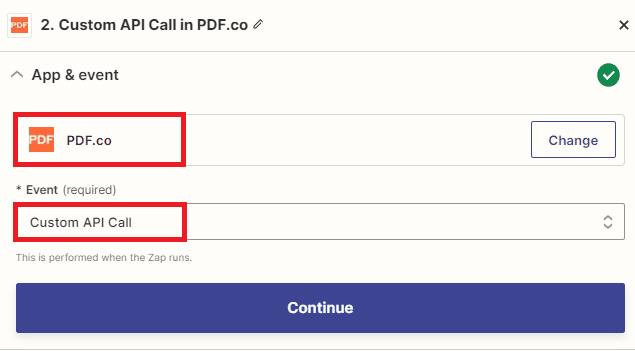
Step 7: Add PDF.co App
- In this step, we will incorporate the PDF.co app and choose the Custom API Call option. By doing so, we can utilize the API endpoint provided by PDF.co to convert an editable text PDF into a scanned PDF format.
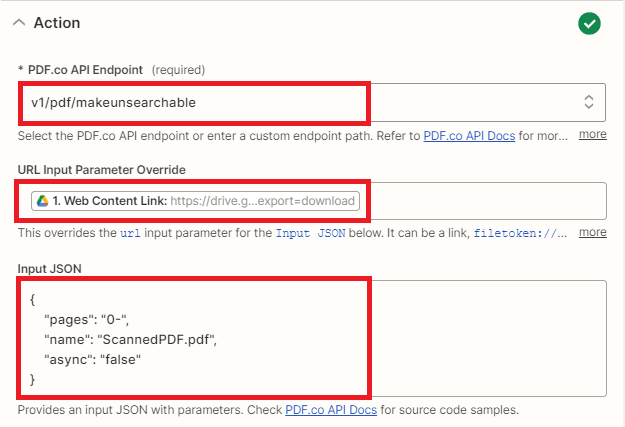
Step 9: Setup Action
To configure the action step using the PDF.co app, follow these steps:
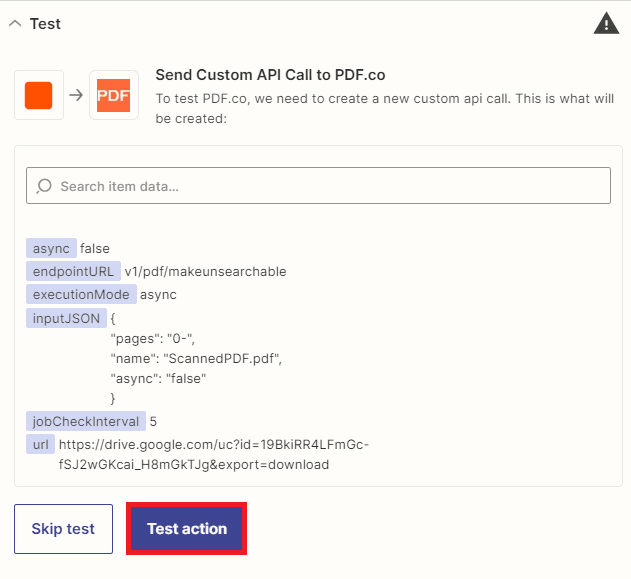
- In the PDF.co API Endpoint field, enter the API endpoint for converting an editable text PDF into a scanned PDF format. This API endpoint specifies the specific functionality you want to utilize for the conversion process.
- Next, select the Web Content Link from Google Drive as the input for the API call. This ensures that the PDF file from Google Drive will be used as the source for the conversion.
- For the Input JSON field, input the JSON code along with the necessary parameters. This includes specifying the list of pages you want to convert into a scanned PDF and the desired output file name. The JSON code should be structured according to the API documentation provided by PDF.co.
Step 10: Test Action
- Once you have completed the configuration for PDF.co, it’s time to test the action by sending a request to PDF.co to convert the editable text PDF into a scanned PDF format.
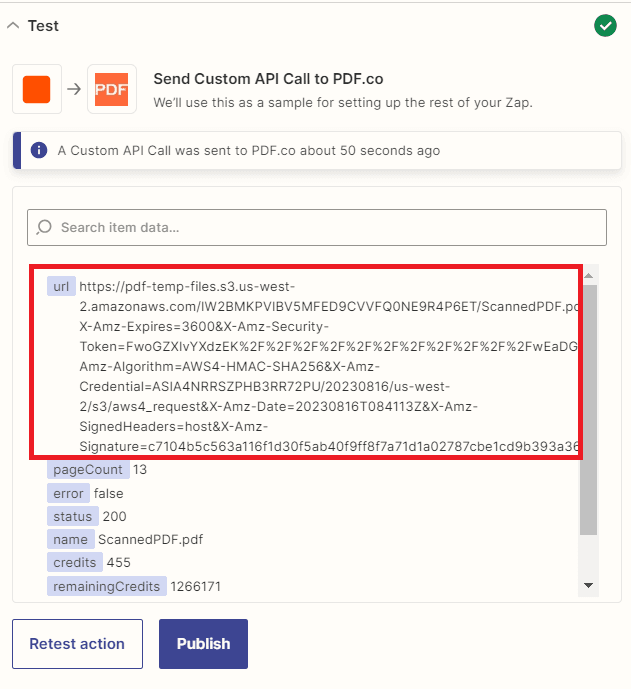
Step 11: Test Result
- Congratulations! PDF.co successfully process our request and convert an editable text PDF into a scanned PDF. To view the output, copy the URL and paste it into your web browser.
In this tutorial, you learned how to convert an editable text PDF into a scanned PDF format using PDF.co and Zapier. You also learned how to use the PDF.co PDF Make Text Unsearchable API to convert an editable text PDF into a scanned PDF.
