In this tutorial, we will show you how to extract images from PDF and add them to Google Slides with PDF.co using Zapier.
- Create Zap
- Trigger App and Event
- Test Trigger
- App and Action Event
- Setup Action
- Test and Review Result
- Add Another App and Event
- Setup Action Event
- Test Result
- Output
We will use this sample PDF to extract images and add them to Google Slides.

We will use this template to create a new slide with extracted images.

Step 1: Create Zap
First, log in to your Zapier account and create a Zap.
Step 2: Trigger App and Event
Next, select the Google Drive app and choose the New File in Folder as a trigger.
Step 3: Test Trigger
Then, click the test trigger button.
Once the test trigger was successful, move on to the next step.
Step 4: App and Action Event
Let’s select the PDF.co app and choose the Custom API Call for the action event.
Step 5: Setup Action
Now, we will set up the action.
- In the PDF.co API Endpoint field, click Custom and enter
v1/pdf/convert/to/json2
. - In the URL input parameter override field, select the Web Content Link from Google Drive.
- Then, enter the code in the Input JSON field.
{
"url": "https://PDFFileURL",
"inline": true,
"async": false,
"profiles": "{ 'SaveImages': 'Embed' }"
}
After setting up, click the test and review button.
Step 6: Test and Review Result
Once the test result was successful, you will get a base64 output for the extracted images.
Note: 
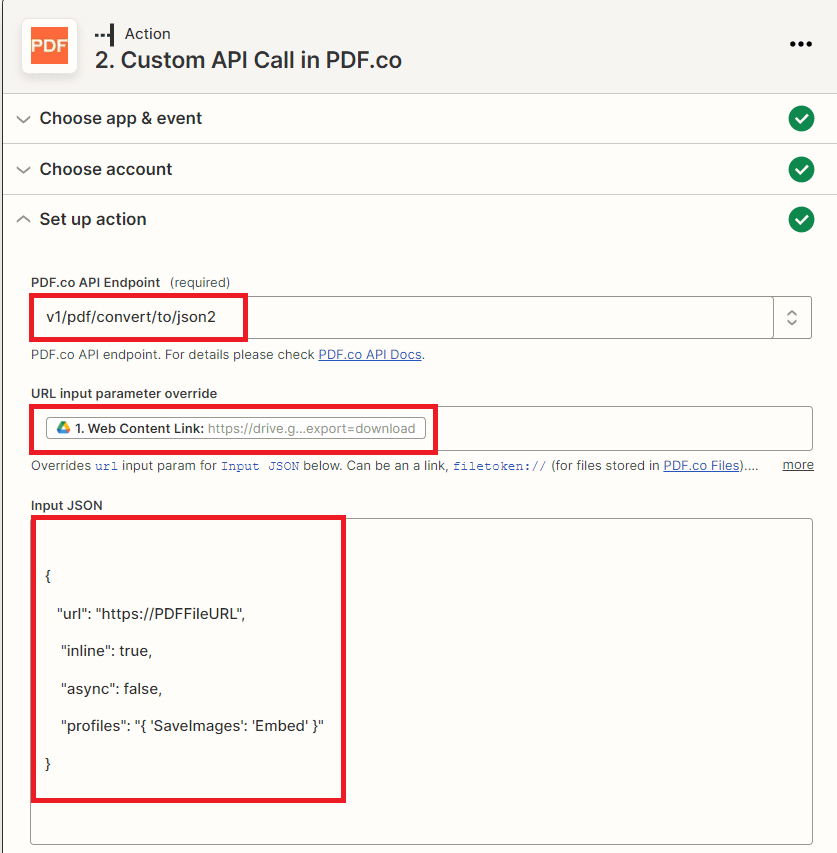
Google Slides doesn’t seem to support base64 as an image URL so we need to upload the file as Base64 using our API. Here’s a step-by-step guide https://pdf.co/base64-to-pdf-zapier. Your JSON Input should look something like this:
{
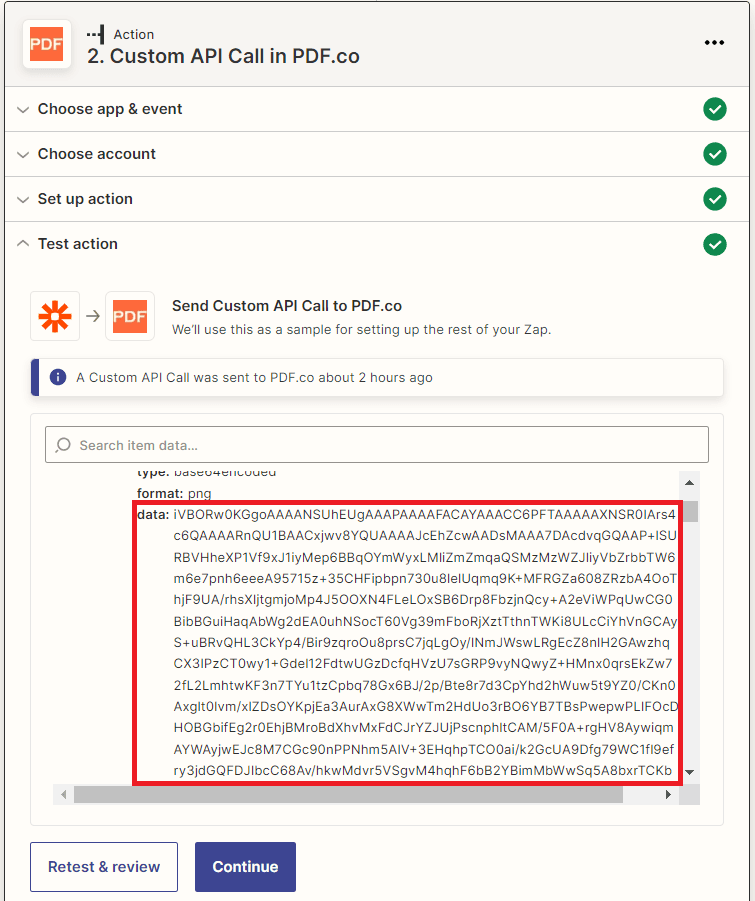
"file" : "data:image/gif;base64,USE_OUTPUT_FROM_PREVIOUS_STEP_HERE",
"name": "image1.png"
}
Now, we will add the extracted images to Google Slides.
Step 7: Add Another App and Event
Let’s add another app, select the Google Slides app and choose the Create Presentation From Template for the event.
Step 8: Setup Action Event
- In the Title of New Presentation field, type in your preferred title for the new presentation to be created.
- In the Is Shared field set it to
True
. If you want it to be in private set it tofalse
. - In the Template Presentation field, enter the presentation you created from the Google Slides template.
- For Image1 and Image2 fields, add the output images URL from the uploaded file as base64.
Step 9: Test Result
The presentation was successfully sent to Google Slides.
Step 10: Output
Here’s the new slide with extracted images.

In this tutorial, you learned how to extract images from PDF and add them to Google Slides using Zapier. You learned how to use the PDF.co Web API to extract images from PDF. You also learned how to set up the Google Slides to add the extracted images.