How to Add Signature to PDF Document in Python using PDF.co Web API
In this demonstration, we will guide you through the process of adding a signature to a PDF document using the PDF.co Web API. The endpoint we will use is /v1/pdf/edit/add, we will be adding an image-based signature to the PDF. If you don’t have an image of your signature, you can use the Draw a Signature tool to create one.
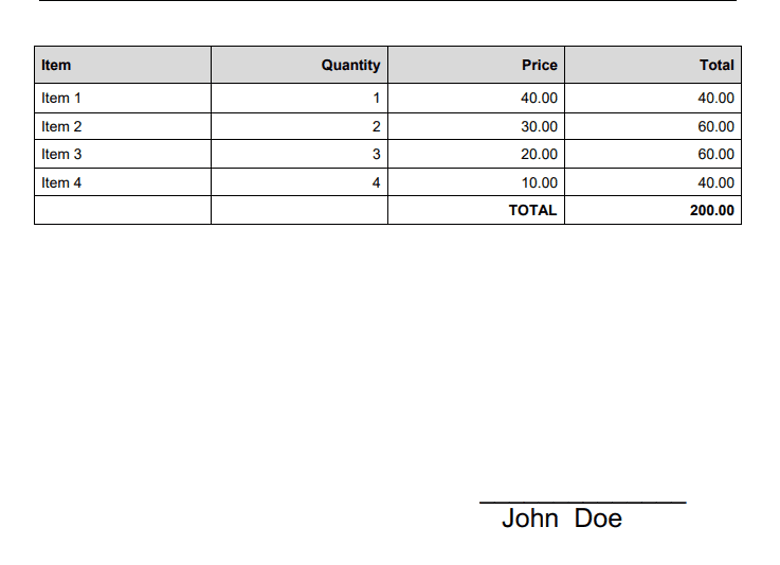
For this tutorial, we will be using a sample PDF document to apply the signature.

Step 1: Install the Requests Library
Before we can start, we need to install the requests library, which allows us to make HTTP requests to the PDF.co API.
- To install the
requestsmodule, open your terminal or command line interface and type the following command, then hit Enter:python -m pip install requests
This will install the requests library, enabling us to interact with the PDF.co Web API.
Step 2: Access the Source Code
Next, we need to prepare the Python script that will add the signature to the PDF. You can copy the Python sample code from this link. Once you have the code, paste it into your preferred code editor (e.g., Visual Studio Code, PyCharm, or any other editor you like).
Step 3: Configure the Python Code
Now that we have the sample code, let’s configure it to work with your specific settings.
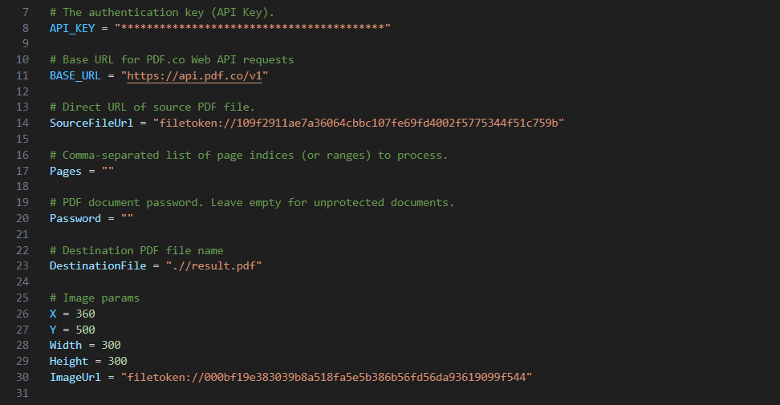
- API Key: Add your unique API Key in the designated spot in the code. You can get your API Key from your PDF.co Dashboard.
- Source File URL: Provide the URL of the PDF file to which you want to add the signature. If you're working with a file on your local machine instead of a URL, you can upload the file to PDF.co’s File Storage. Once uploaded, you’ll receive a file token URL that you can use in the code.
- Output PDF Name: Enter the name for the output PDF file where the signature will be added.
- Document Coordinates: Enter the x and y coordinates where the signature should be placed on the PDF. You can easily obtain these coordinates by using the PDF Inspector tool from PDF.co.
- Image Size: Enter the width and height values to adjust the size of the signature image.
- Image URL: Specify the URL of the image that you want to use as your signature. If you have a local image file, you can upload it to PDF.co’s File Storage and use the file token URL for the image.
For this demonstration, we will use Asynchronous mode for conversion. This will allow us to process the conversion in the background, making the program more efficient.

Step 4: Save Python Program
Once you've updated the code with your API key, PDF file details, and signature settings, save the Python program in your preferred directory.

Step 5: Run the Program
- After saving the program, run the Python script. If everything is configured correctly, the program will add the signature to your PDF.
- Once the program finishes executing, you can copy the generated PDF URL and paste it into your preferred browser or navigate to the directory where your Python script is located. You will find the generated PDF with the signature added.

Step 6: View PDF Result
Finally, open the output PDF file using your preferred PDF viewer. You should now see the PDF with the signature added at the coordinates you specified.

In this tutorial, you learned how to add a signature to PDF in Python. You learned how to use the PDF.co PDF Editor Web API to add the signature in PDF. You also learned how to install the requests module.
Video Guide
Related Tutorials


